Bol Accounts
Once you have done your configuration setting, you need to configure the accounts.
To manage Bol Accounts :
- Go to the Prestashop Admin panel.
- In the left navigation panel, place the cursor on Bol Integration and the section expands as:
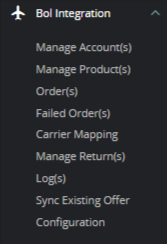
- In the Manage Accounts
The tab appears as shown in figure:
- In this section, you can see all Bol Configured Accounts and you can add new Accounts also.
- Select the ‘Add new Account’ button to add new accounts. The tab appears as shown in the figure:
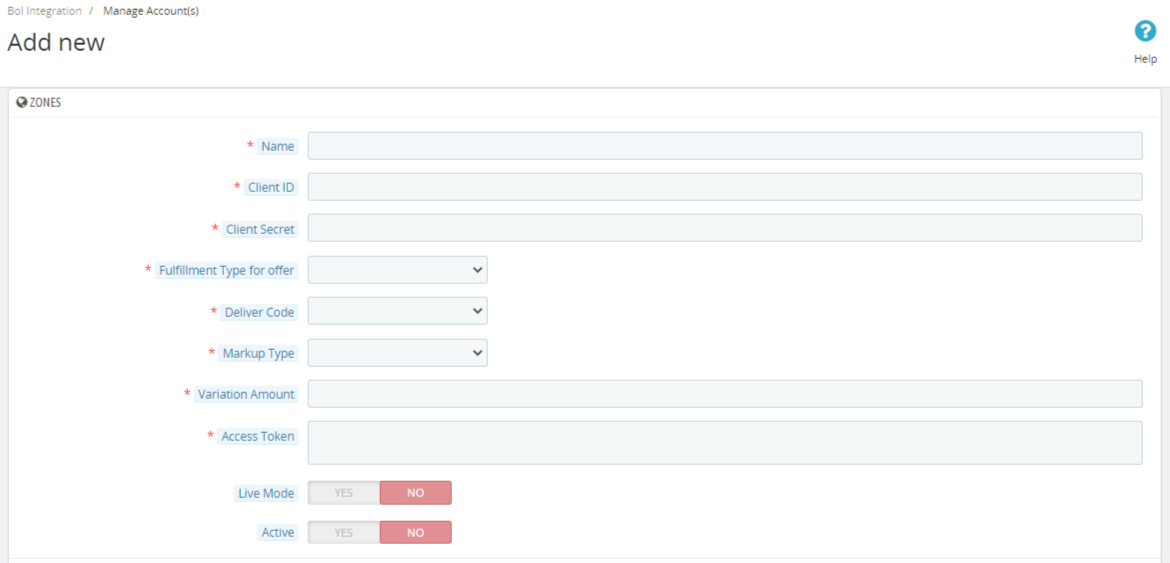
- These details you can get from Bol Account Panel and Copy Client ID & Secret and so on. Once get inserted simply save the settings.
Related Articles
Bol Prestashop Integration - Overview
Bol Prestashop Integration is an impressive integration developed by CedCommerce. It helps Prestashop online retailers to synchronize their products inventory, prices, and other product details between Prestashop store and the Bol Web site for ...Bol Orders
To manage Bol Orders: Go to the Prestashop Admin panel. In the left navigation panel, place the cursor on Bol Integration and the section expands as: Click on Orders The tab appears as shown in the figure: In this Order section, you can see all ...Bol Integration Extension Installation
To install the extension: Go to the Prestashop Admin panel. On the left navigation bar, point cursor to the Modules and Services. The menu appears as shown in the following figure: Now click the Modules Manager menu, and you will come across a page ...Bol Configuration Settings
Once the module gets installed, you get navigated to the Configuration page. To perform configuration settings: Go to the Prestashop Admin panel. In the left navigation panel, place the cursor on Bol Integration and the section expands as: Click on ...Bol Failed Orders
To manage Bol failed Orders: Go to the Prestashop admin panel. In the left navigation panel, place the cursor on Bol Integration and the section expands as: Click on Failed Orders The page appears as shown in the figure: In the failed Orders, you can ...