Bulk Action
Select the checkboxes available against the respective products.
Click on the ‘Bulk Action’ option, as shown in the image below:
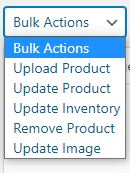
The bulk action has a number of options for the seller
UPLOAD PRODUCT:
- The option lets the seller upload the selected products.
- Follow the Bulk Action Option under the Product Category.
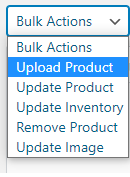
- Click on the Upload product option from the drop-down menu to upload the selected products.
- The selected products will be Uploaded.
- Refer to the image given below:
UPDATE PRODUCT:
The option lets the seller update the selected product’s product details.
- Follow the Bulk Action Option under the Product category.
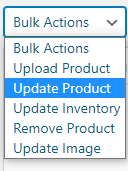
- Click on the Update Product option from the dropdown menu to Update the selected product.
- The selected products will get Updated.
- Refer to the image given below:
UPDATE INVENTORY:
The option lets the seller Update the Inventory for the selected products.
- Follow the Bulk Action Option under the Product category.
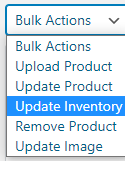
- Click on the Update Inventory option from the dropdown menu to Update the selected product.
- The Inventory will be updated.
- Refer to the image given below:
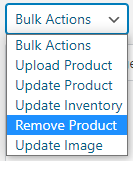
REMOVE PRODUCT:
The option lets the seller remove certain selected products.
- Follow the Bulk Action Option under the Product category.
- Click on the Remove Product option from the dropdown menu to Update the selected product.
- The selected products will be removed.
- Refer to the image given below:
UPDATE IMAGE:
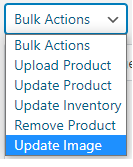
The option lets the seller update certain selected products’ images
- Follow the Bulk Action Option under the Product category.
- Click on the Remove Product option from the dropdown menu to Update the selected product.
- The image of the selected products will be updated on Jumia Store.
- Refer to the image given below:
Related Articles
Overview: Jumia Integration for WooCommerce
Why Jumia Integration for WooCommerce: Experience effortless selling expeditions by automating your Woocommerce store with the Jumia marketplace. The plugin brings down the manual effort and involvement in managing the store by bringing in the ...Connecting Jumia Seller Account With WooCommerce
To connect the Jumia seller account, click on the Jumia option as shown in the image below: A section will appear, as shown in the image below: Click on Add Account to add your Jumia account. A window will appear, which will require the following ...Jumia Category Mapping
The category mapping option lets the seller map the Jumia store category with the categories of the woocommerce store. Look for the ‘Category Mapping option next to the Scheduler tab in the upper panel. Refer to the image below: Category mapping ...Order Management
All Orders can be found under the Orders tab next to Product Option, as shown in the image below: The order section displays numerous details related to the orders. You can see various details for the orders such as: Woocommerce order. Product name. ...Profiles
A profile is created for the products after mapping the Woocommerce and Jumia product categories. Various products that are mapped can be identified under the Profile Option.