Catch Account Configuration
To Configure Your Catch Account 


You need to establish a connection between a Catch seller account and a WooCommerce store.
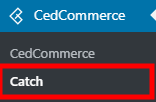
Click on the Catch menu as mentioned in the image below:


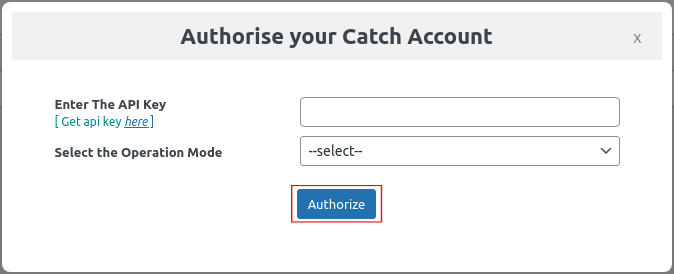
Click on the Add Account button and the next screen will appear to authorize your catch account.
link for getting the API key from the Catch seller panel and select the operation mode( Production for live site ) and then hit the Authorize button as mentioned in the image below.

After that, hit on the Configure tab, as specified in the image below:

Related Articles
Configuration
While operating a multichannel business, you must set your product, order, currency, and shipping preferences. Based on your preferences, the app will help you with all the automated functionalities between your Catch account and Shopline store. The ...How the Catch Configuration Settings Work?
Once the extension is successfully installed in the Magento 2 store, the CATCH INTEGRATION menu appears on the left navigation bar of the Magento 2 Admin panel. The merchant has to first create a seller account in the Catch seller panel. Once the ...How to retrieve API Credentials from the Catch Seller Account?
Once the extension is successfully installed in the Magento 2 store, the CATCH INTEGRATION menu appears on the left navigation bar of the Admin Panel. The store owner has to fill out the retrieved API Key value in the respective field displayed on ...Catch Configuration Settings
Once the module gets installed, you get navigated to the Configuration page. To perform Configuration settings: Go to the Prestashop Admin panel. In the left navigation panel, place cursor on Catch Integration and the section expands as: Now click on ...Getting Seller Account On Catch
To Get Seller Account- To get seller account on Catch marketplace you may go through this link-here Once you open this link, you will be redirected to the seller panel of the catch marketplace where you have to fill some information as shown in the ...