Cdon Prestashop Extension Installation
To install the extension:
- Go to the Prestashop Admin panel.
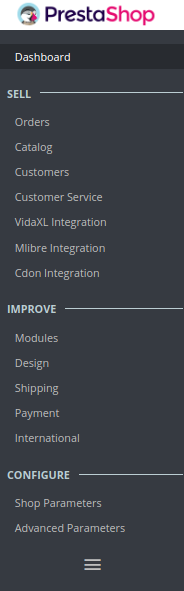
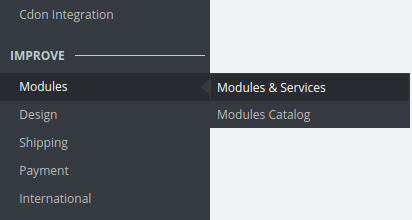
- On the left navigation bar, point cursor to the Modules and Services.
The menu appears as shown in the following figure:
- Now click the Modules and Services menu, and you will come across a page like shown below.
- Now you need to click on Upload a New Module on the top right corner of the page.

- In doing so, the page opens a section like shown in the image below:
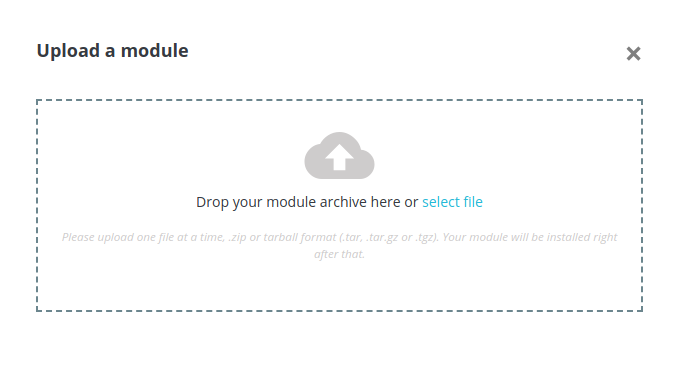
- Now select the Module File either by clicking on select file tab or simply dropping it, from your system.
- Once selected, click on the Upload this module button.
- On the same page, scroll down and in the Modules list, search for Cdon and it will be listed on the right side as a drop-down.
- Once you select and click on the Install button, you can see a message like shown below, on the same page, asking you if you wish to proceed with the installation. You may click on Proceed with the installation.
- The module will be installed and you will be navigated to the Configuration page for further steps to be taken.
Related Articles
Cdon Integration For Prestashop - Overview
Cdon Prestashop Integration is an efficient API integration that helps the Prestashop store owners to synchronize inventory, price, and other product details for the product creation and its management between the Prestashop store and the Cdon ...Cdon Feeds
To view Cdon feeds: Go to Prestashop Admin Panel On the left navigation bar, place the cursor on Cdon Integration and you will see it getting expanded as below: Click on Cdon Feeds and you will see the page as shown below: All the feeds are listed on ...Cdon Logs
To see and manage Cdon logs, Go to your PrestaShop admin Panel. Place cursor on Cdon Integration. When the menu appears, click Cdon logs. On clicking it, you will be navigated to the page as: To see the log, Click the view sign () under Response. On ...Retrieve API Credential from the Cdon Seller Panel
Once the extension is successfully installed in the Prestashop store, the merchant has to enter the API Key details in the respective fields displayed on the Cdon Configurations page while setting up the configurations. To get the API Key Details ...Managing Cdon Orders
The admin can manage the Cdon orders from the Prestashop admin panel by: Viewing and shipping the Cdon orders Viewing the failed orders.