Configuration Settings
Once the module has been installed, the first necessary step needs to be taken by the admin is to complete the Configuration.
To do the Configuration, 
- Go to your OpenCart admin panel.
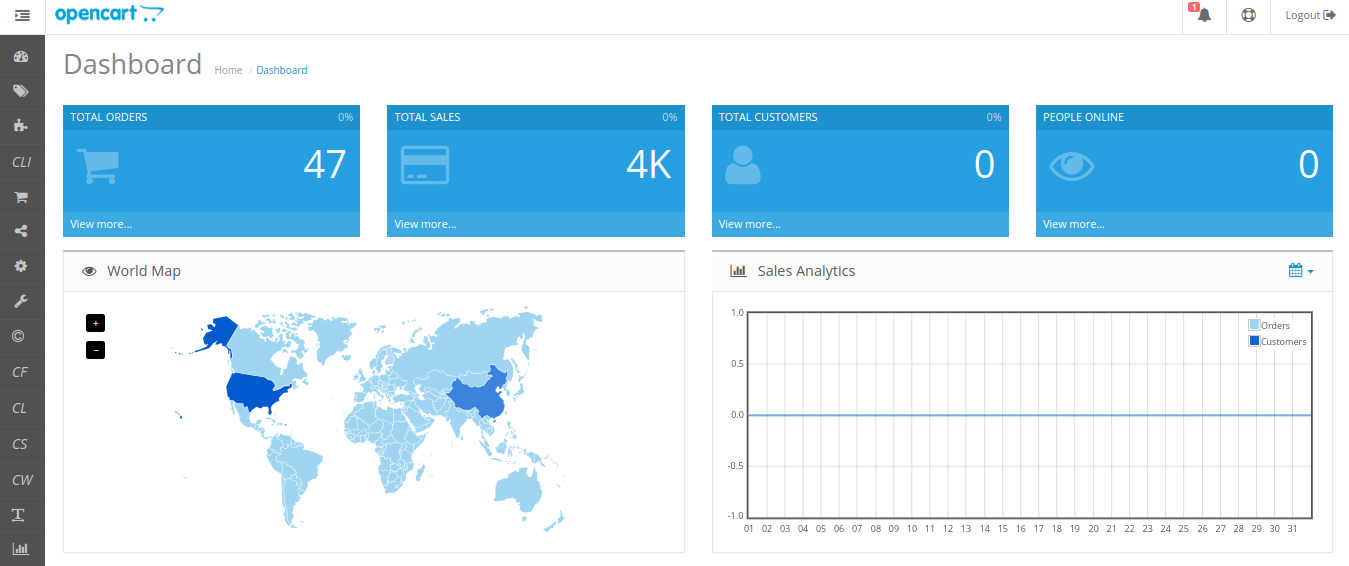
- Place the cursor on CLI which is on the left navigation bar, as shown in the figure below.
- From the menu that appears as shown in the image below, click on Configuration.
- On clicking Configuration, you will be navigated to the Lazada Importer Configuration page as shown below:
- In Status, select Enabled to enable the module.
- In the App Name bar, enter the app name provided on the Lazada App Console
- In the App Key bar, Enter the six-digit app key.
- In the App Secret key bar, enter the ID that you had retrieved from the Lazada App Console.
- Once you complete all these, click on click on Save & Validate. You will be redirected to Lazada's seller panel. Login once for confirmation and you will be redirected back to this panel again.
- In the Redirect URL and the App Code bar, is by default filled.
Once you are done with entering and selecting all these needed information, click on the Save button on the top right corner, to save all the configuration settings you have made changes for.
Your configuration will be saved.
- Now move to the 2nd section of the Configuration settings i.e. - Default Values. This page opens up as:
- From the Tax Class, choose the tax imposed on the products as downloadable or taxable.
- From the Length Class, Choose the desired length you wish either centimeter, millimeter or inch.
- From the Weight Class, Select the desired weight as kilogram, gram, pound or ounce.
- Choose the Default Category of the product from the next section.
Once you are done with entering and selecting all these needed information, click on Save Button to save all the configuration settings you have made changes for.
Now move to the last section of the Configuration, i.e. Field Mapping. The page opens up as:
Related Articles
How to Install Lazada OpenCart Importer Extension
To install the extension: Go to the OpenCart Admin panel. On the left navigation bar, point cursor to the Extension & Installation. The Extension Installer page appears as shown in the following figure: Now you need to click on Upload on the top ...Import Settings
To set import settings from Lazada store : Go to Opencart Admin panel. On the left bar, click the CLI menu and these additional sub-menus open up: Click on Import Setting. Lazada Import Setting page appears as shown in the following figure: Click on ...Product Import Section
This feature enables the admin to import products from the Lazada store. To import the products from Lazada store : Go to OpenCart Admin panel. On the left bar, click the CLI menu and these additional sub-menus open up: Click on Product Import. ...Overview Section
Lazada Product Importer For OpenCart is an extension developed by CedCommerce for OpenCart Store, which allows the admin to import products from the Lazada store to the OpenCart store based on the Lazada Seller ID and Lazada Site ID. Lazada Product ...Categories Import
Once the Product Import is completed and saved, Lazada categories will appear in the admin panel in the Categories section. To see the categories Place the cursor on CLI on the left navigation bar of the admin panel as shown below, and then click on ...