Configuration Settings
To set up the configuration settings
- Go to the Magento 2 Admin panel.
- On the left navigation bar, click the Claro Shop Integration menu.
The menu appears as shown in the following figure:
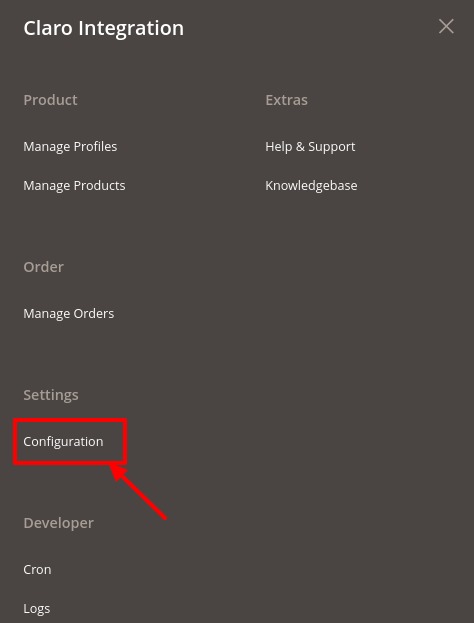
- Click on Configuration.
The Configuration page appears as shown in the following figure:

- In the Enabled, select Yes to configure the settings.
- In the App Id, enter the application id from the Claro Shop seller panel.
- In End Point Url, select the API url.
- In Public Key, enter the key from the Claro Shop seller panel.
- In Private Key, enter the private key from the seller panel.
- In the Select Store, select the store view.
- Click on Save Config button.
The configuration settings will be saved.
Related Articles
Overview
Claro Shop is an eCommerce store with an extensive number of products from stores such as Telmex, Sanborns, Sears, Telcel, Samsung and Grupo Pagui which has its headquarters in Mexico. The annual revenue of Claro Shop marketplace is $2 million. Claro ...Cron Details
To view cron details, Go to the Magento 2 Admin panel. On the left navigation bar, click the Claro Shop Integration menu. The menu appears as shown in the following figure: Click on Cron. The cron page appears as shown below: All the running crons ...Log Details
To view logs, Go to the Magento 2 Admin panel. On the left navigation bar, click the Claro Shop Integration menu. The menu appears as shown in the following figure: Click on Logs. The logs page appears as shown below: The logs with the details are ...Upload Products to Profile
To upload the profile products, Go to the Magento 2 Admin panel. On the left navigation bar, click the Claro Shop Integration menu. The menu appears as shown in the following figure: Click on Manage Profiles. The Manage Profile page appears as shown ...Add New Profile
To add a new profile, Go to the Magento 2 Admin panel. On the left navigation bar, click the Claro Shop Integration menu. The menu appears as shown in the following figure: Click on Manage Profiles. The Manage Profile page appears as shown in the ...