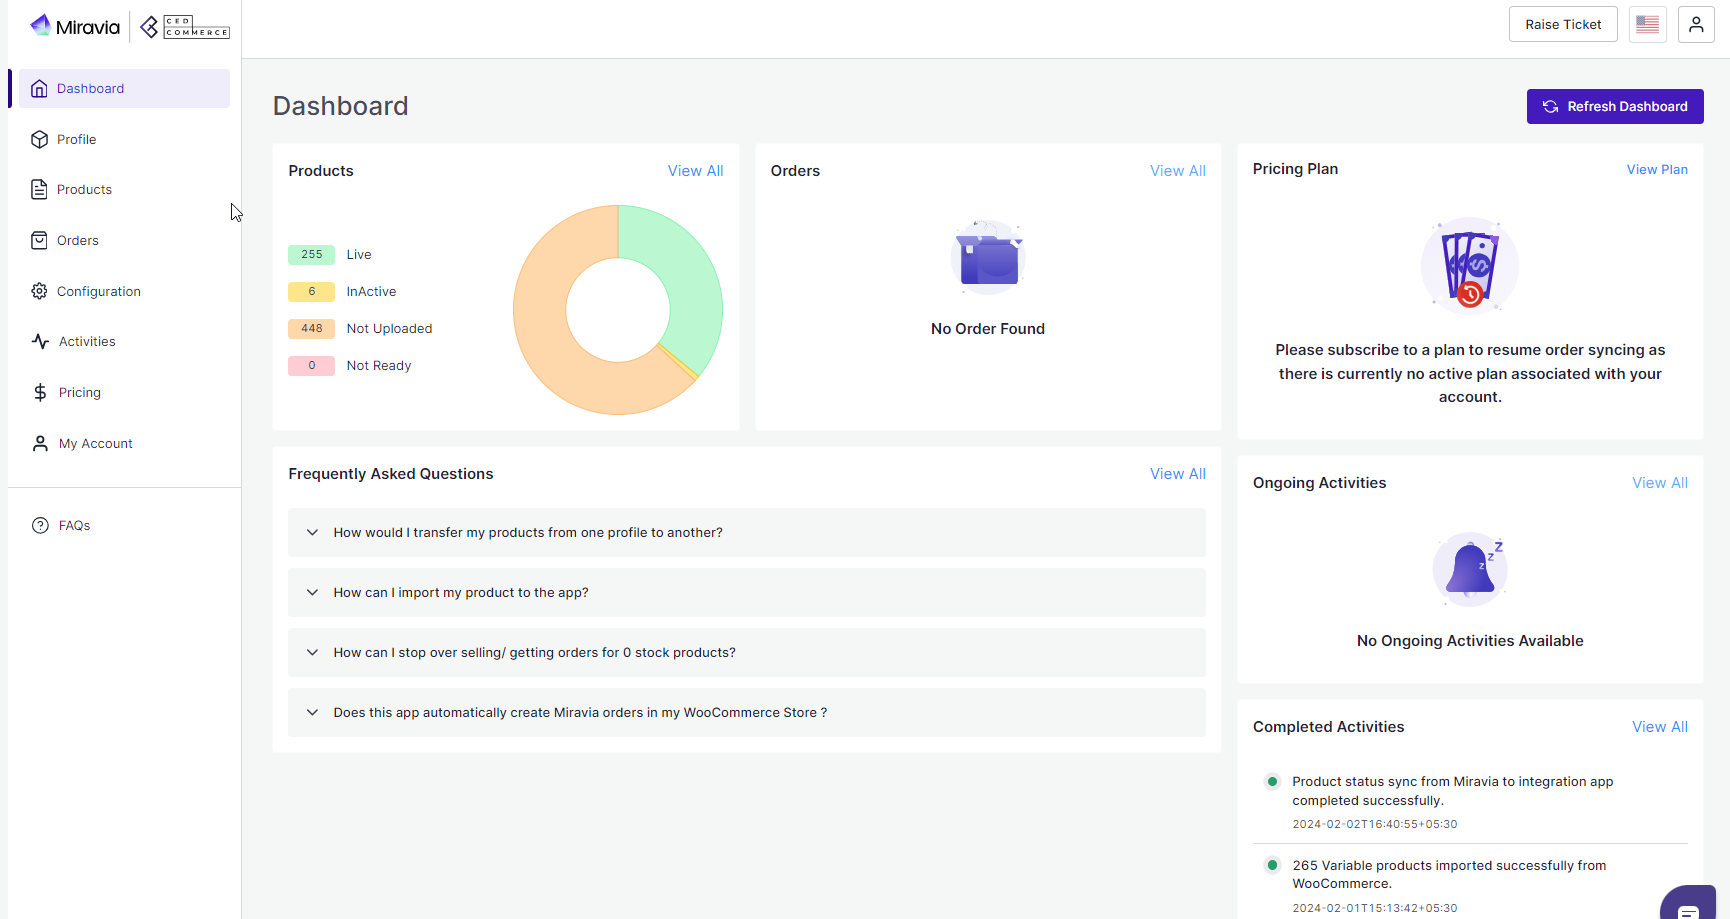
Dashboard
The dashboard provides a comprehensive view of your store and helps you analyze the sales. It shows basic information about your stores, like products and statuses, orders and stages, ongoing and completed activities, and much more. It also provides you with gross sale information made over a period of time, etc.

Product
This section provides you an ease to access all the statuses related to your product stages. All product stages i.e. “Live,” “Inactive, “Not uploaded,” & Not ready, are visible. Here you can check and track all product status.
- Live: These number of products are live and listed on Miravia Marketplace.
- Inactive: If the product is not in stock, it shows inactive status.
- Not Uploaded: Total number of products imported to the connector app from the WooCommerce store but not yet uploaded to the Miravia store.
- Not Ready: These products have some data missing, which is required to upload the product to Miravia Marketplace.
Order
With this part of the dashboard, you can track the status of orders, i.e., awaiting shipment, completed order, cancelled order & errors in the order.
Activity
Here, all the ongoing & completed activities are listed. You can keep an eye on all the activities that are happening in the connector, for example, product uploading, order fulfillment, etc.
Gross Sales
This is a graphical representation of your gross sale made during a specified period of time. You can filter the data based on a weekly, monthly & yearly basis.
Related Articles
Overview
The CedCommerce Miravia Connector is a robust tool that bridges the gap between your WooCommerce store and the vast marketplaces of Miravia and AliExpress. By automating product listings, syncing inventory, and managing orders, this connector ...The Process
Now connect your WooCommerce store with Miravia. You can do so by following 3 simple steps, but before that, go to Dashboard: Connect Attribute Mapping Default ConfigurationMiravia Connector Overview
Getting Started with the CedCommerce Miravia Connector for PrestaShop Welcome to the Miravia Connector by CedCommerce — your complete integration solution to manage products, inventory, pricing, and orders between your PrestaShop store and the ...Onboarding
{Note: Make sure the IP address: 3.22.191.139 is not blocked on your website.} First of all, you need to install the Miravia connector. By clicking on CedCommerce> Miravia. Authorize “Miravia connector” to connect to your WooCommerce Store.Connect
Connect your Miravia account with the connector; when you click on connect button, you will be redirected to the “Miravia seller center.” Choose your country & log in to your Miravia account with your credentials. Grant access to the “Miravia ...