Dashboard of the App
When you are done with both the "Configuration Steps", you'll be ready to explore the app.
Starting from the "Dashboard" of the App, i.e., "Home" on the left menu tab. The Dashboard of the app has several sections which are described below:
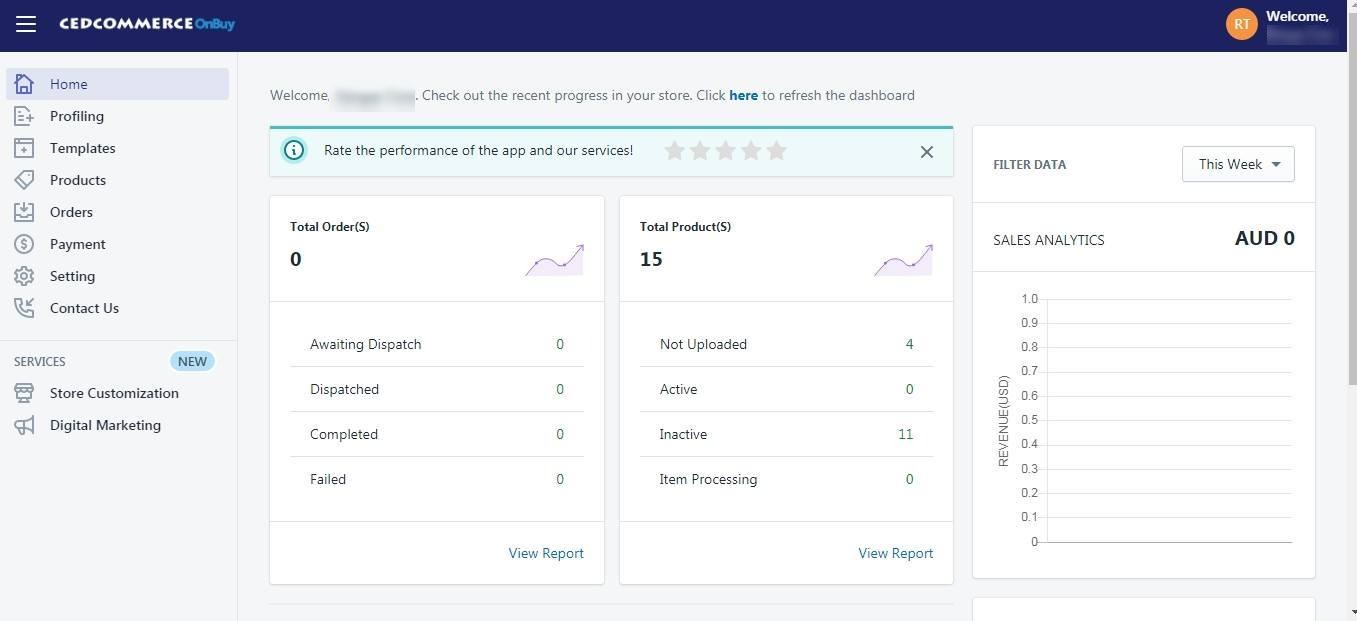

App Dashboard will display the following information:
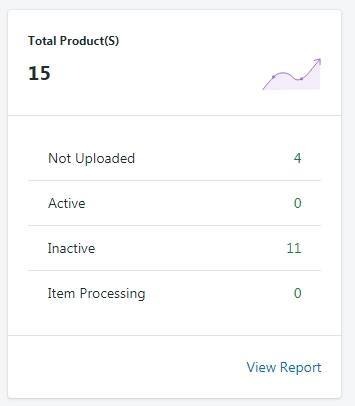
- Product Information: To view the total count of the products present in the application and along with the total count, you can also get the information about how many products are currently Active, Not uploaded, Inactive and Item Processing on Overstock. As shown in the following figure:
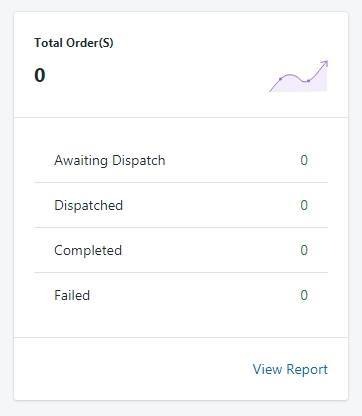
- Order Information: To view the total count of your orders from the Overstock Marketplace. You can also get to know about how many orders you have Completed, how many are in Awaiting Dispatched, how many are in Dispatched and how many are Failed. As shown in the following figure:
- Sales Chart: To view the sales analytics for your products from Overstock in a graphical chart. You can apply the filter to view the timed data for the same and the section appears as follows:

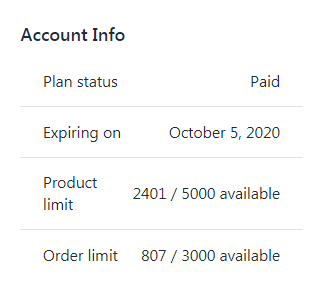
- Account Information: It shows the overview of the current subscription for the application and the section appears as follows:
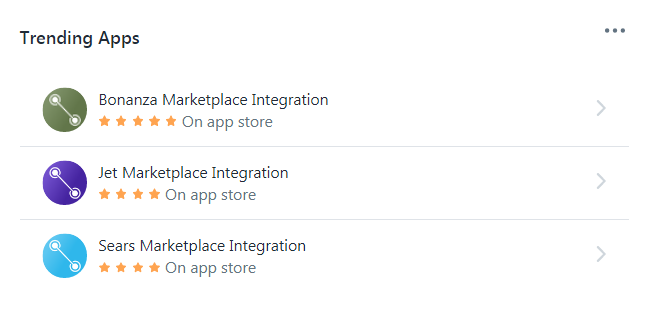
- Trending Apps: Check out the trending apps from CedCommerce on Shopify Store
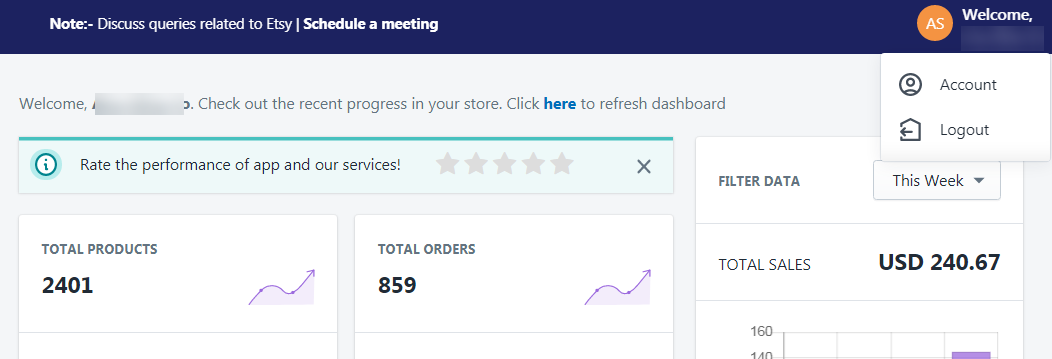
- Your Profile Information: You can take a glimpse at your Profile by clicking on the 'Account' button which is on the topmost bar of the app, it appears like this: After clicking on 'Account' button, you are redirected to the following Profile info page which appears like this:
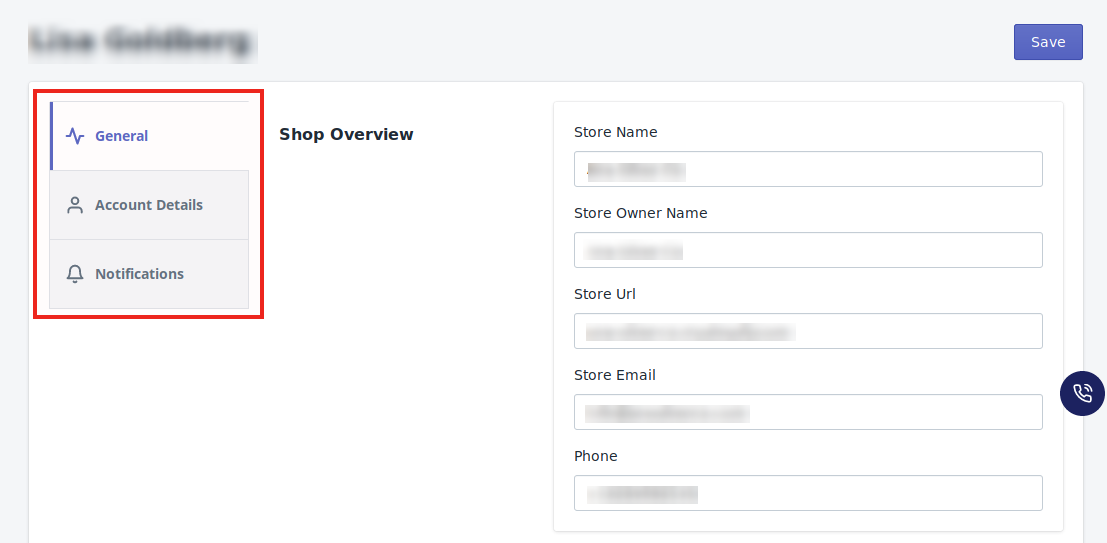
 It consists of 3 Sections:- 1. General 2. Account details 3. Notifications - The General section includes information related to your Overstock Account, Shopify plan, Country & Currency & App overview, like this:
- The Account Details section includes your Shopify Account overview, Payment history of the app & Login timings, like this: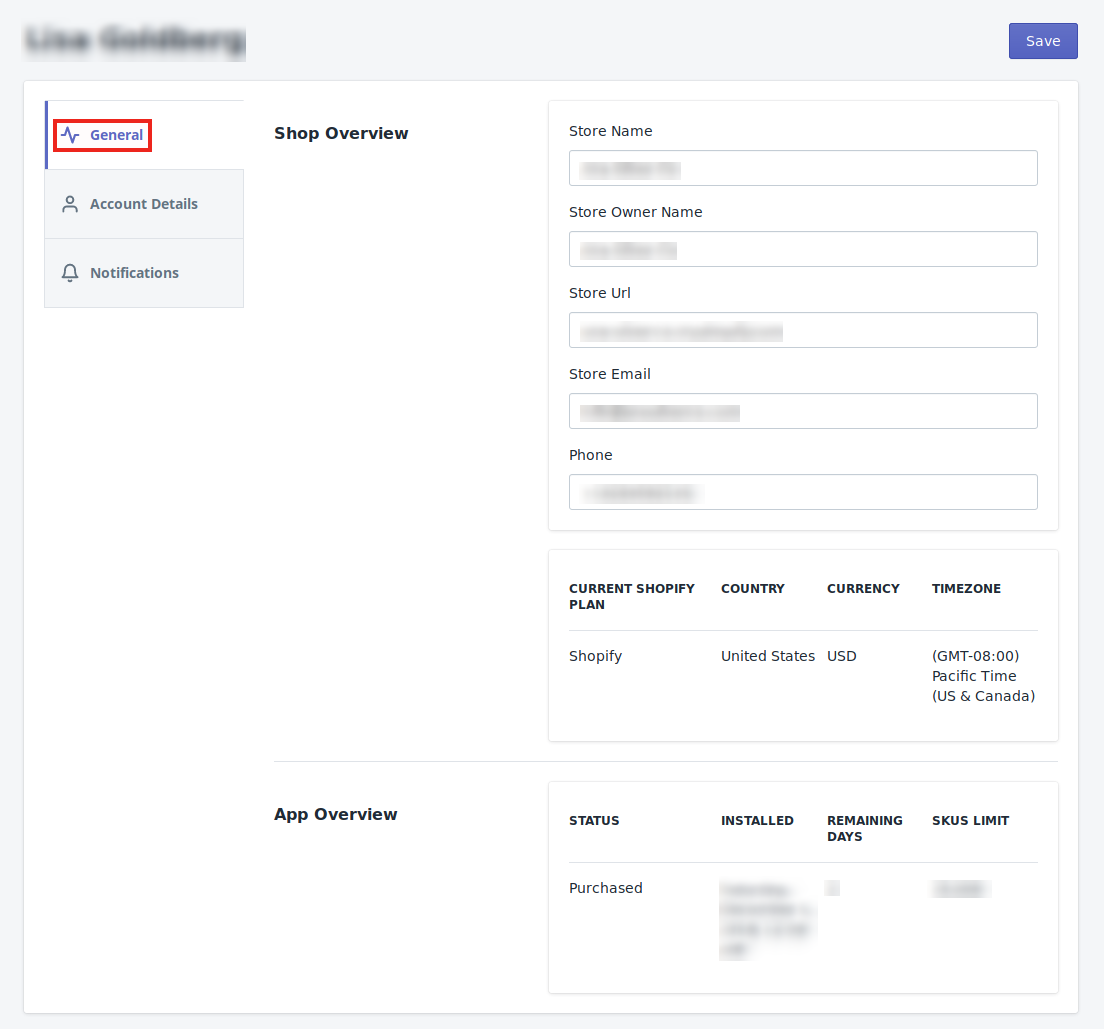
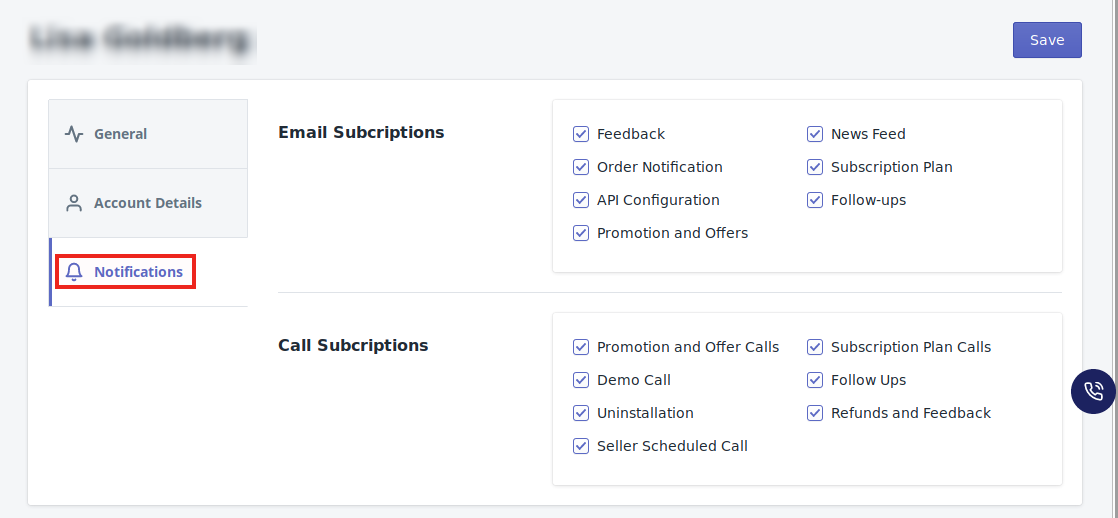
- The Notifications section consist the information related to your Email & Call subscriptions, you can Enable or Disable them anytime, take a look here:-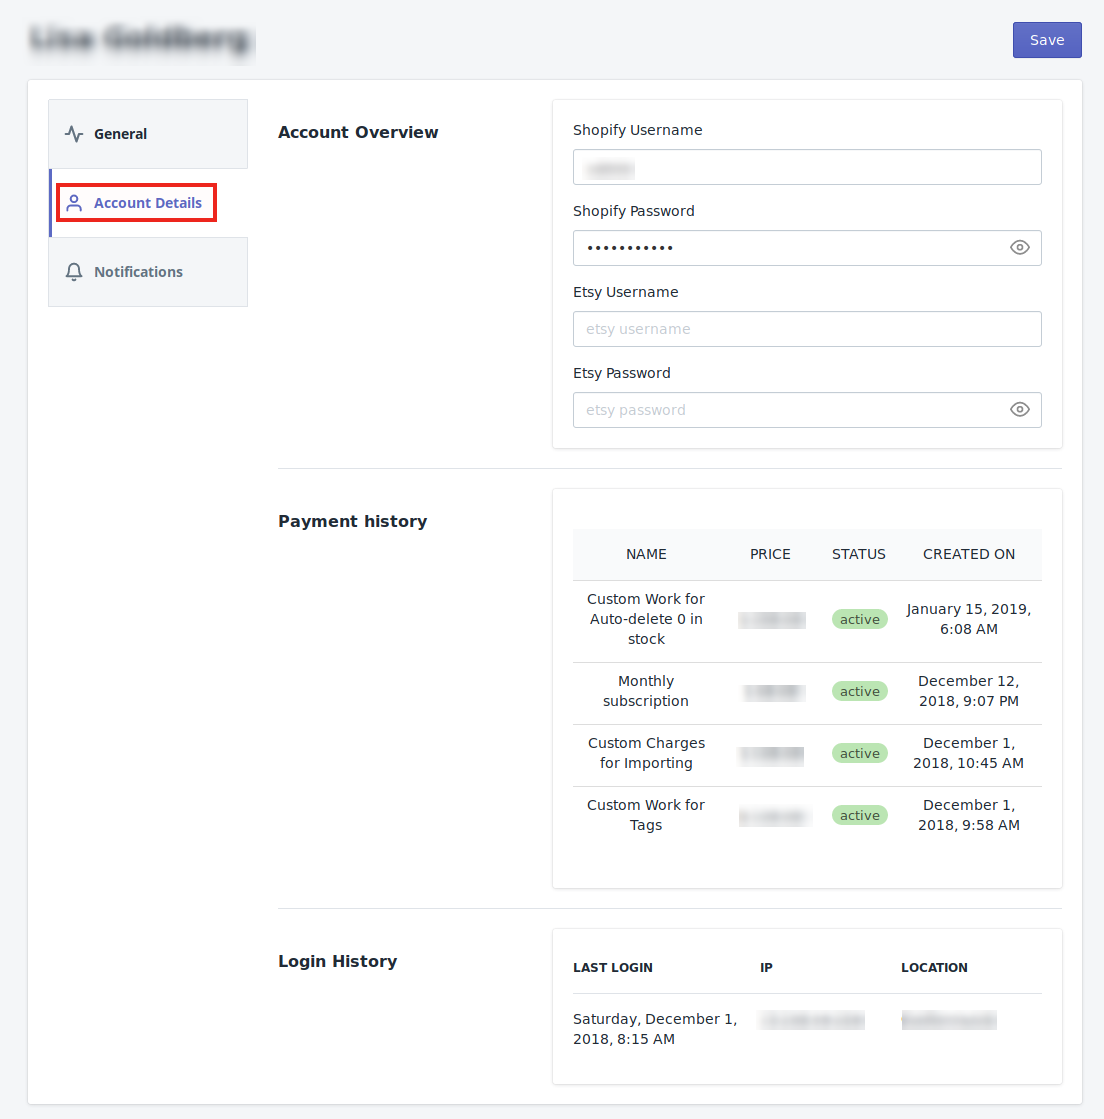
Related Articles
How to Install the Overstock Integration
Selling on Overstock is a seamless process but one has to apply for the seller account by filling the details required. You can click on the given link to apply for the Seller account: https://overstock.force.com/requestToSell/s/. Once you fill these ...Sync with Overstock
If you are already selling on Overstock and have products on Overstock, you can synchronize the product status from the Overstock.com to the App Go to the "Overstock Marketplace Integration" App. Click on the "Products" in the left panel. The ...Overstock API Settings
Overstock API Settings These are the API details of your Overstock App and appears as follows: Seller Id: This shows the Overstock seller id of the account which is connected with the Integration App. Consumer Key: This shows the consumer key of the ...Upload Products on Overstock
To upload all the products on Overstock.com Go to the "Overstock Marketplace Integration" App. Click on the "Products" in the left panel. The "Products" page appears as follows: On this page, all the products are listed with all the details. Select ...Connect With Overstock
Step 1: To complete this step, you need to follow the below steps: 1). Login to your OnBuy Account and visit your OnBuy Account as shown below: *NOTE - If you don't have OnBuy Seller Account, you can register HERE 2). To connect your OnBuy Account ...