Edit Existing Profile
To Edit Existing Profile
- Go to the Magento 2 admin panel.
- On the left navigation bar, click on the Google Shopping Feed Integration option.
The menu appears as shown below:

- Click on Profile Manager
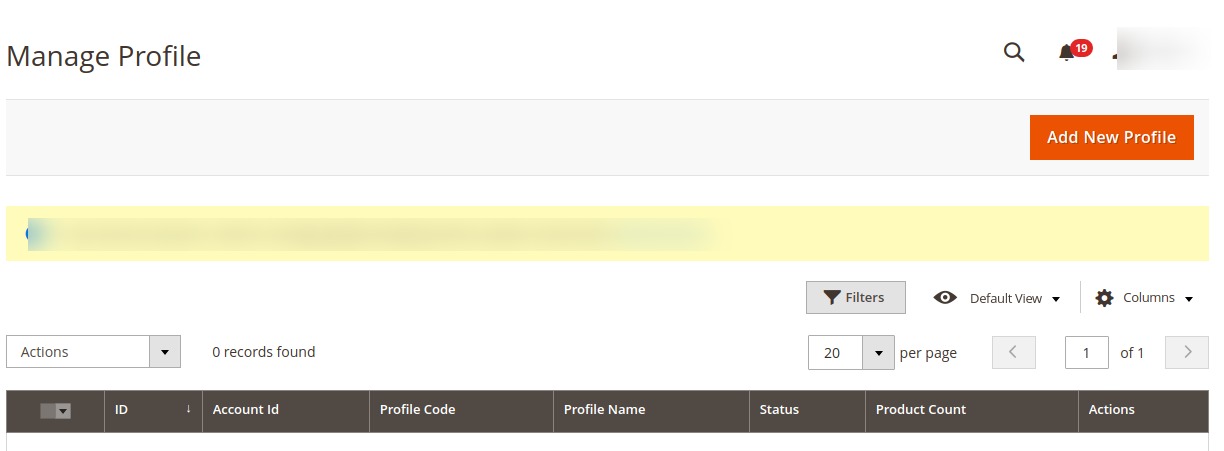
- The Manage Profile page appears as shown below:

- On this page, all the available profiles are listed.
- Click the required row of the profile that the admin wants to edit.

- The Edit Profile page will appear. Make the required changes in the profile.
- Click the Save button.
- The changes will be saved.
Related Articles
How to Add New Profile?
To Add New Profile Go to the Magento 2 admin panel. On the left navigation bar, click on the Google Shopping Feed Integration option. The menu appears as shown below: Click on Profile Manager. The Manage Profile page appears as shown below: Note: You ...Delete Profile
To Delete Profile Go to the Magento 2 admin panel. On the left navigation bar, click on the Google Shopping Feed Integration option. The menu appears as shown below: Click on Profile Manager The Manage Profile page appears as shown below: On this ...Submit Actions On the Manage Profile Page
To submit actions in bulk Go to the Magento 2 admin panel. On the left navigation bar, click on the Google Shopping Feed Integration option. The menu appears as shown below: Click on Profile Manager The Manage Profile page appears as shown below: On ...Manage Google Shopping Feed Account
To Manage Accounts Go to the Magento 2 admin panel. On the left navigation bar, click on the Google Shopping Feed Integration option. The menu appears as shown below: Click on Manage Accounts. The Manage Account page appears as shown below: Click on ...Configuration Settings for Google Shopping Feed
To set up the Configuration Settings, Go to the Magento 2 admin panel. On the left navigation bar, click on the Google Shopping Feed Integration option. The menu appears as shown below: Click on Configuration. The Configuration page appears as shown ...