Edit the TradeMe Product
To edit the TradeMe product details
- Go to the Magento 2 Store Admin panel.
- On the left navigation bar, click the TRADEME INTEGRATION menu.
The menu appears as shown in the following figure:
- Click Product Listing.
The TradeMe Product Listing page appears as shown in the following figure:
- Scroll down to the required product row.
- In the Action column of the respective row, click the Edit
 icon.
icon.
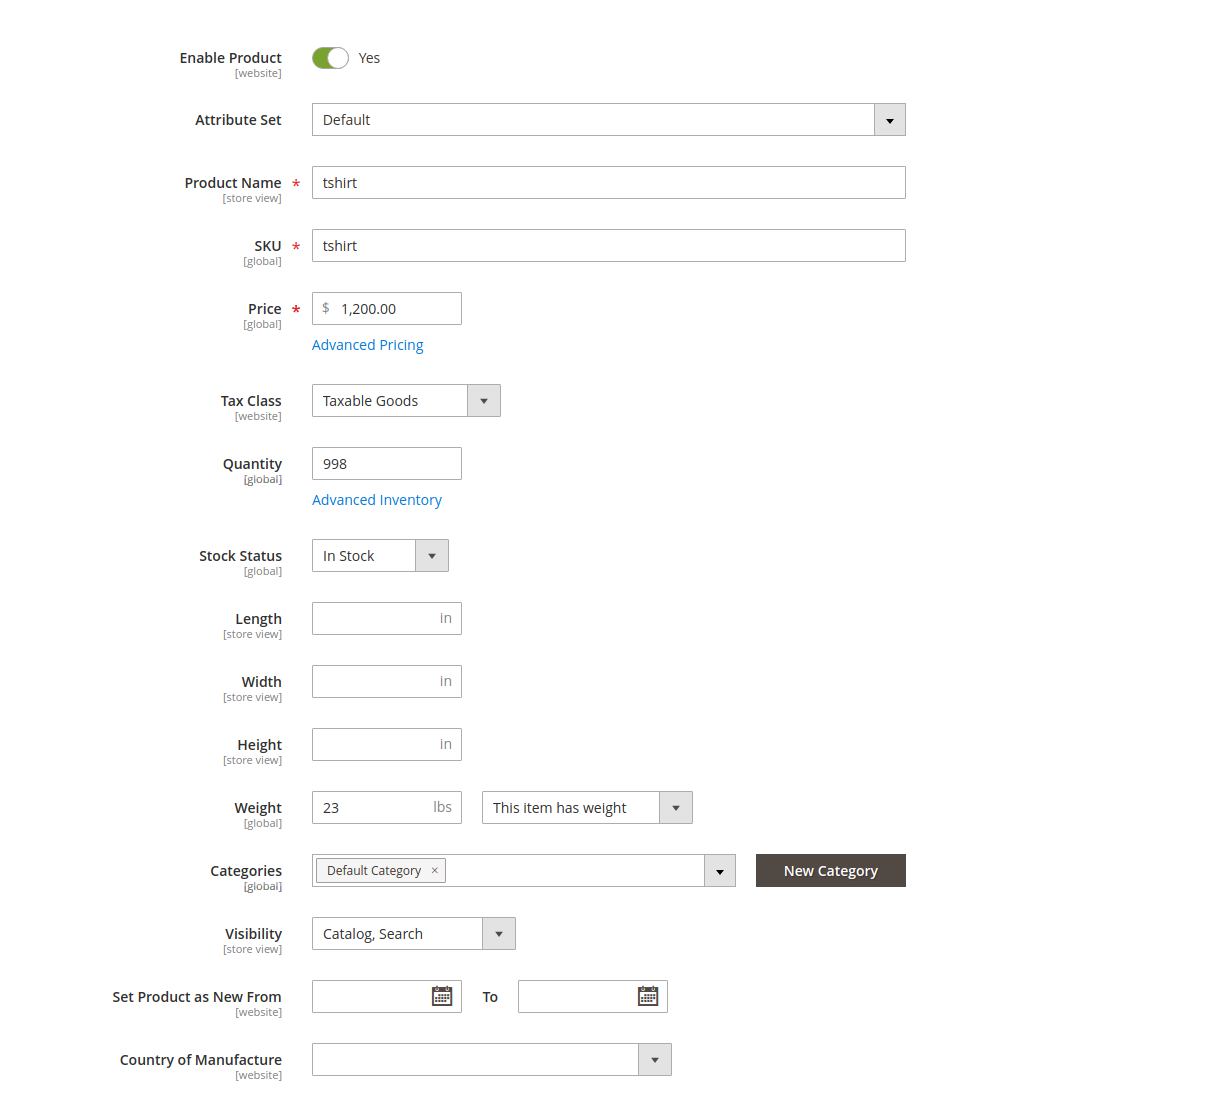
The product editing page appears. - Scroll down to the TradeMe tab, and then click the tab.
The tab is expanded and the expanded section appears as shown in the following figure:
- Enter the required information or edit the values in the required fields, and then click the Save button.
The changes are saved and the success message appears on the TradeMe Product Listing page.
Related Articles
TradeMe Product Settings
On this page, admin can view, edit, and validate the individual product. Also, the admin can view the error message if any error exists in any product details. After uploading the product on TradeMe or after updating the product inventory or the ...TradeMe Configuration Settings
Once the extension is successfully installed in the Magento 2 store, the TradeMe Integration menu appears on the left navigation bar of the Magento 2 Admin panel. The merchant has to first create a seller account in the TradeMe seller panel. As well ...TradeMe Magento 2 Integration - Overview
CedCommerce brings you TradeMe Magento® 2 Integration, you can easily list yourMagento® 2 store products on the TradeMe Web site to sell the products and earn ample revenue. It is a solution that enables you to synchronize the inventory, price, and ...TradeMe Magento 2 Integration - Overview
CedCommerce brings you TradeMe Magento® 2 Integration, you can easily list yourMagento® 2 store products on the TradeMe Web site to sell the products and earn ample revenue. It is a solution that enables you to synchronize the inventory, price, and ...Profile Management TradeMe
Admin can create a new profile and assign the required products to the profile. While creating and editing the profile, admin can map the Magento 2 attributes to the TradeMe attributes. These attributes are applicable to all the products that are ...