Google Ads
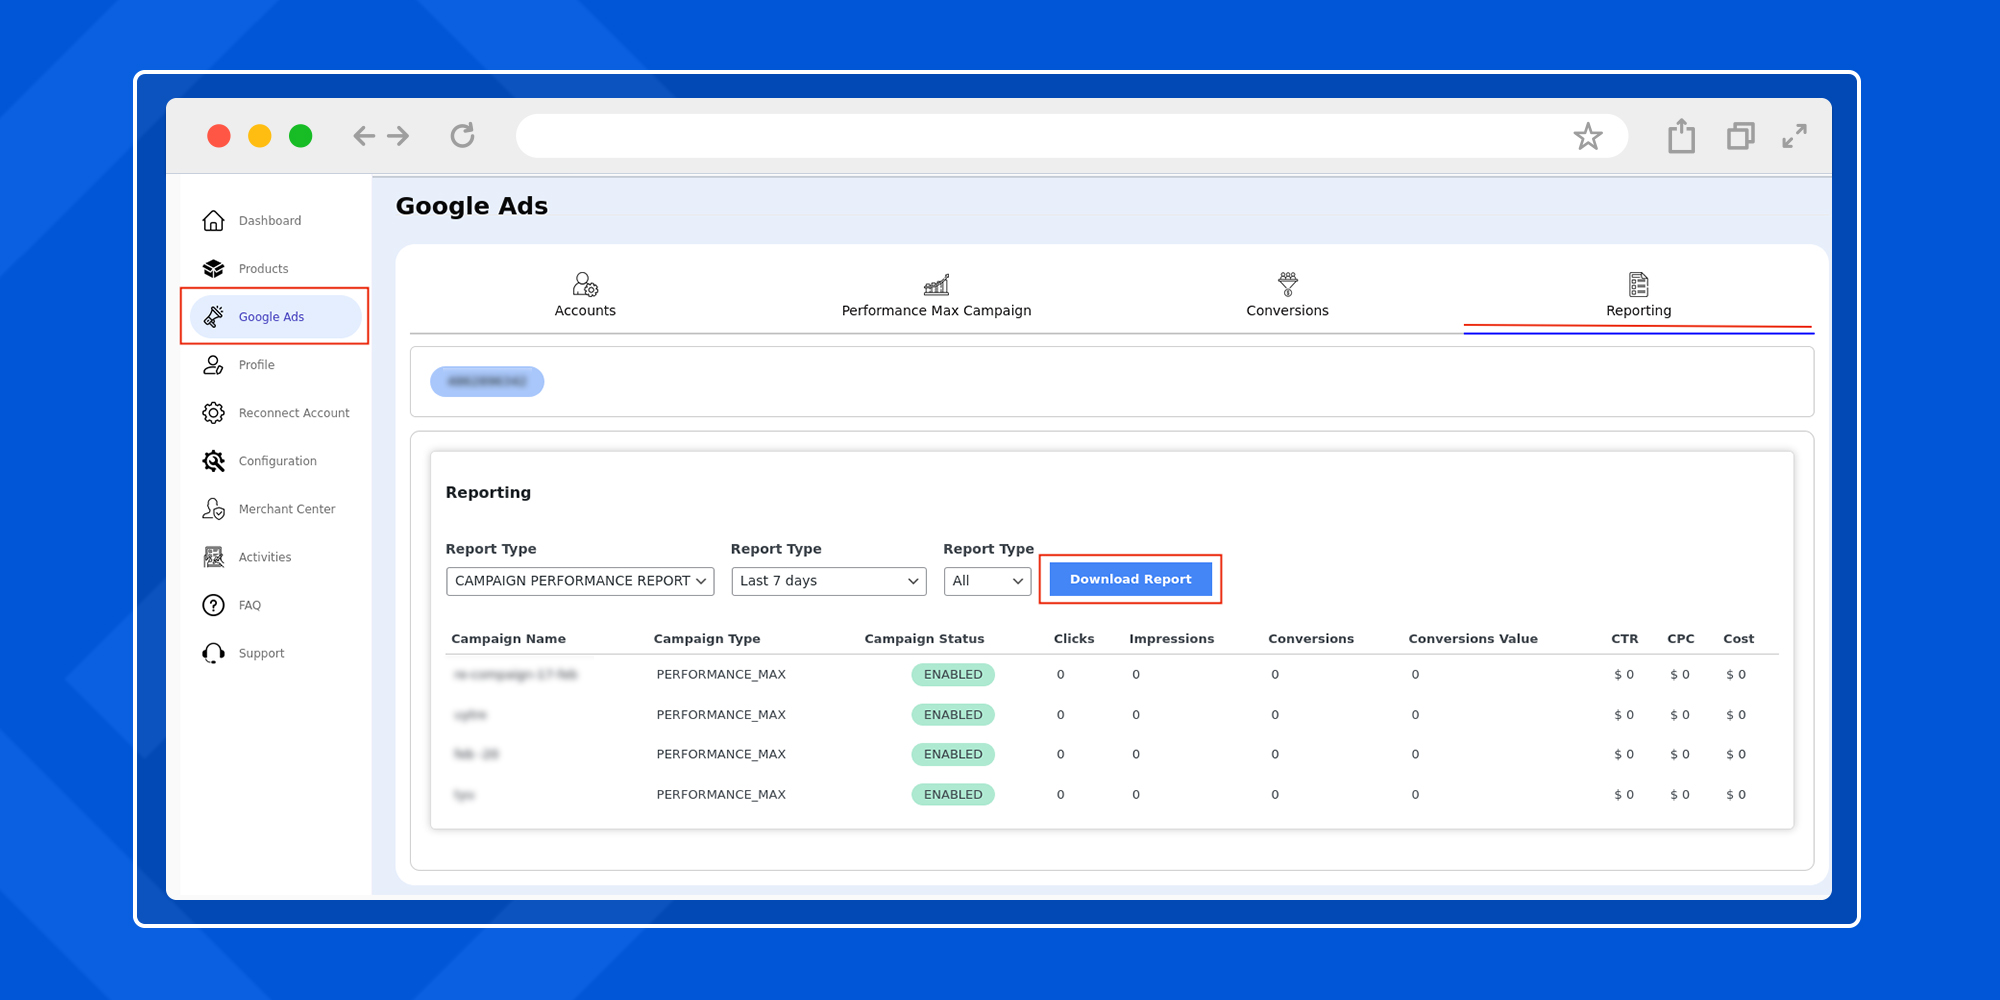
Google ads section allows you to connect and manage your Google Account, create performance max campaigns, track conversions and generate detailed reports. The section is further divided into 4 subsections-
- Accounts
- Performance Max Campaign
- Conversions
- Reporting
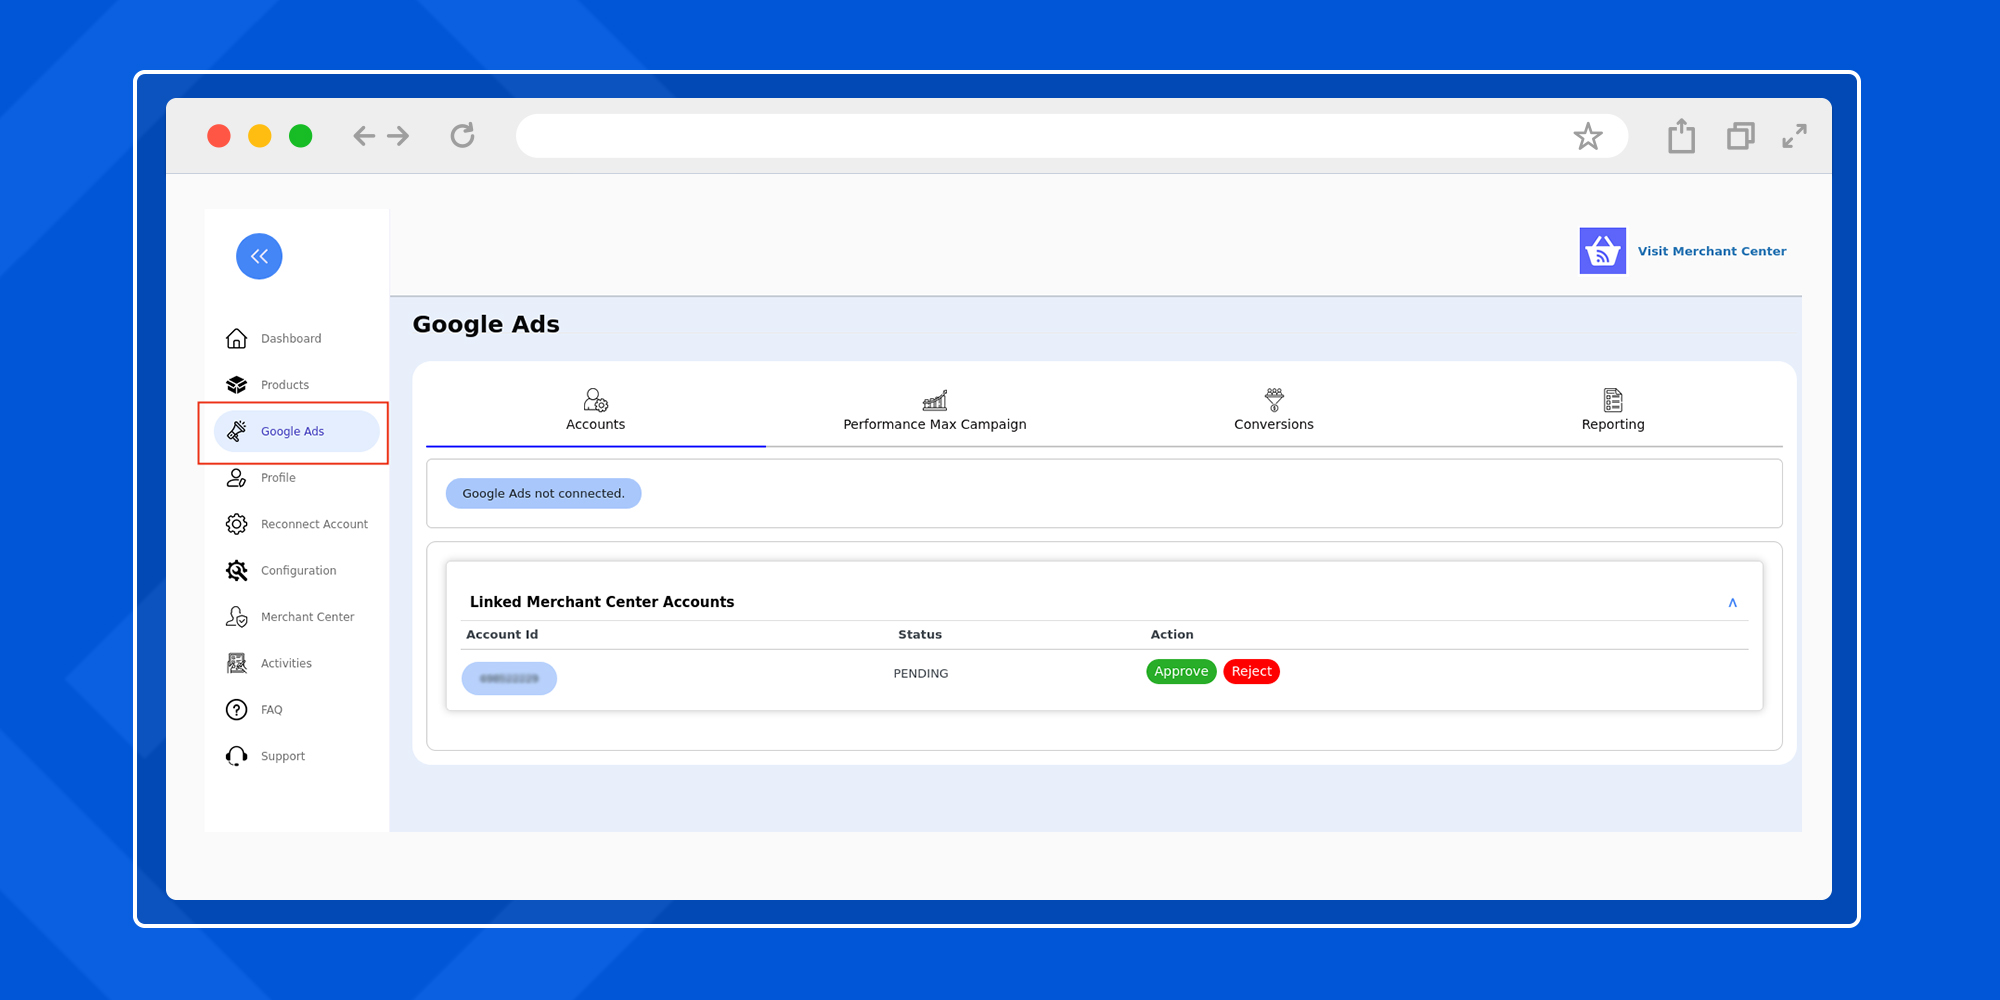
Accounts
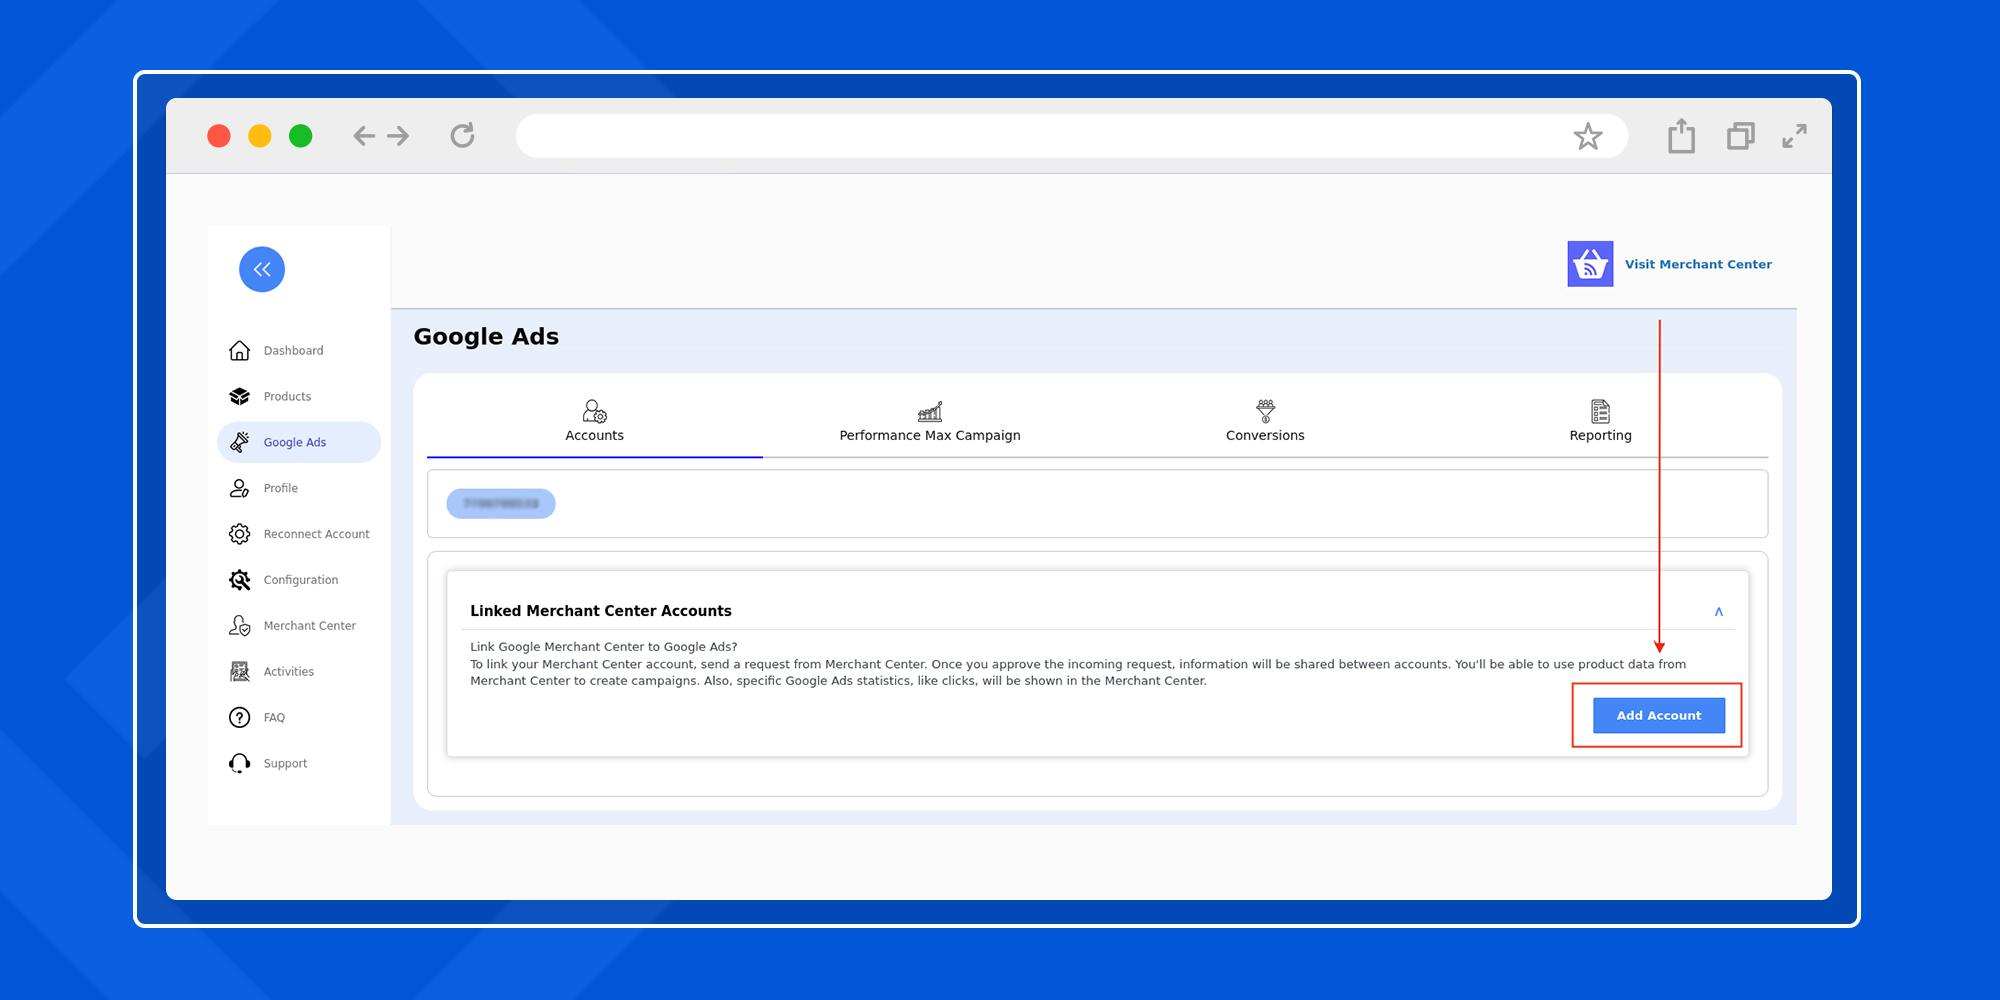
Also, the user can unlink the connected account, add it again, and approve or reject the ads account connected with their Google merchant center account.
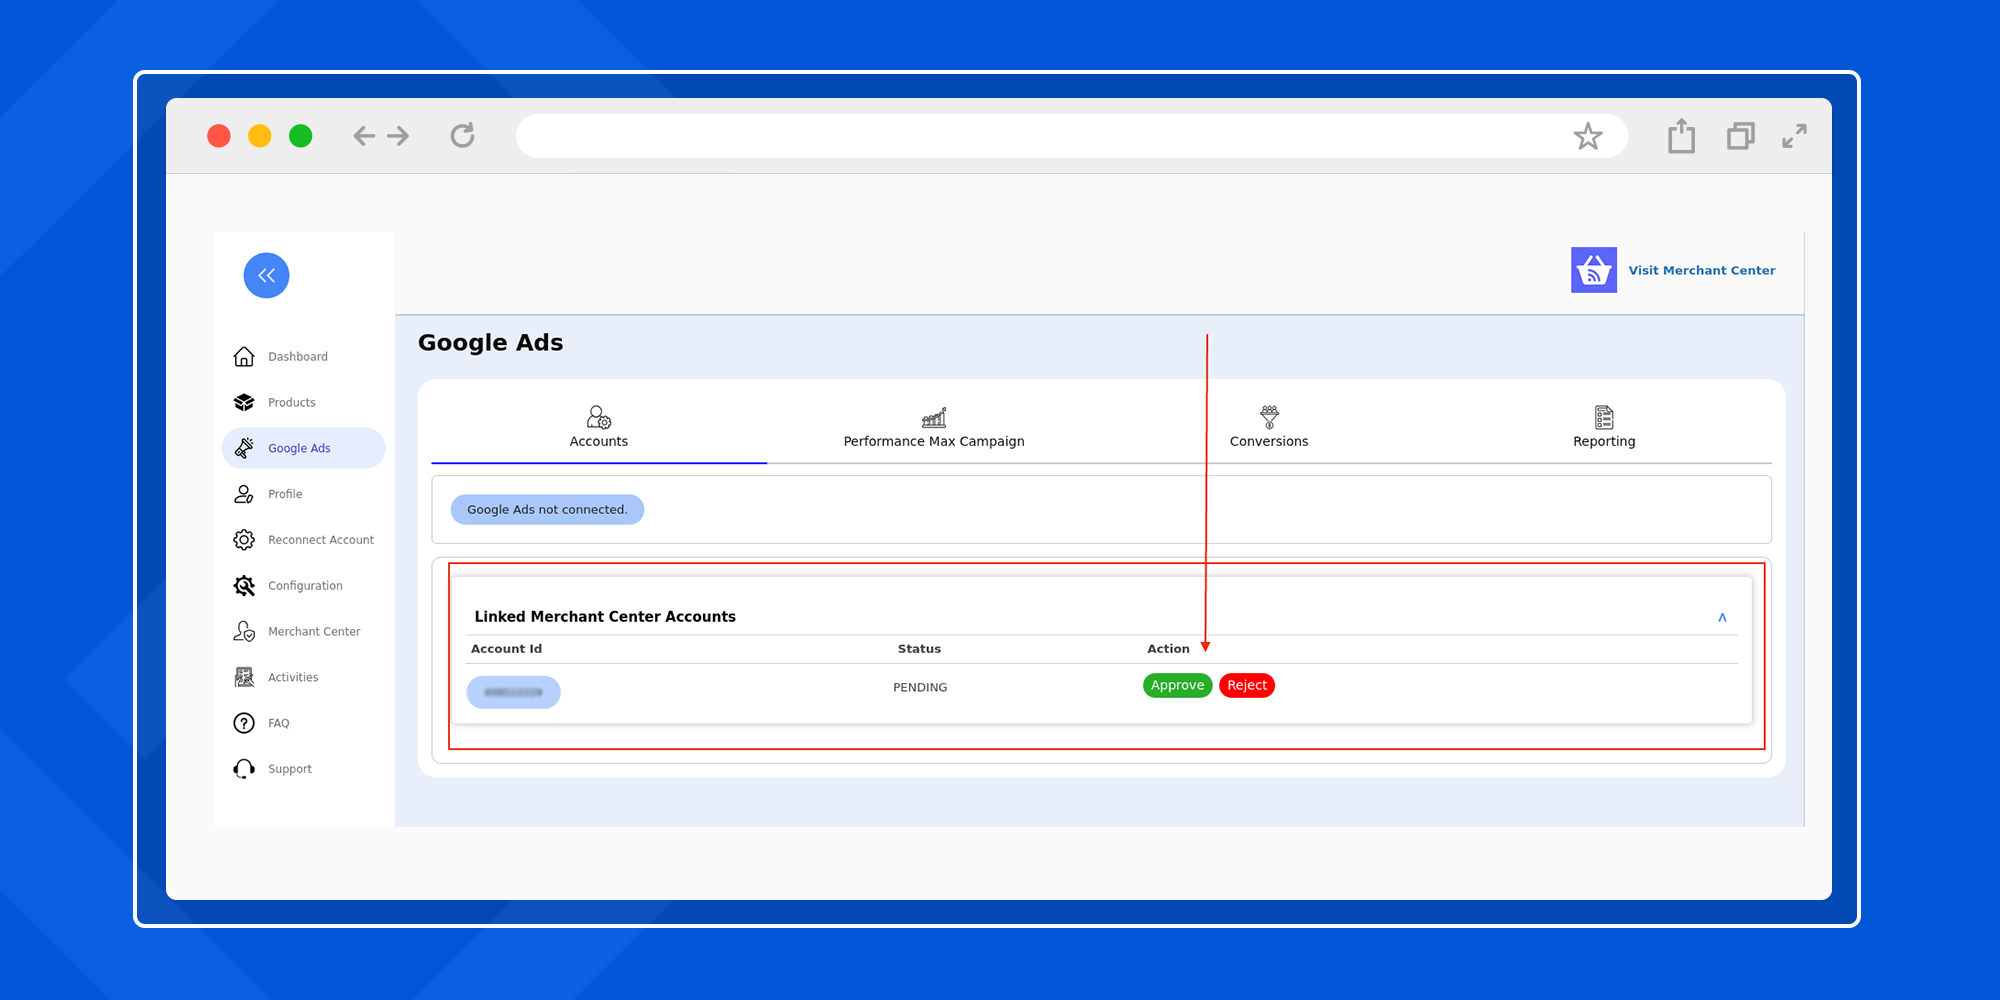
Once both accounts are connected, your accounts dashboard will look like this –
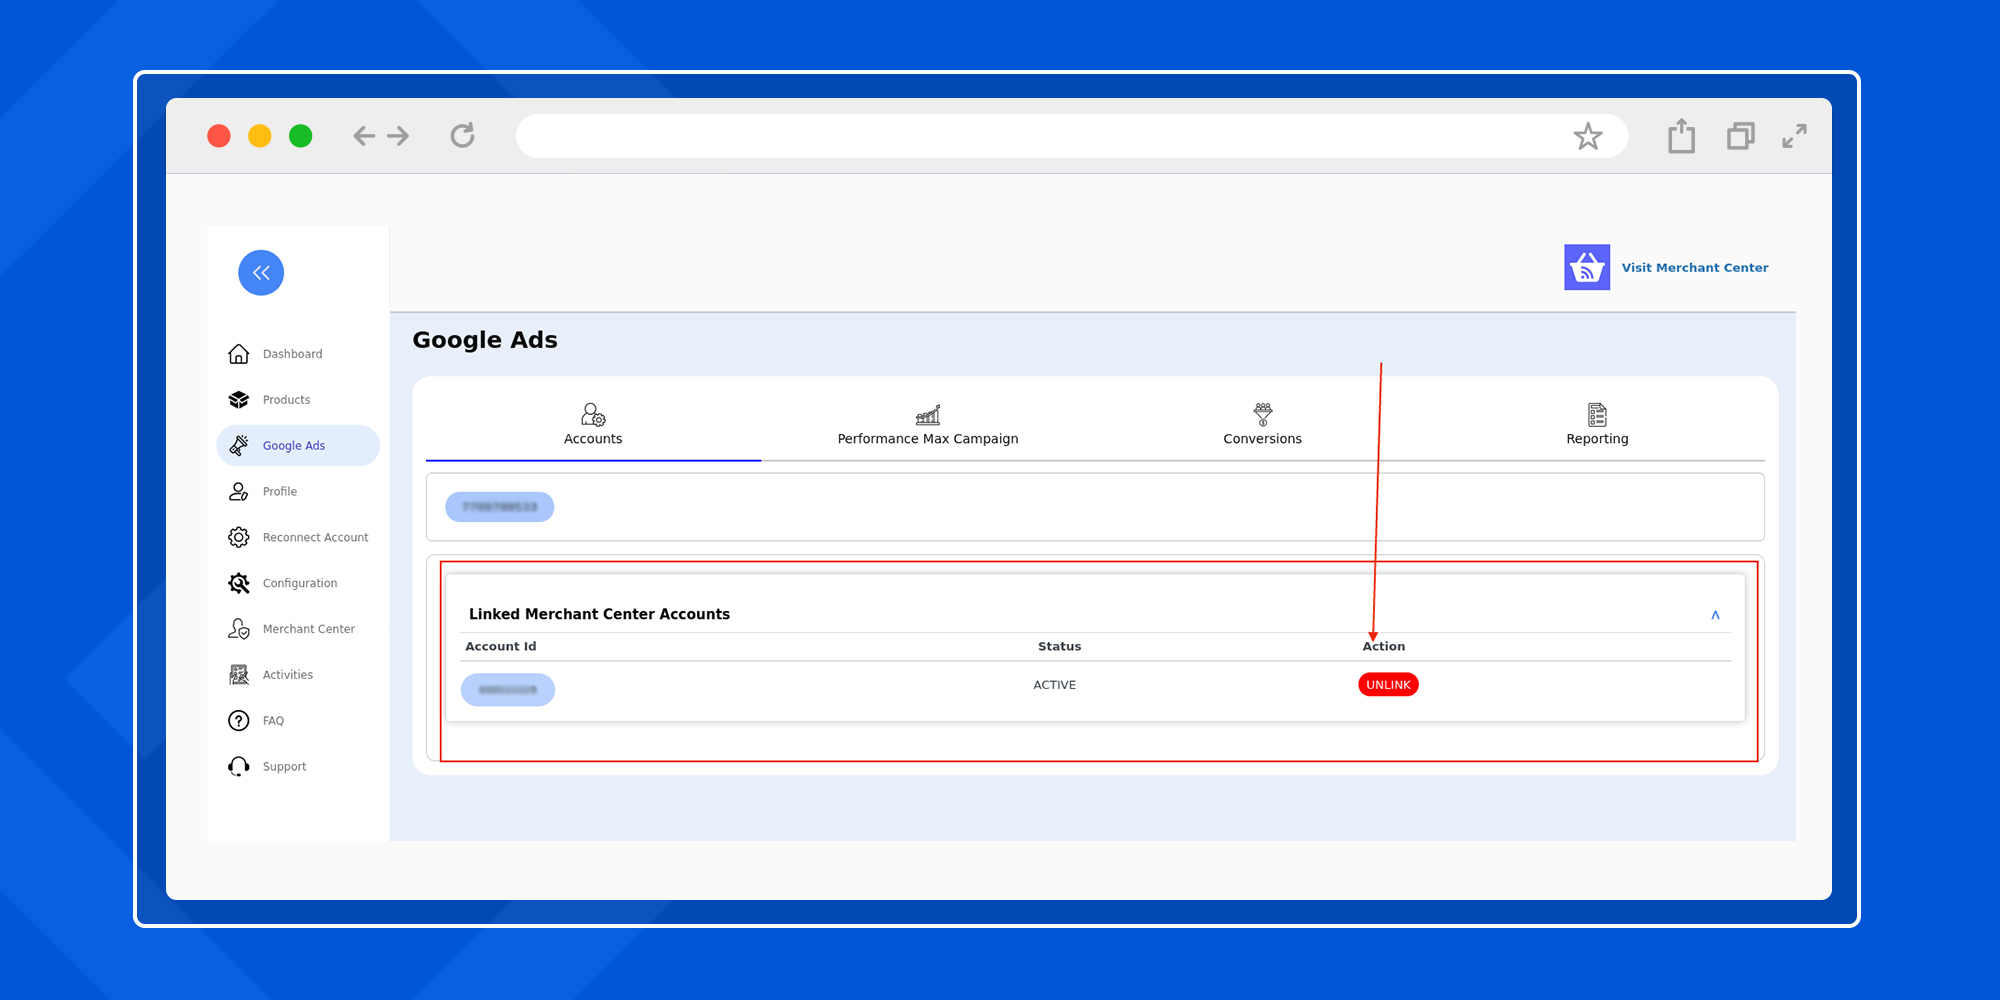
Performance Max Campaign
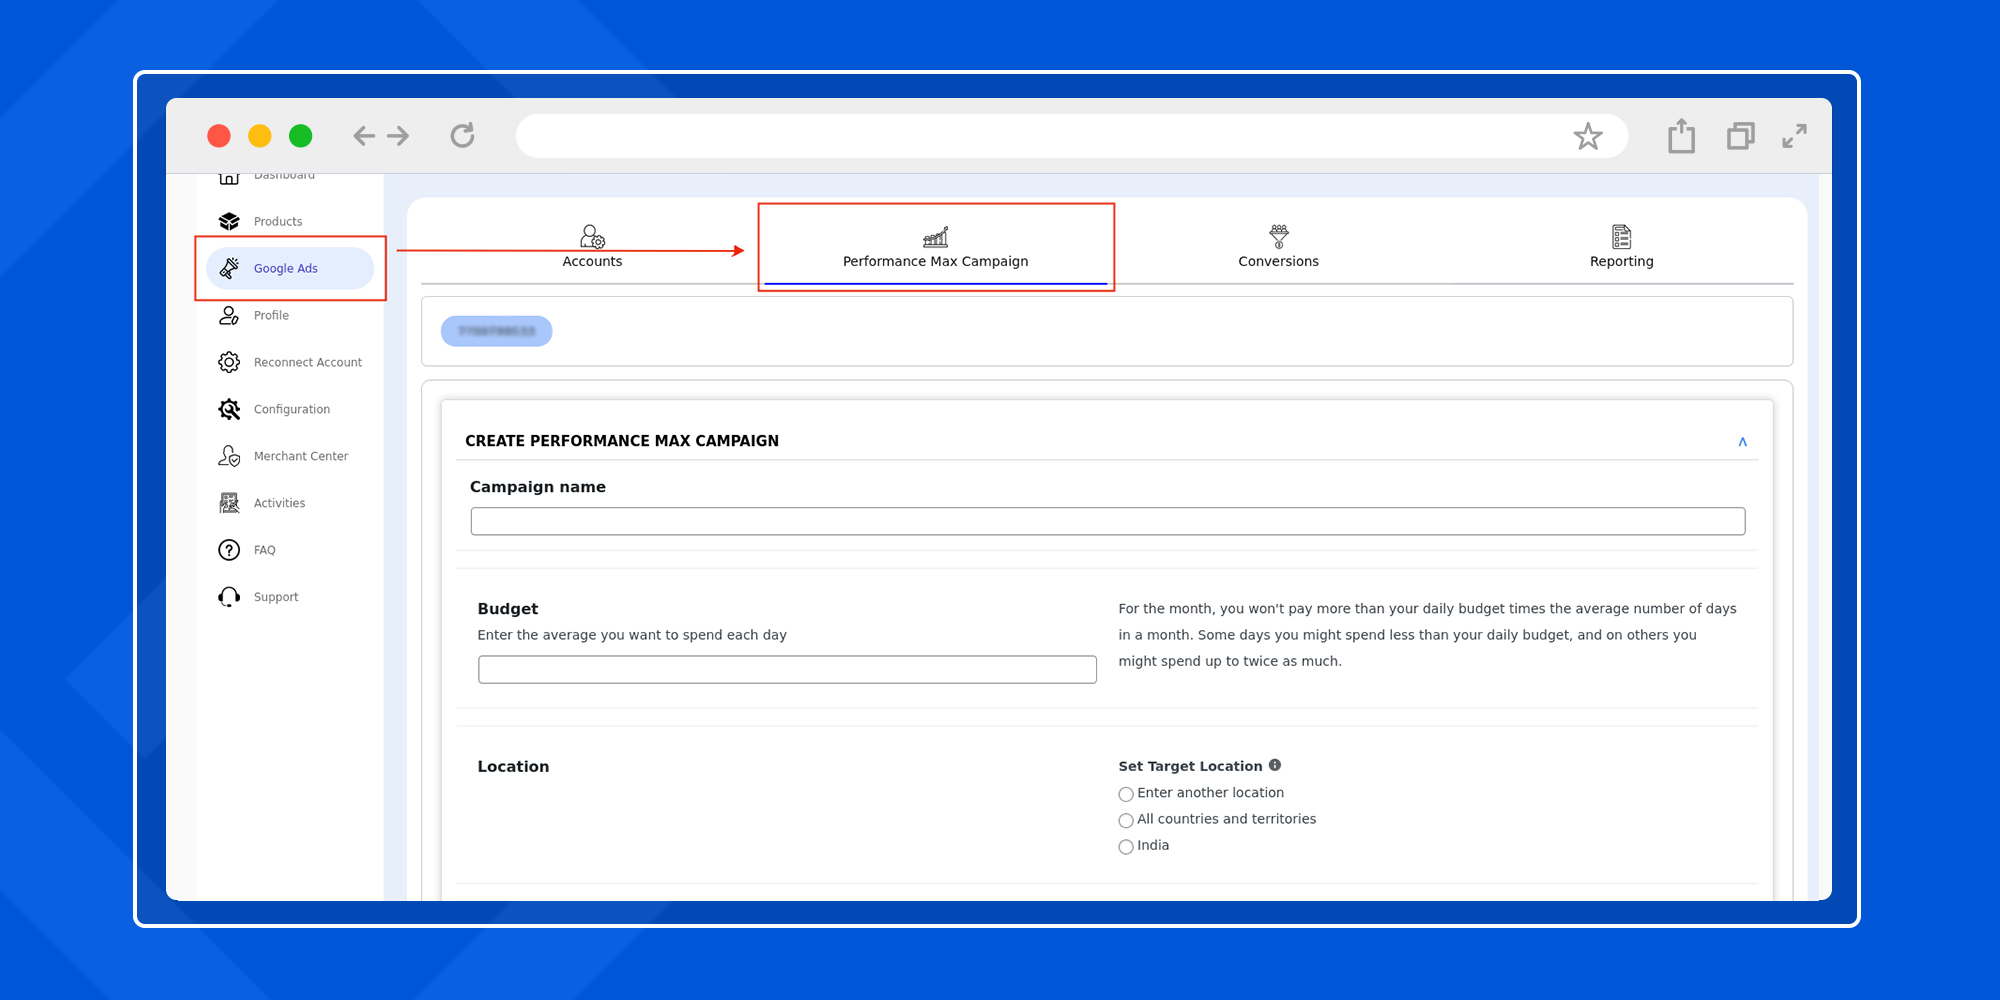
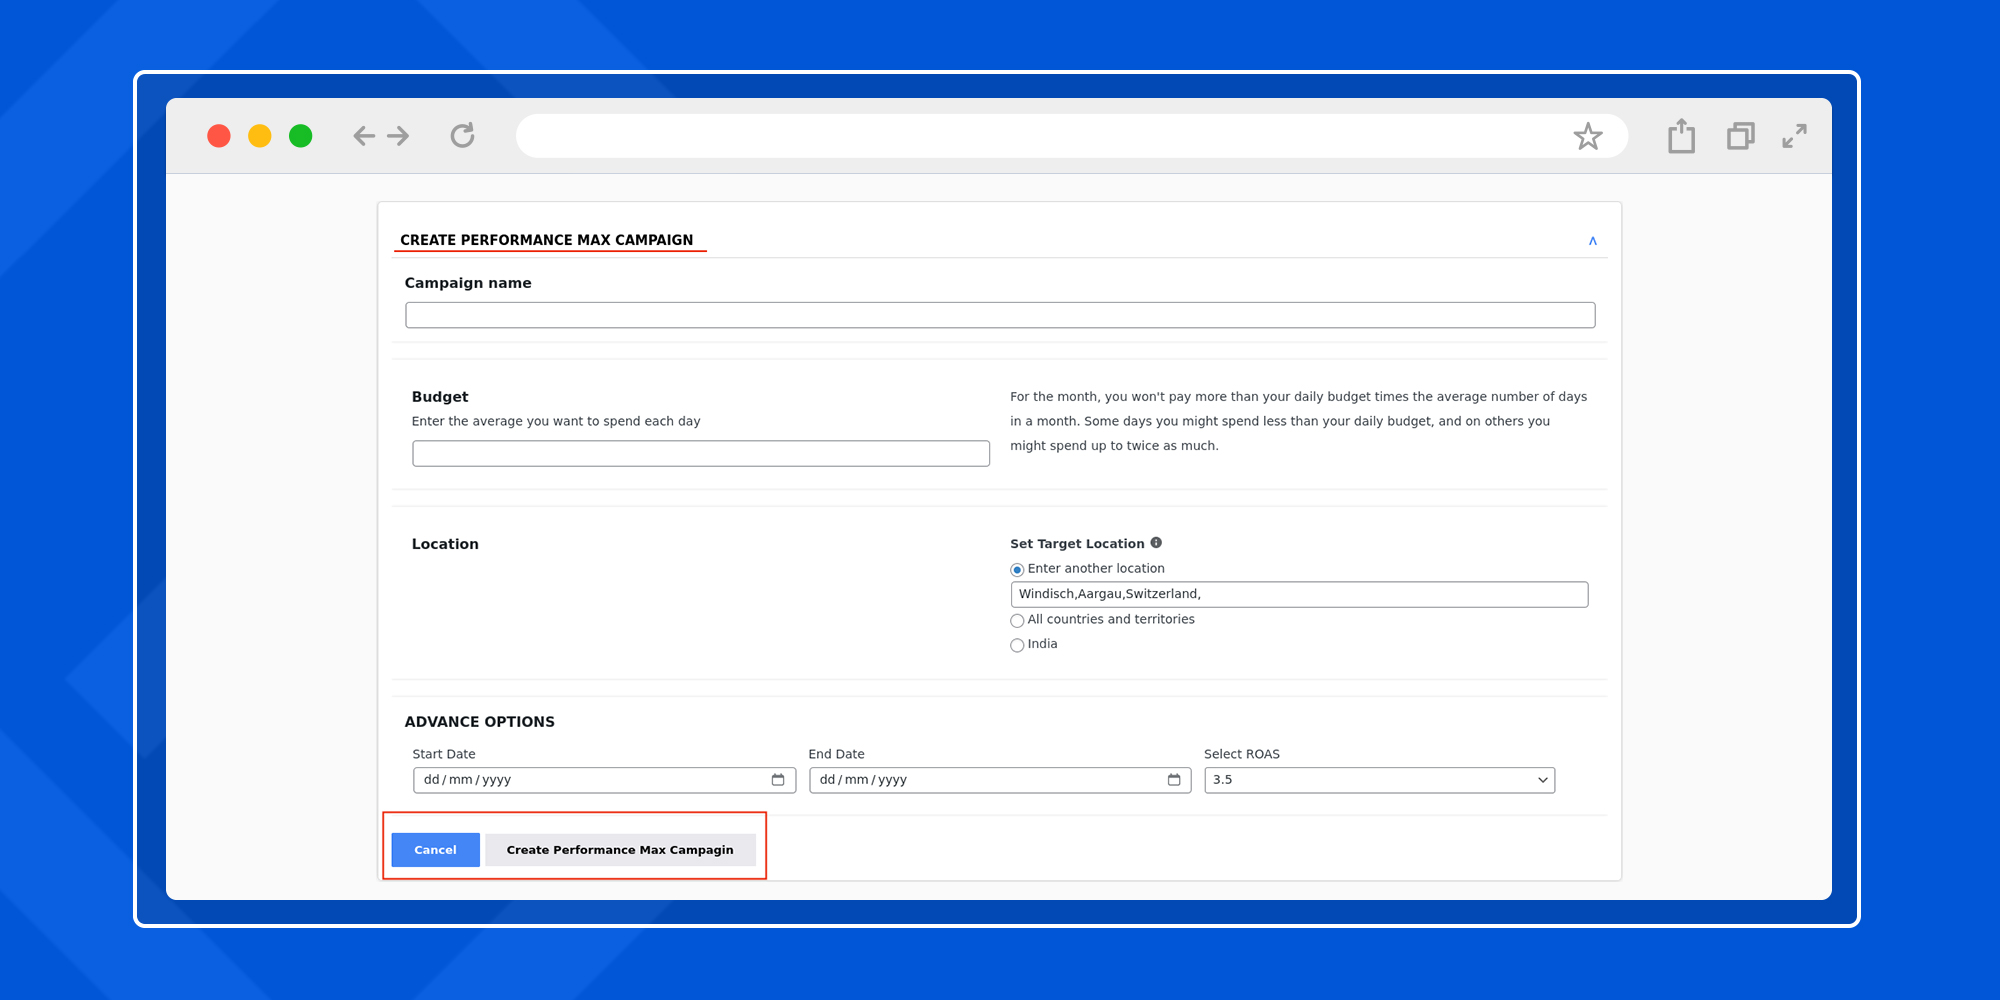
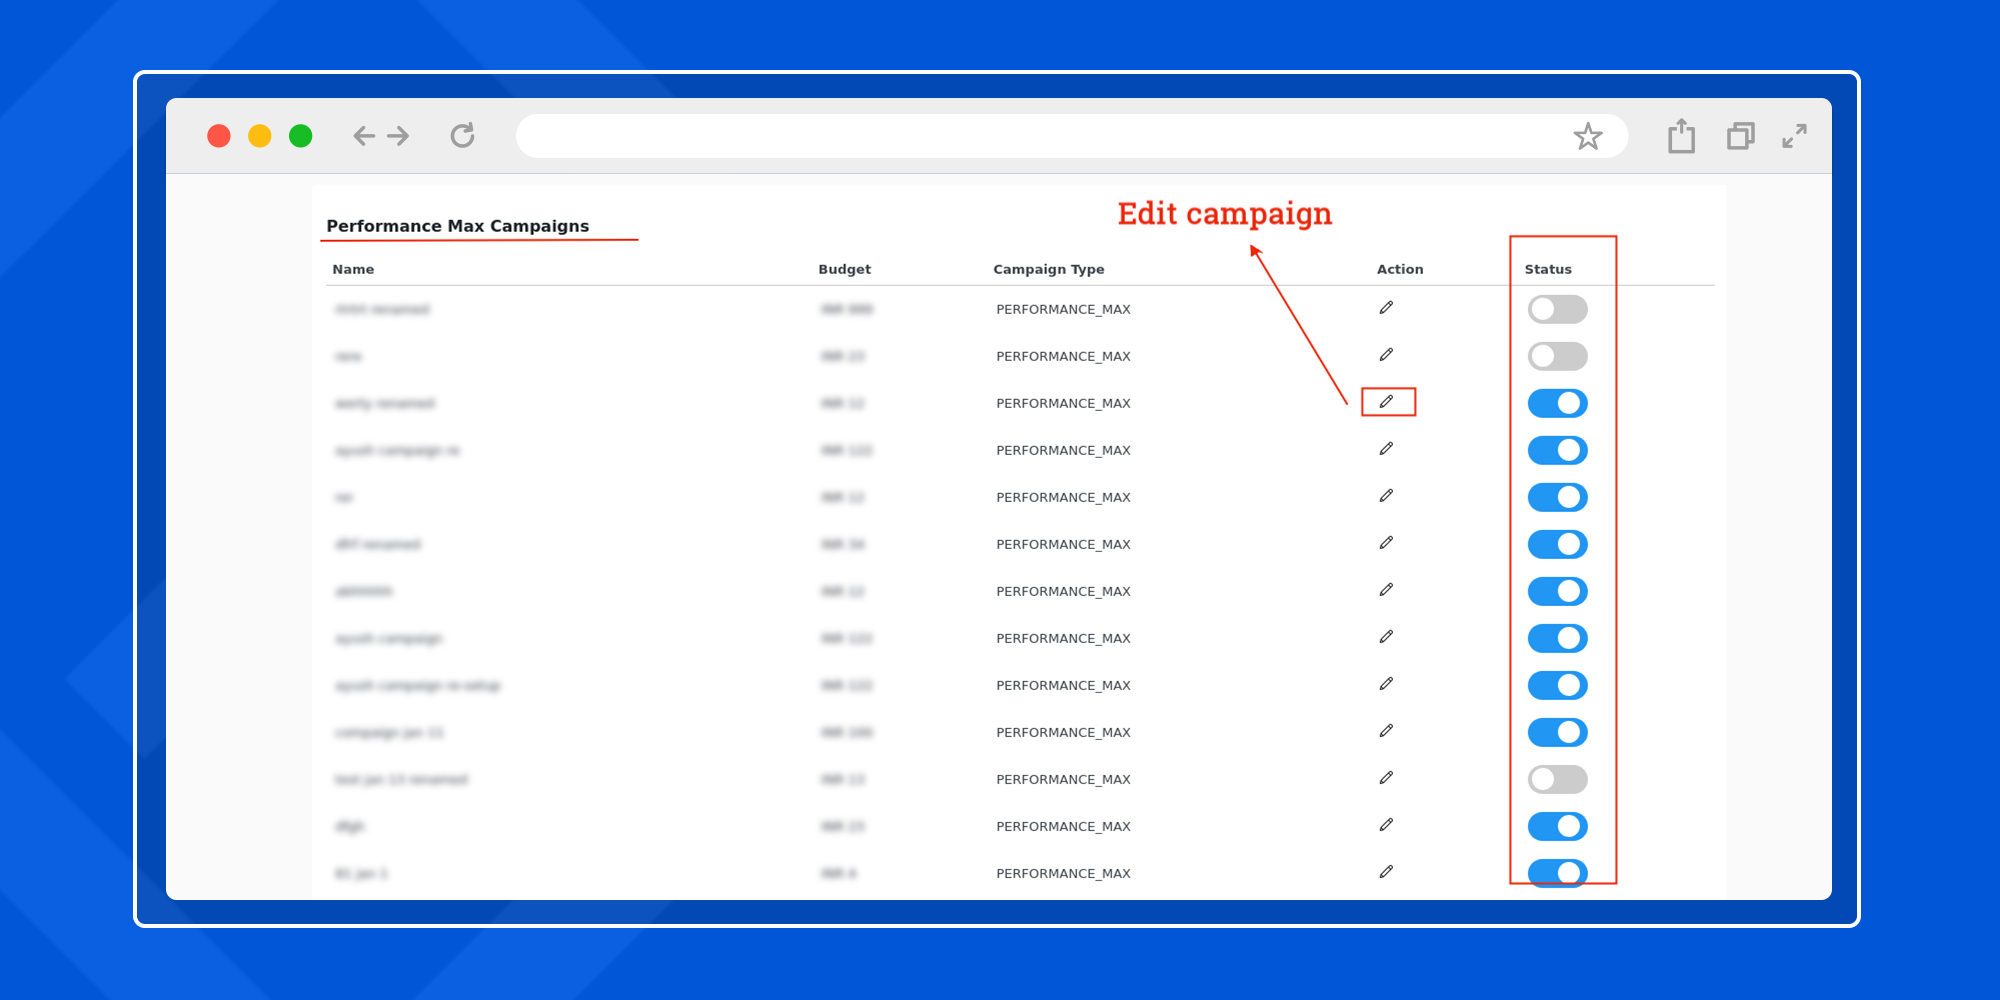
The users can also view the status of their created performance max campaign, make multiple edits at the granular level and re-run the campaign.
 Conversions
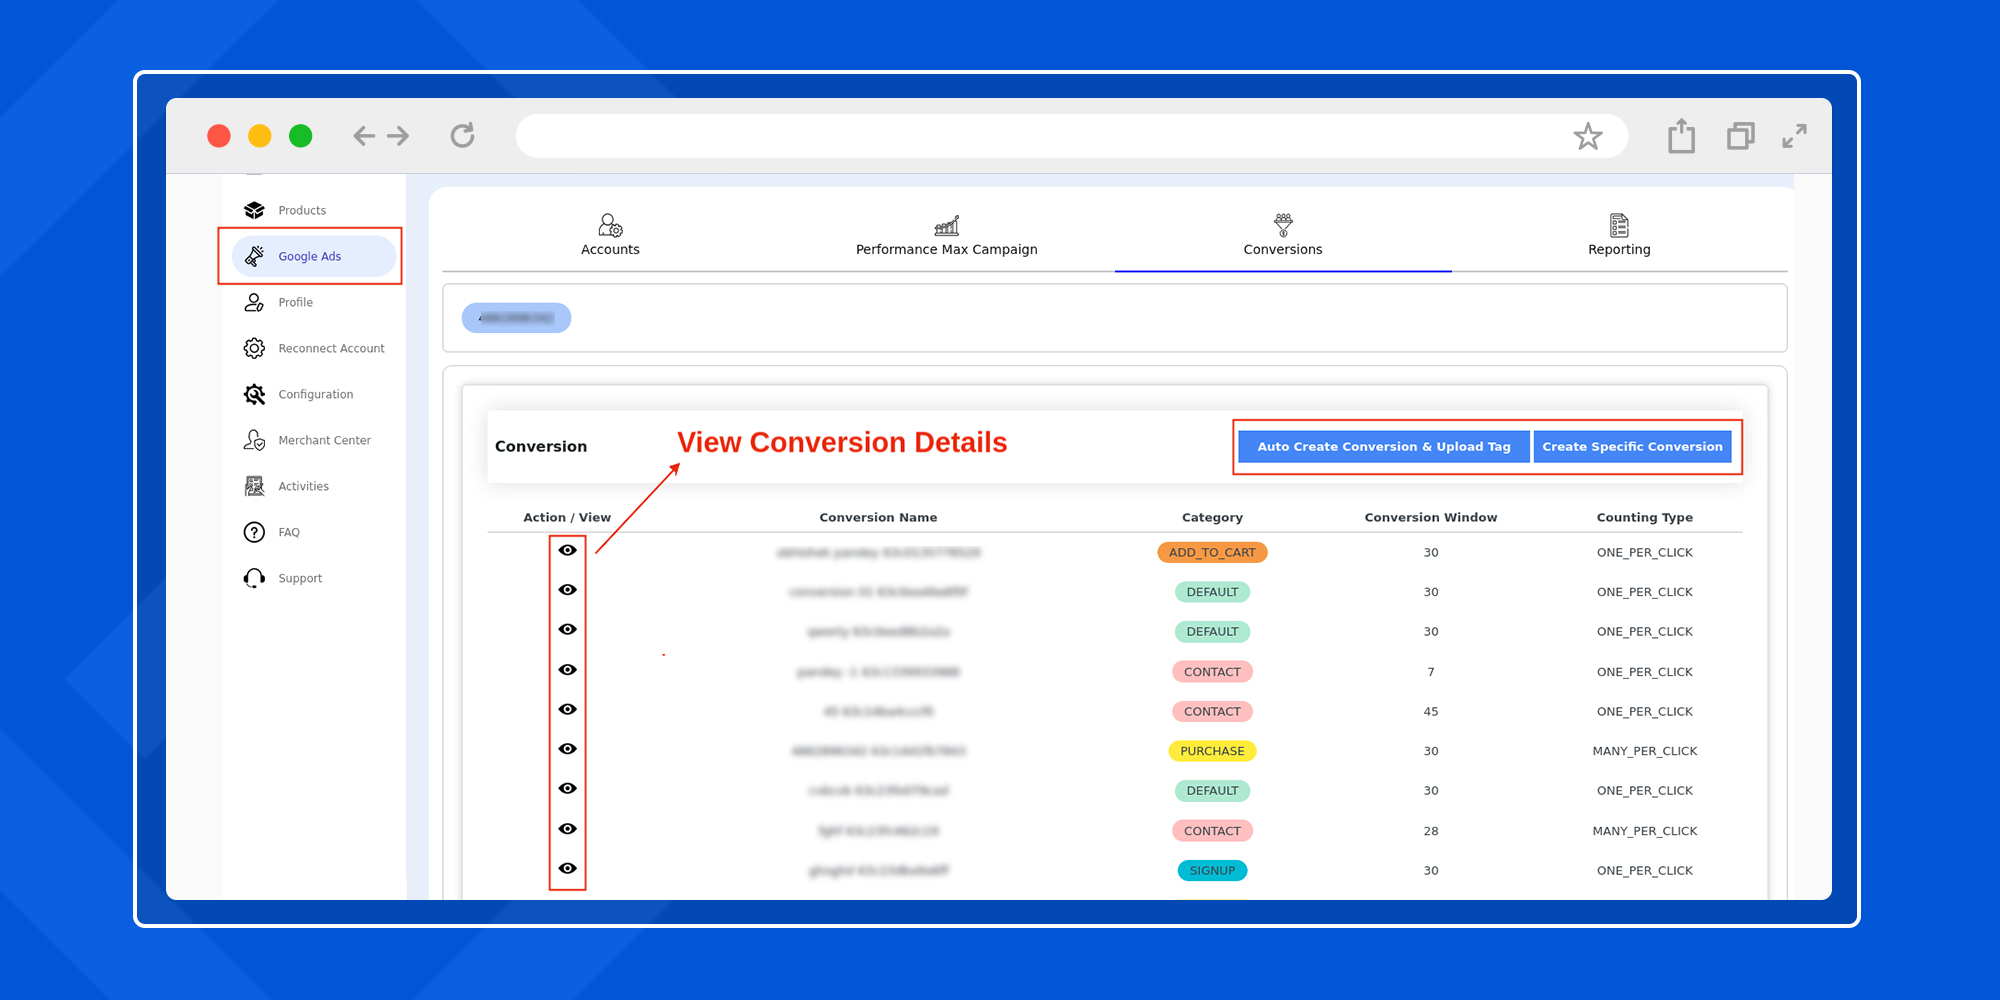
1- Auto create conversion and upload tag
This button will help you create conversions and upload tags on complete automation.
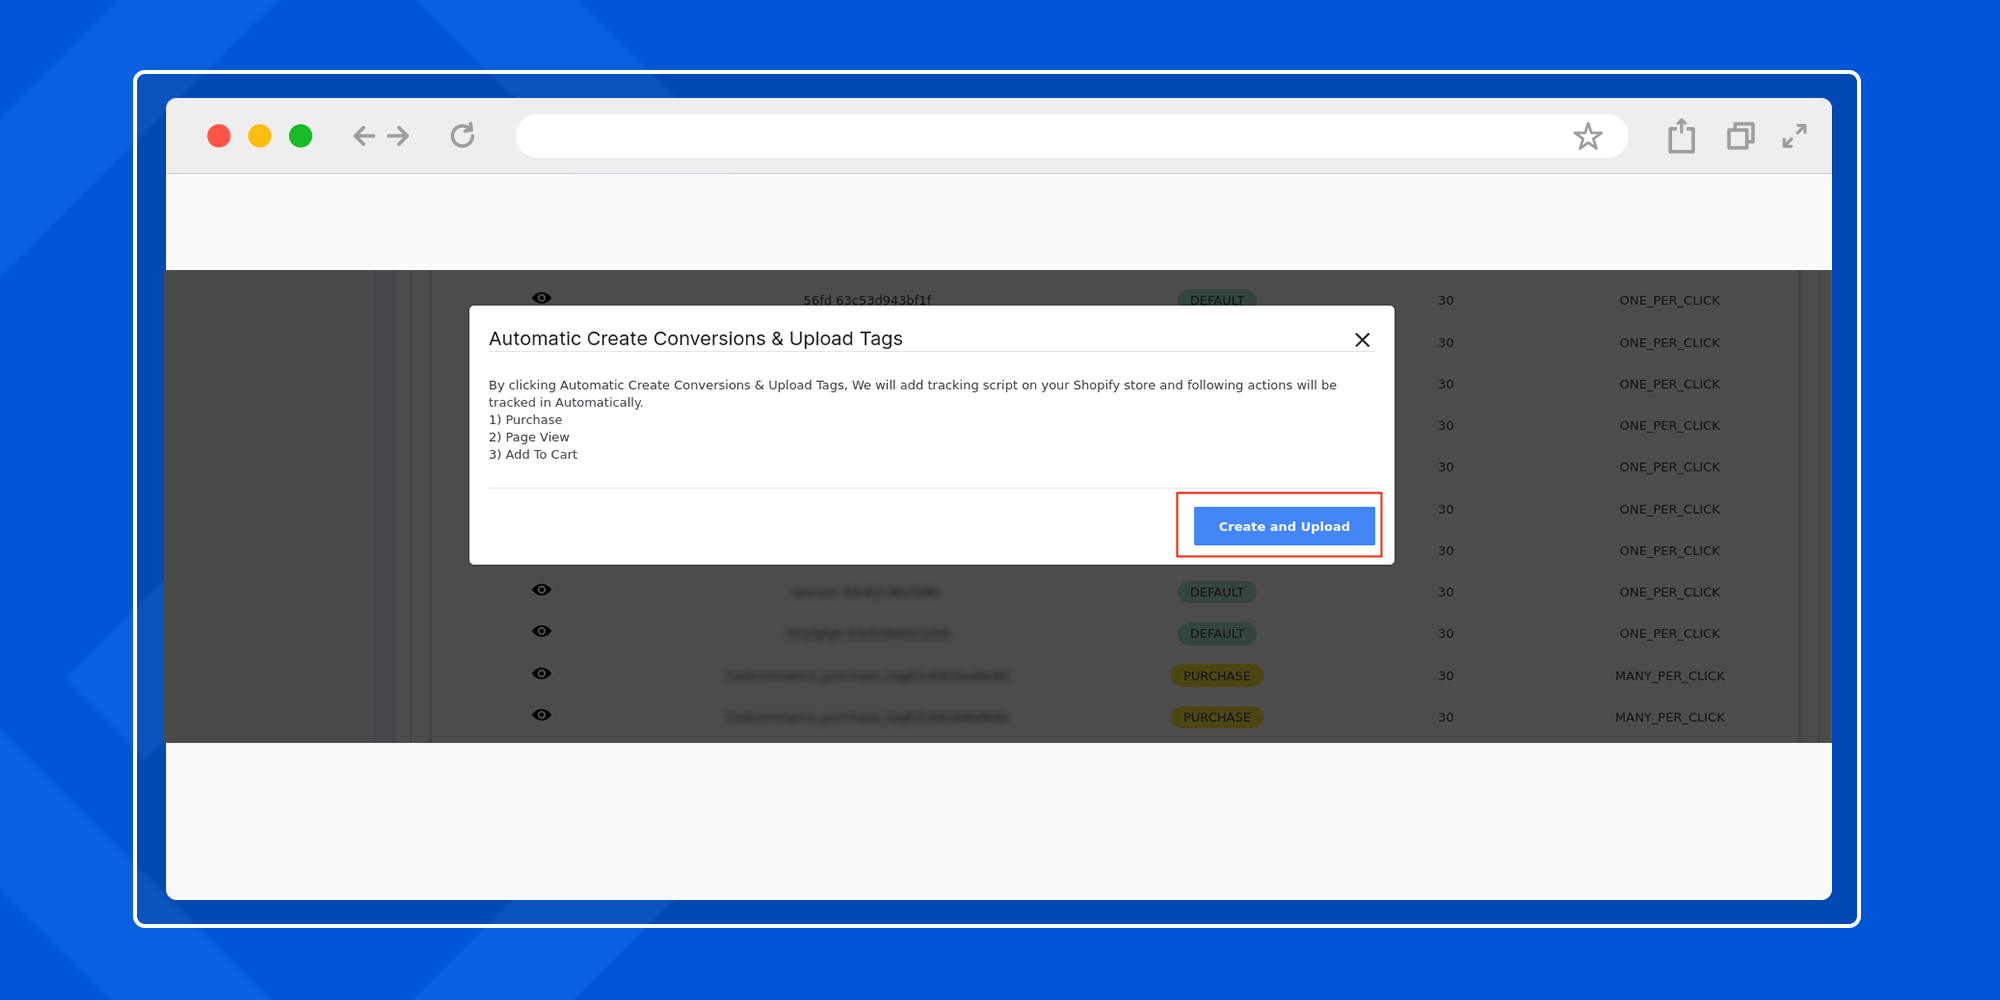
2- Create specific conversions.
To proceed with creating a conversion click Create specific conversion and follow the steps
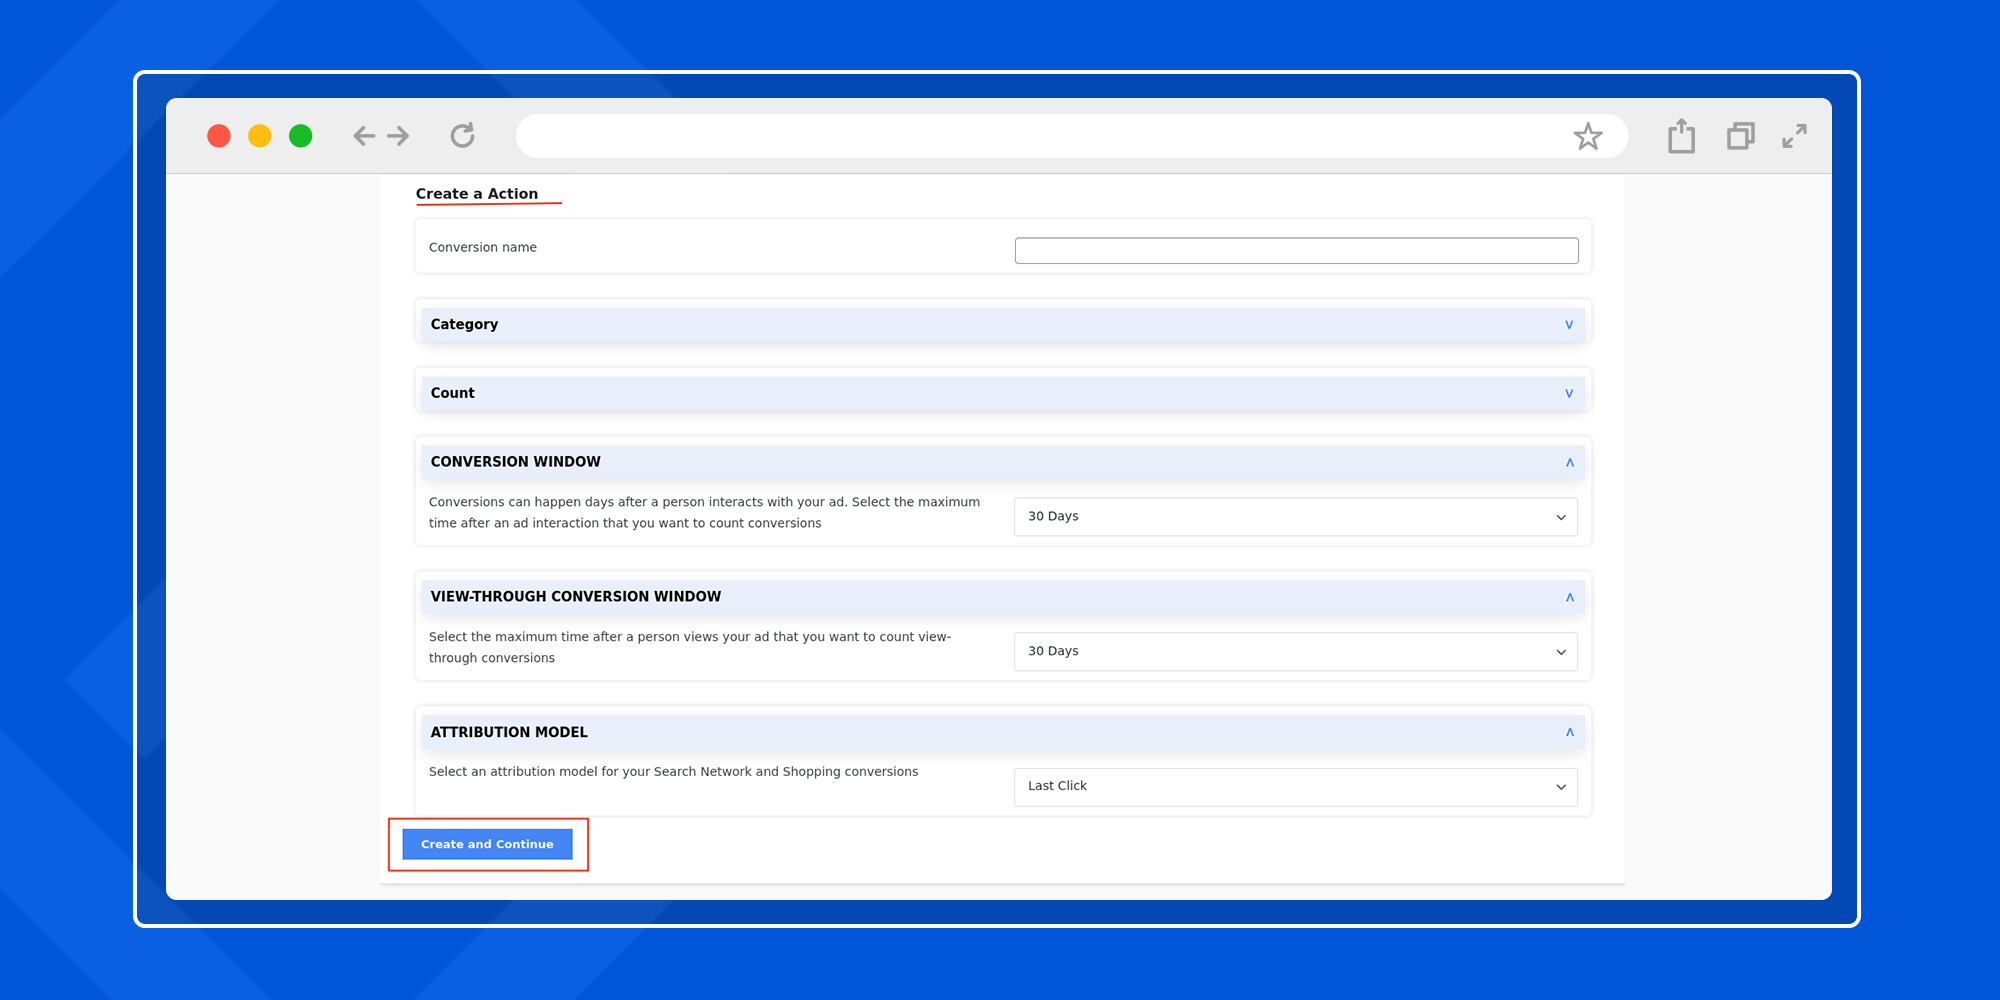
In the next step, you will be prompted to assign a name to your conversion. Here we have named it Test 1. Also, select the action category that you want to track.
The other vital tracking aspects include-
Count (Every, One)
Select every, if you want to track every purchase as unique. This option is more suitable for e-commerce stores that are running ads to directly sell their products.
Select one, if your ads goal is to track the number of leads generated via signups, form fills, downloads etc.
Conversion Window
Conversions often don’t occur immediately after a potential buyer or lead interacts with your ad. With the conversion window you can select the maximum buffer time period to count a conversion after the interaction with the ad.
View-through conversion window
View-through conversions are applicable after an ad impression where the user doesn’t even interact with the ad but later gets converted. With a view-through conversion window you can select the maximum time as per your preference to count a conversion that occurs in a similar way.
Attribution model
You can select the right attributes out of the available options for your search network and shopping conversions. For more detailed information on attribution models, you can simply click here.
Once all the steps are done, click Create and Continue to finish creating the conversion action.
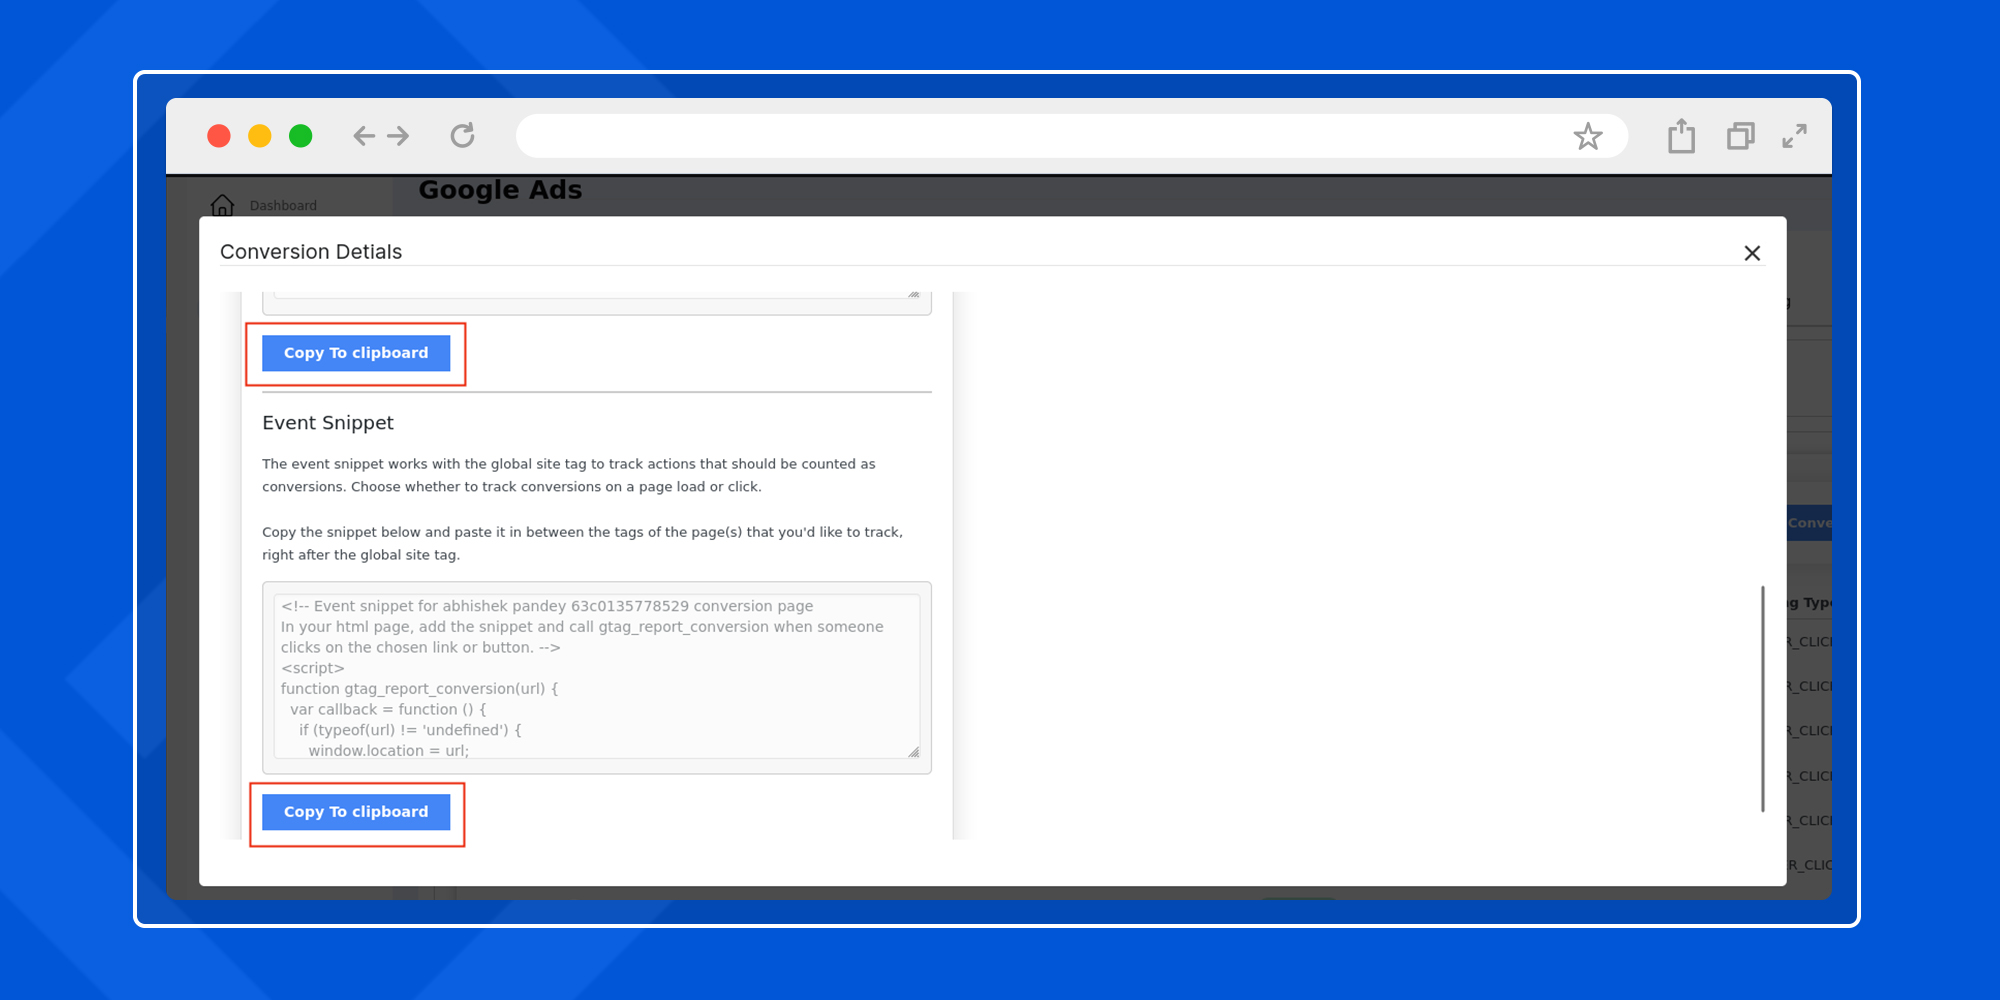
On the next step, you will have your custom global site tag and event snippet codes ready to be attached into your website to enable tracking.
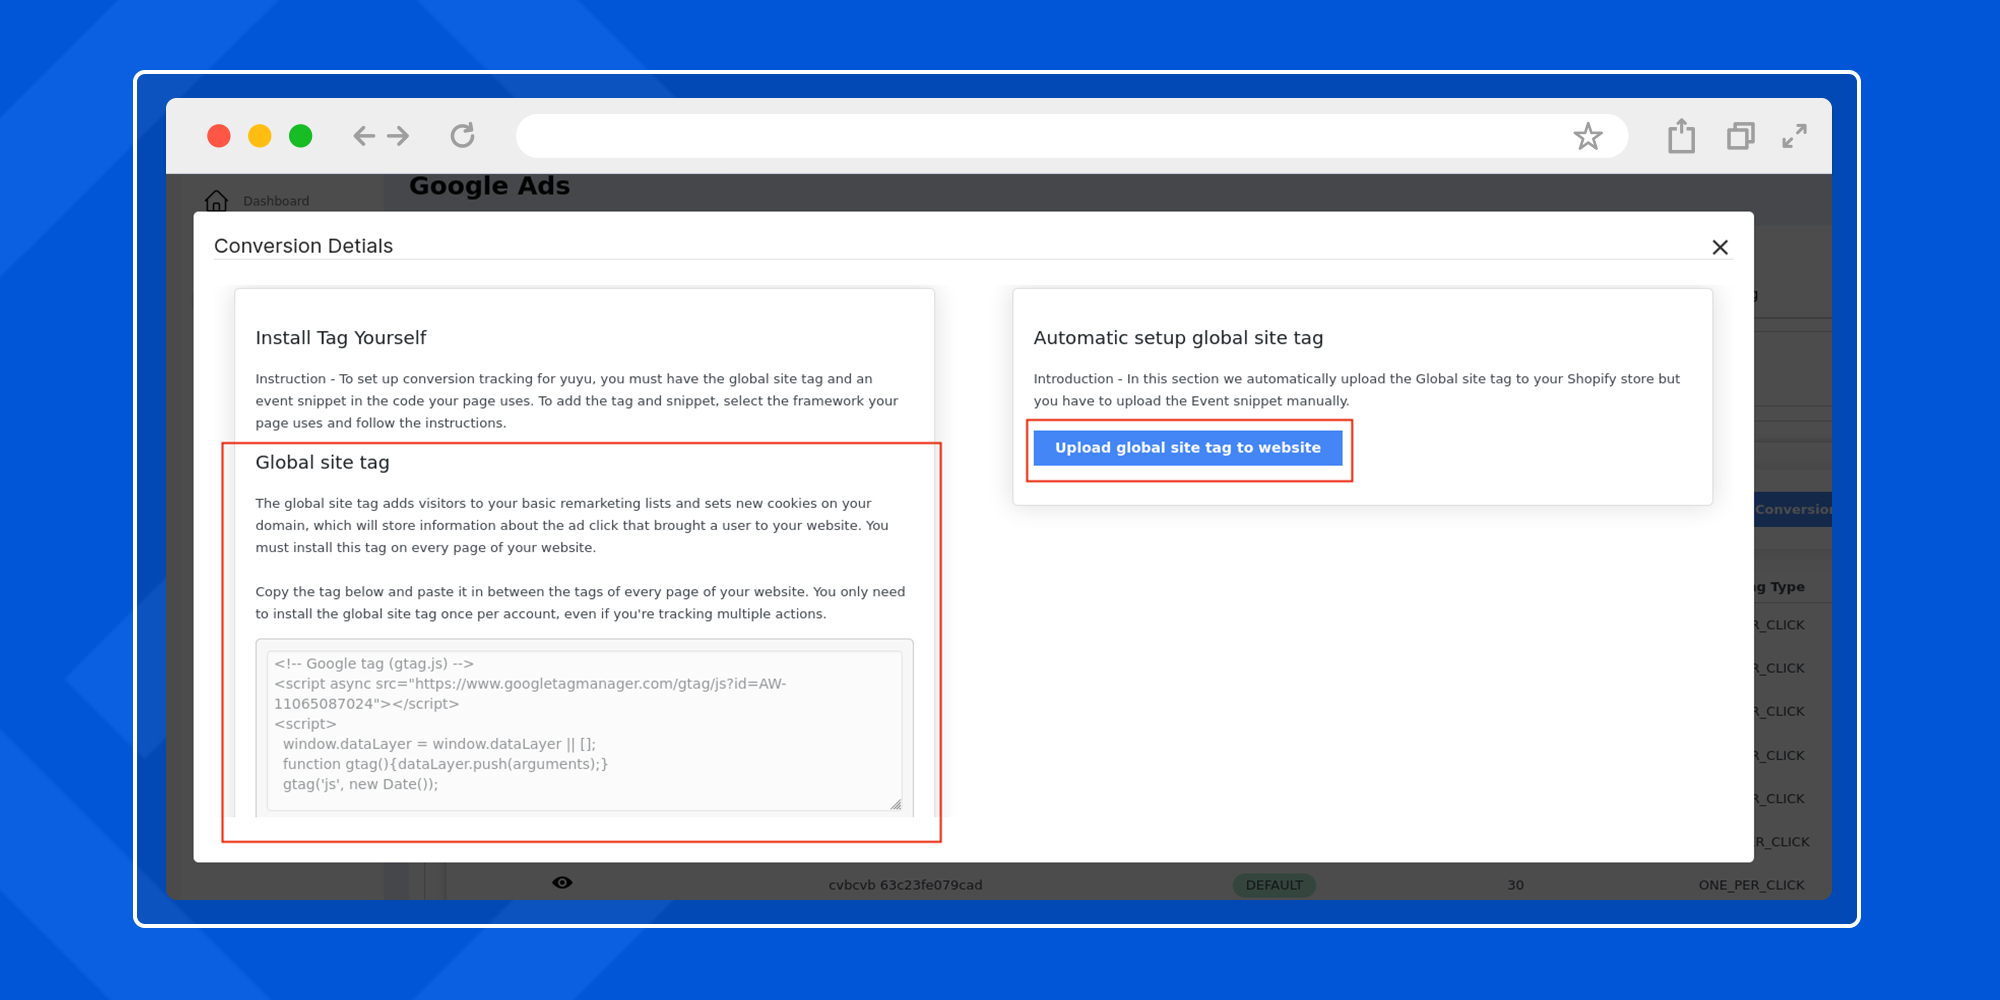
Also, using automatic setup global site tag you can automatically set up global site tags for your website.
Once the site tags are inserted to your website, click Continue and your website conversions are ready to be tracked.
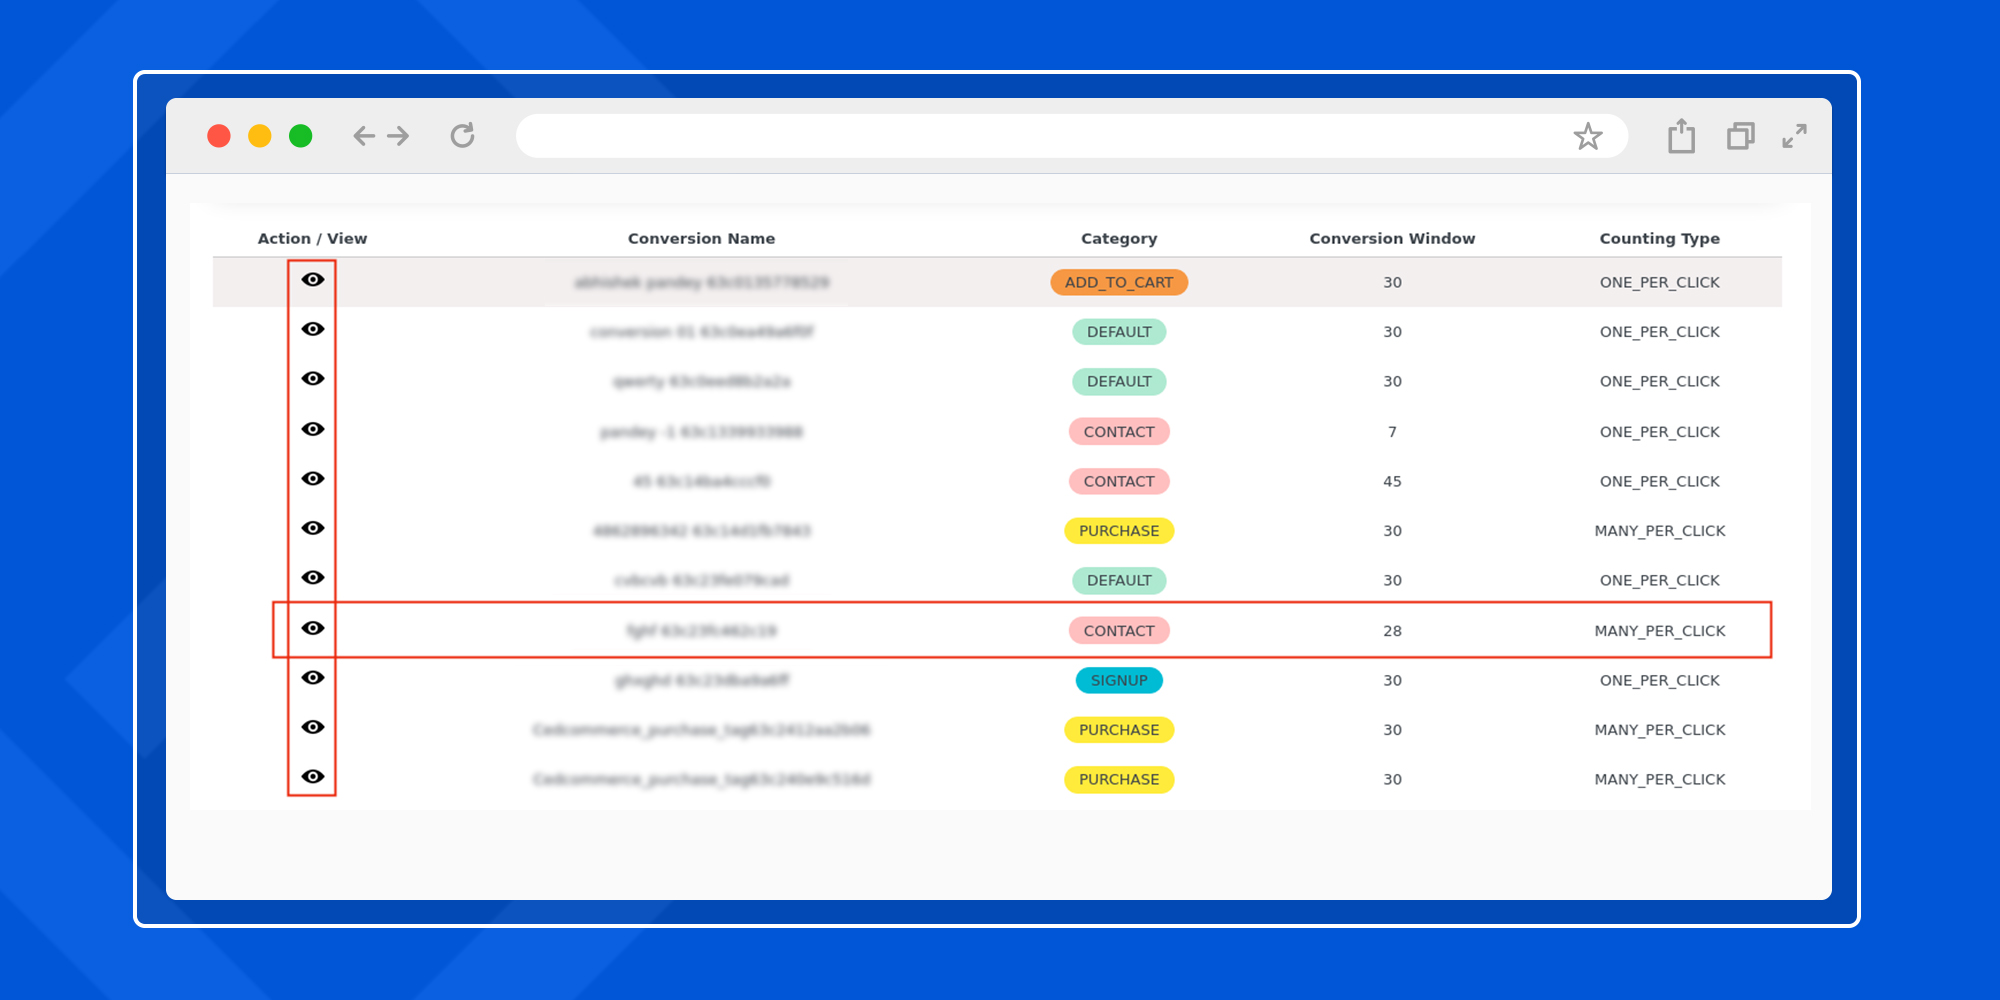
You can view the created conversion Test 1 listed on the conversion tracking dashboard.
 Reporting
Related Articles
Overview: Google Shopping Integration for WooCommerce
Get your WooCommerce products listed on the Google Shopping platform for a massive reach to potential buyers. The integration allows seamless bulk upload and centralized management of products with the help of the WooCommerce dashboard. Configure ...Onboarding
The onboarding process of the plugin is quite simple, with just 5 simple steps to follow – Step-1 Account Step-2 Merchant center Step-3 Link Ads account Step-4 Configuration Step-5 Campaign Step-1 Account In this step, you need to connect your Google ...Getting started with the plugin
Install the plugin on your WordPress website, and you will have the CedCommerce option on your dashboard. Click on the CedCommerce option, and you will get the plugin under the active marketplaces, as shown in the image below. Next, click on the ...Profile Guide
This section provides you with all the functionalities to map your WooCommerce product categories with the Google Shopping categories in just a few clicks. You can view and edit the existing profiles on the main homepage of the profile section ...Plugin Dashboard
The dashboard gives you a roundabout view of your products, notifications, and onboarding details in one glance. You get to know about your active and inactive products on the Google Shopping platform from the total number of products available. ...