How to Create a Custom App
Enable custom app development from the Shopify control panel. Before you can create a custom app for your store, you must enable custom app development. You must be the store owner or a staff member with the Enable App Development permission to enable custom app development. 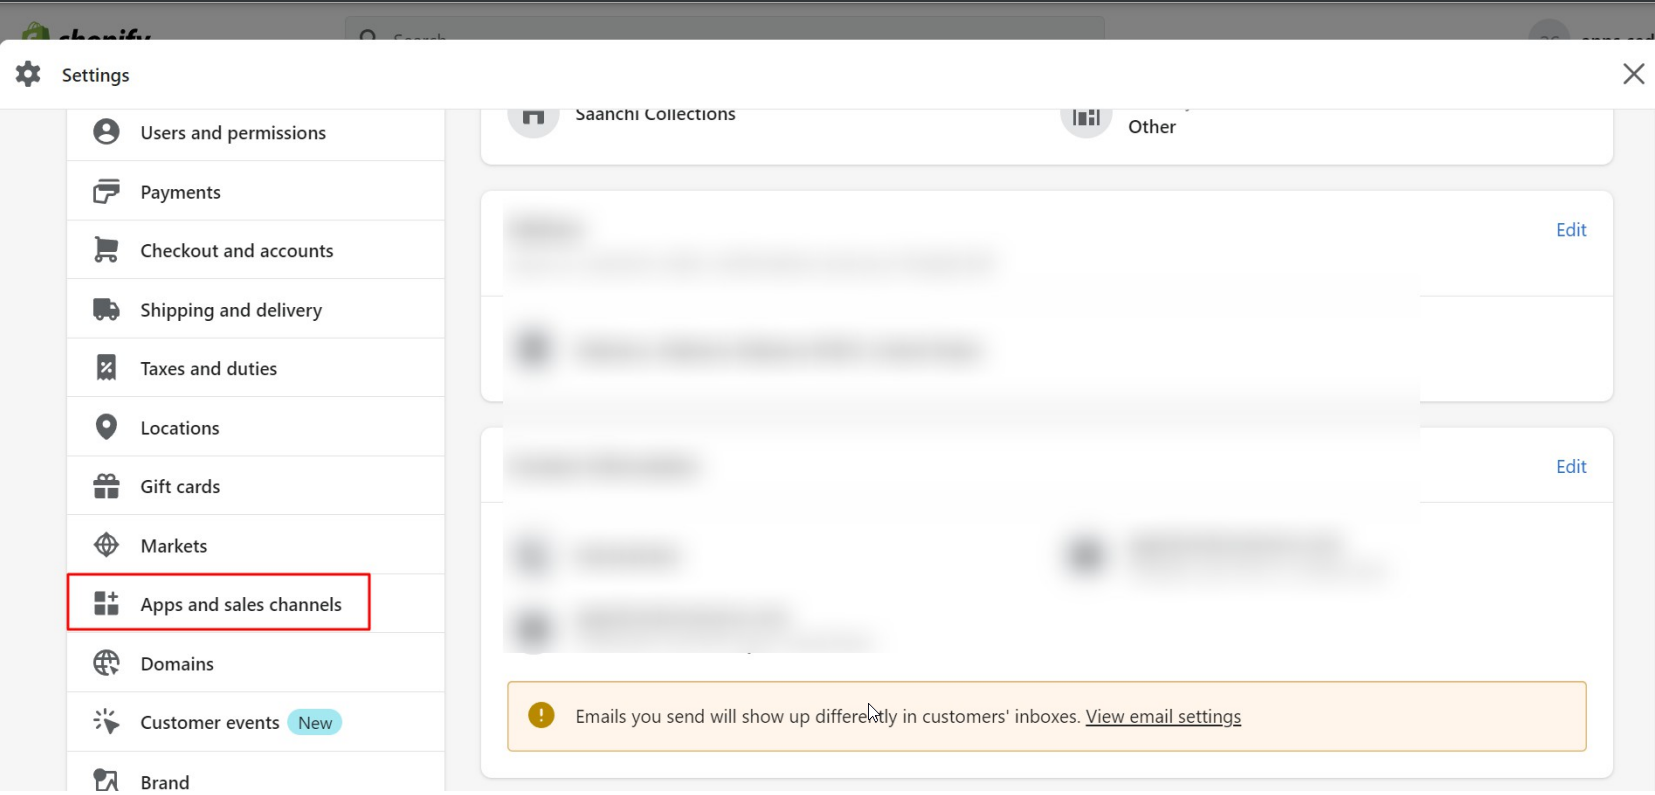
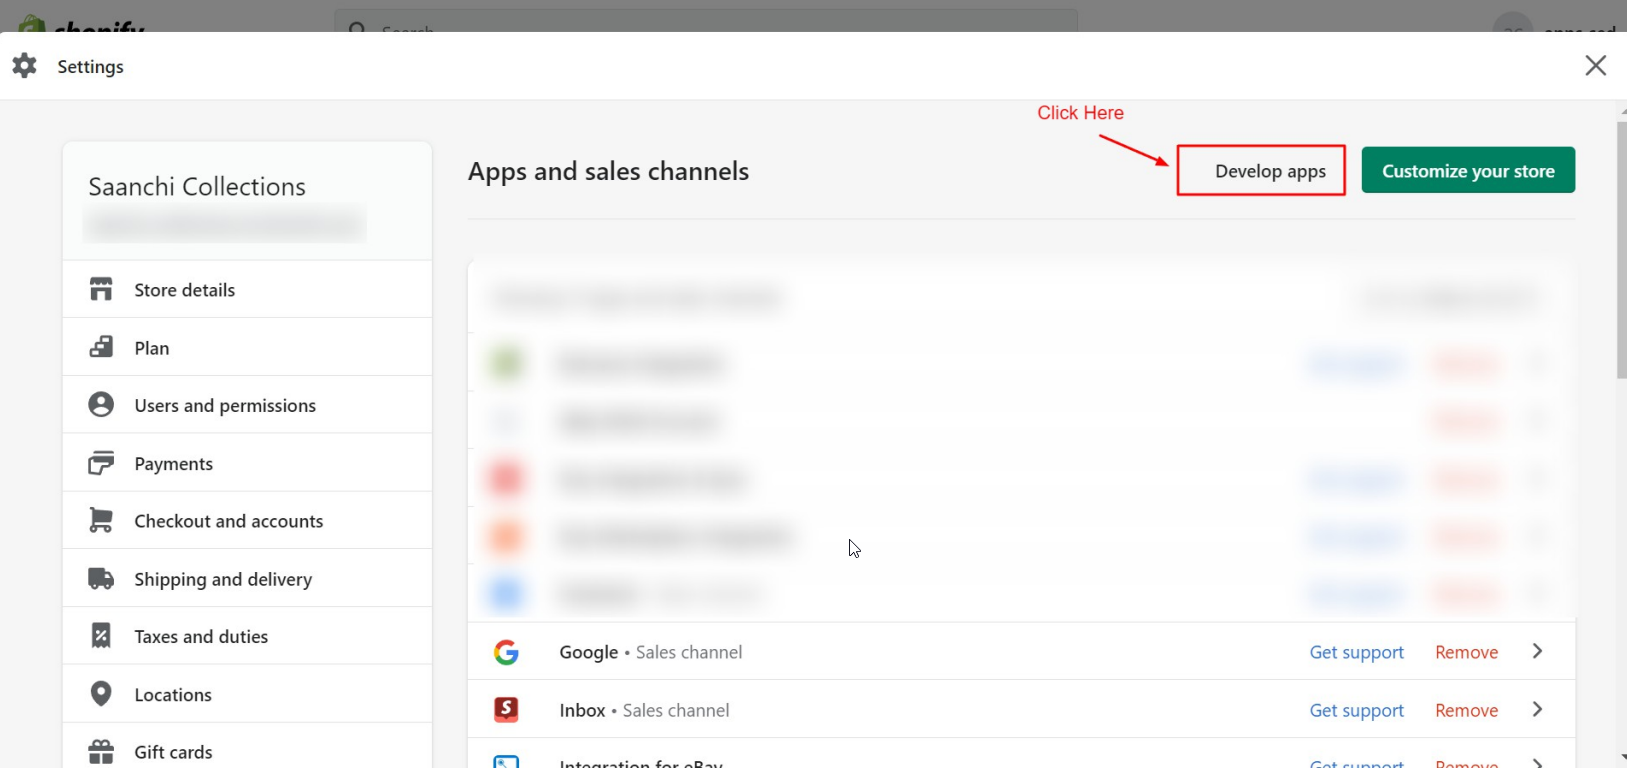
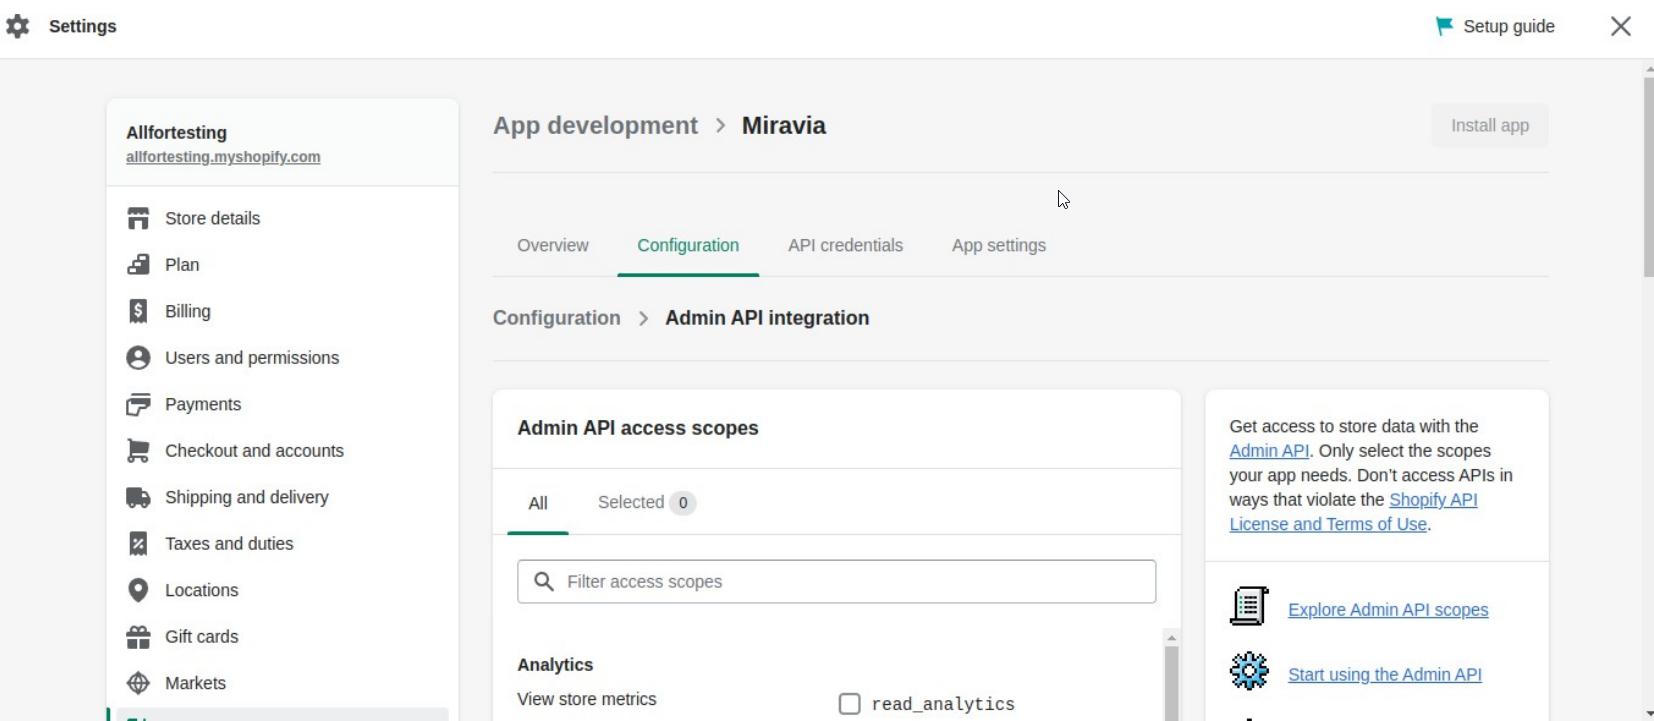
- From your Shopify dashboard, click on Settings > Apps & Sales Channels.
- Click on Develop Applications.
- Click on Allow custom application development.
Create and install a custom application
The steps to create a custom application are easy and simple. See the steps below with pictures:
- From your Shopify dashboard, click on Settings > Apps & Sales Channels.
- Click on Develop Apps.
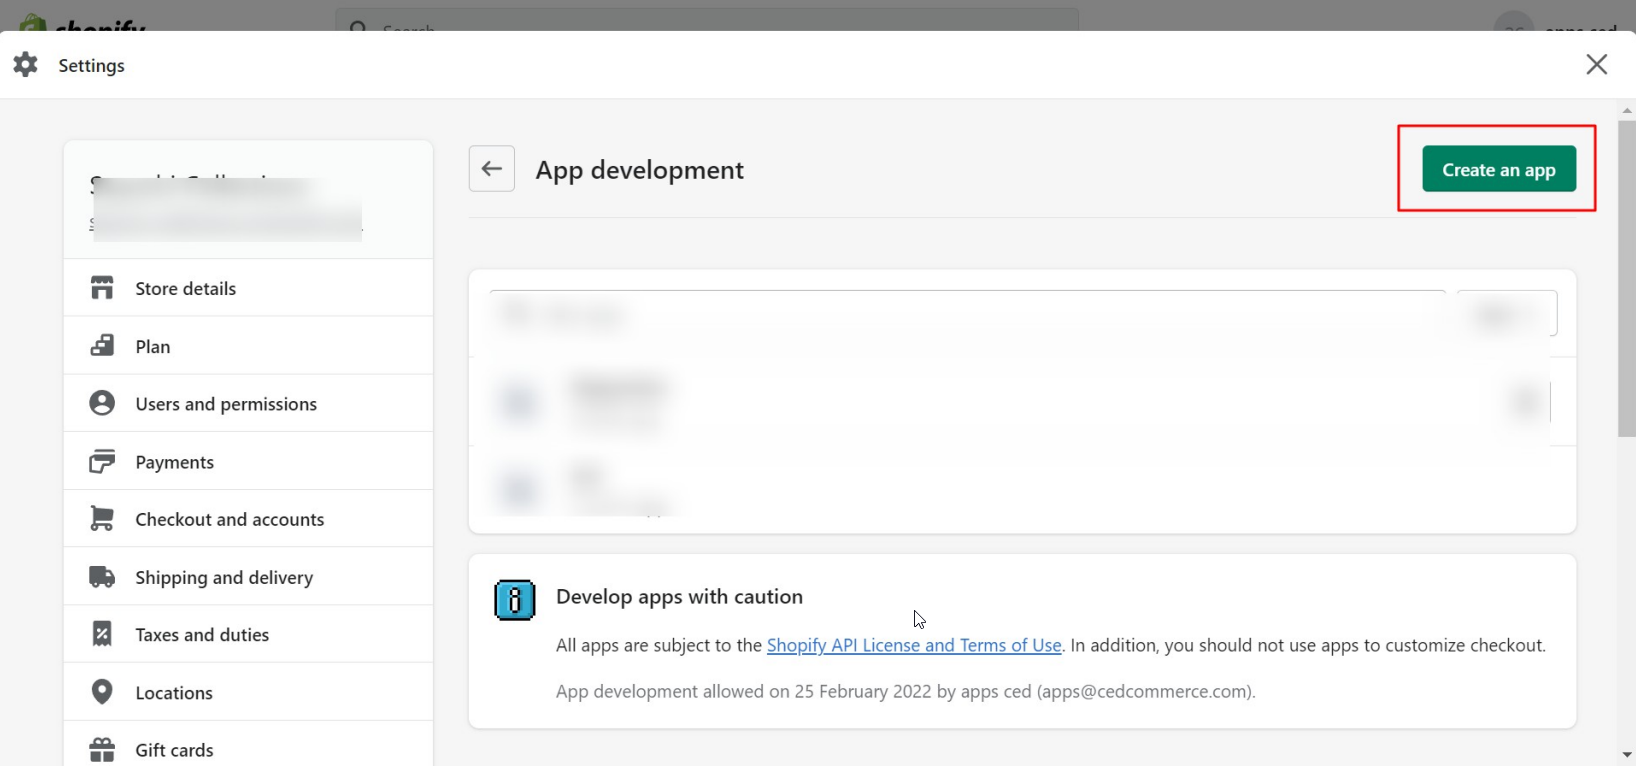
- Click on the Create an App button.
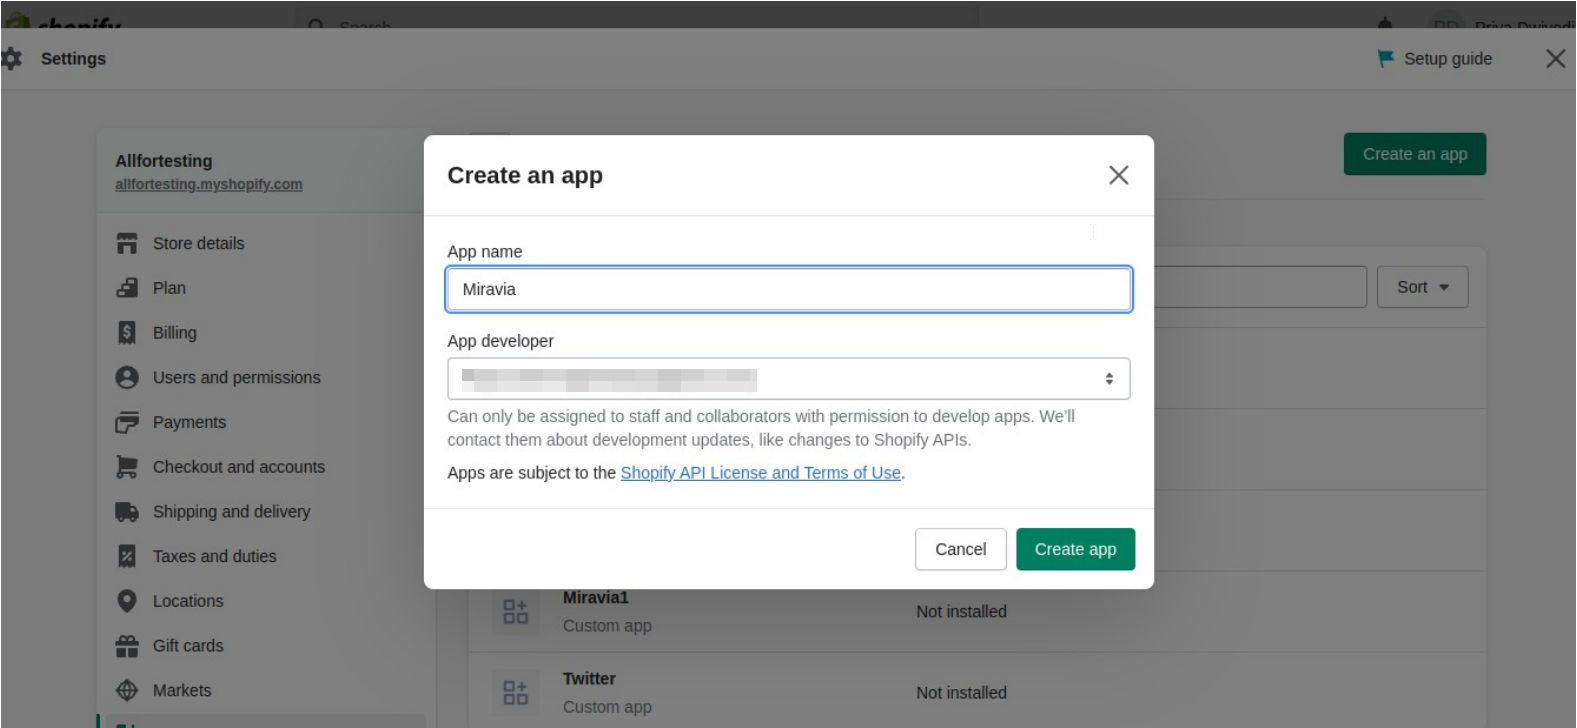
- In the modal window, enter the name of the application and click the Create App button.
- Then click on Configure Management API Scopes.
Check the permissions for the following API scopes. 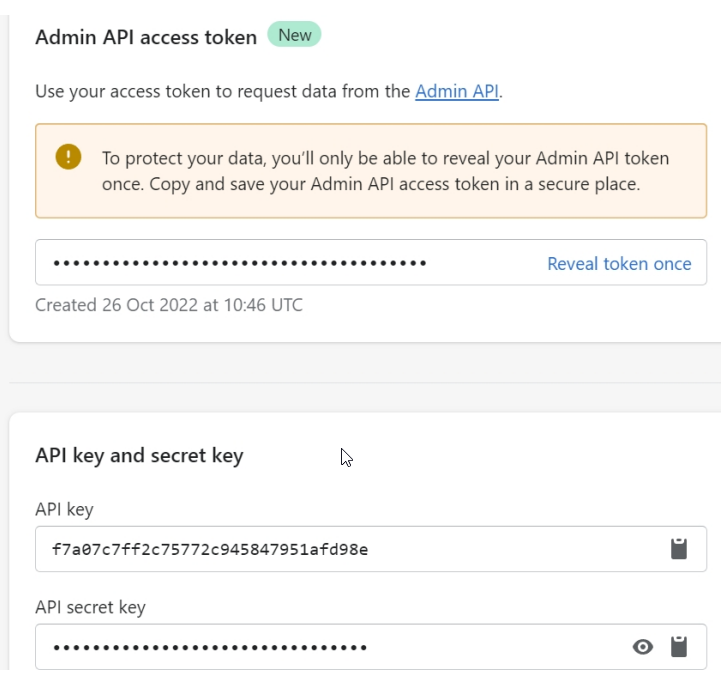
- read_products
- read_products_listings
- write_orders
- write_resource_feedbacks
- read_locations
- read_inventory
- read_fulfillments
- write_fulfillments
- write_merchant_managed_fulfillment_orders
- read_merchant_managed_fulfillment_orders
- Click Save and then click Install App.
- Once this is done, you will get the access token, the API key, and the secret key. Copy and save the access token, as it can only be revealed once.
However, if the access token is lost, click on Uninstall App and reinstall it. This way, you will get the new token.
Related Articles
Configurations Section
Configuration Section Overview The Configuration section in the Miravia Shopify Connector provides all the essential settings to manage how your products, pricing, and orders sync between Shopify and Miravia. You can modify these settings at any time ...Onboarding
Onboarding Section (Miravia Shopify Connector) Follow the six-step onboarding to set up your Miravia Shopify Connector app for product sync and order management: Step 1: Connect Shopify Account Begin by connecting your Shopify store to the Miravia ...Onboarding Steps for the Miravia PrestaShop Connector
Step 1: Connect Your PrestaShop Store After installing the Miravia Connector, you’ll land on the onboarding screen. Click “Connect Account” to start the setup process. This links your PrestaShop store with the CedCommerce integration panel. Step 1.5: ...Default Configuration
Once the profile data is saved successfully, proceed with the default configuration. Title Optimization: You can set product title rules here and before listing products on Miravia, the title is optimized accordingly. Custom Price Rule: You can set ...Create Profile
Go to Profile > Create a profile Fill in all details, like set a unique profile name, so it’s easily identifiable. 3. Further, you need to select & set “Rule Group” to fetch data from a similar set of products. Product Match: The rule is based on ANY ...