Manage Accounts
To Manage Accounts:
- Go to the Magento 2 Admin panel.
- On the left navigation bar, click the OnBuy Integration menu.
The menu appears as shown in the following figure:

- Click on Manage Accounts. The page appears as shown in the following figure:

- Click the Add Account The Add Account page appears as shown in the following figure:

- Under the New Account section, do the following steps:
- In the Account Code box, you can enter your account code. Note: For internal use. It must be unique with no spaces.
- In the Account Environment box, select the Account environment whether its Production or Sandbox.
- In the Account Status box, select the account status.
- In the Account Store box, choose the Default Store View Option.
- To retrieve the next 4 fields you need to log in to your OnBuy seller panel.

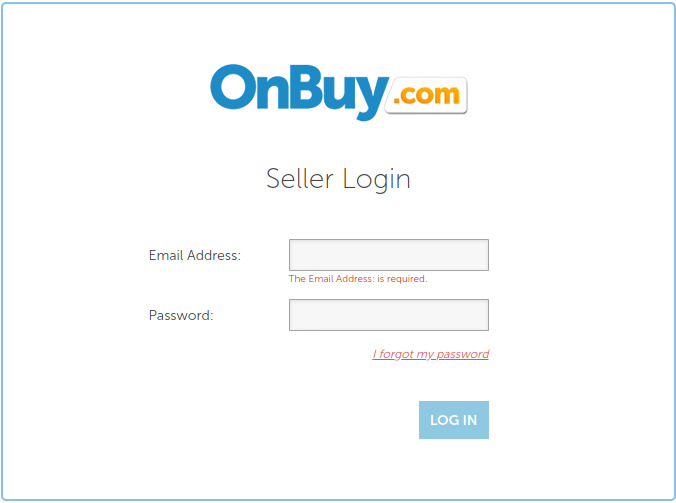
- Enter you seller credentials and login. You'll be redirected to the OnBuy seller homepage.

- Click on Imports & Integration under Listings & Products.
The page appears as:

- Now to Enable Magento 2 Integration, under Available Integrations click on Magento 2 Integration.

- After clicking on Magento 2 Integration, you will be redirected to the page as shown below, where you need to click on Enable Integration button for enabling the extension.

- Once the extension is enabled it will be shown in the list of Enabled Extensions.

- Then under enabled extension click on Magento 2 integration.
- You'll be redirected to a new page as shown below:

- Retrieve all the necessary details from here.
- Now move back to you Magento Seller panel.
- In the Consumer Key box under Live Keys, enter the Consumer key from the seller account.
- In the Secret Key box under Live Keys, enter the Consumer Secret from the seller account.
- In the Consumer Key box under Test Keys, enter the seller id retrieved from the seller account.
- In the Secret Key box Test Keys, enter the seller entity id from the seller account.
- Click on Save Button to save the following information.
- Once you save your account information. The Edit option appears as shown:

- Clicking on edit option will redirect you to the accounts management page and you can then do the required edits in the account details.
- Click on Save to save the changes.
Related Articles
Manage Profiles
To Manage the Profile Following tasks can be performed to manage the profiles: Add a Profile Edit Profile Delete Profile Perform Bulk Actions in the selected profileManage Orders
Sellers can perform the following operations under this: Fetch New Order View Order Edit an Order Delete Order To Fetch New Order, Go to the Magento 2 Store Admin panel. On the left navigation bar, click the OnBuy Integration menu. A menu appears as ...Delete a Profile
To Delete a Profile, Go to the Magento 2 Store Admin panel. On the left navigation bar, click the OnBuy Integration menu. A menu appears as shown in the following figure: Click on Profile Manager. The Manage Profile page appears as shown in the ...Edit the existing Profile
To Edit the Existing Profile, Go to the Magento 2 Store Admin panel. On the left navigation bar, click the OnBuy Integration menu. A menu appears as shown in the following figure: Click on Profile Manager. The Manage Profile page appears as shown in ...Submit Actions in Bulk
To submit the selected action on the selected profiles in Bulk, Go to the Magento 2 Store Admin panel. On the left navigation bar, click the OnBuy Integration menu. A menu appears as shown in the following figure: Click on Profile Manager. The Manage ...