Manage Option Mapping
Manage Option Mapping
To manage Option Mapping:
- Go to the PrestaShop Admin panel.
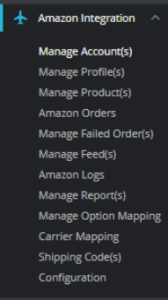
- In the left navigation panel, place cursor on Amazon Integration menu. The menu appears as shown in the following figure:

- Click on Manage Option Mapping
The page appears as shown in the figure:
- Here you can manage Option mapping and you can add mapping by clicking on ‘Add Mapping’ button.
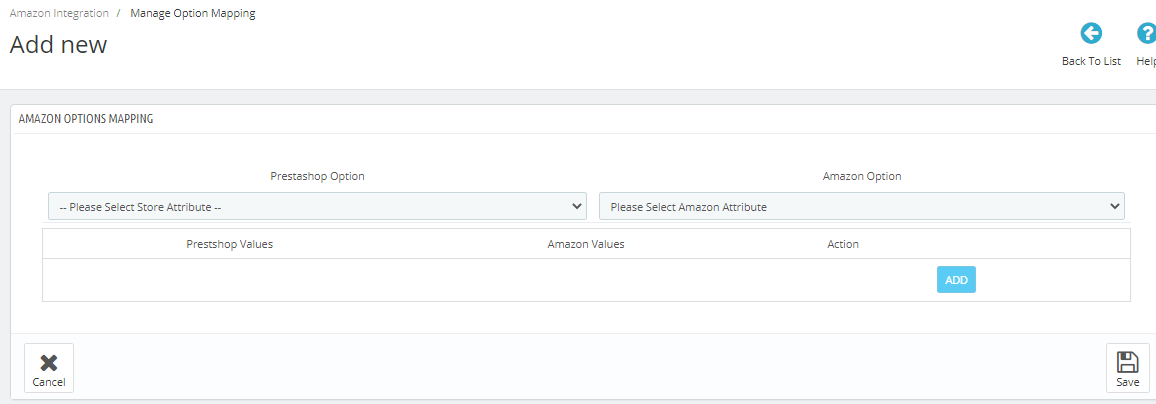
The page appears as shown in the figure:
- Map Prestashop Option on the left side to the Amazon Attributes to the right side.
- Click on Save button to save the settings.
Related Articles
Manage Amazon Profiles
Manage Amazon Profiles To add a new profile Go to your Prestashop admin panel. On the left navigation bar, place the cursor on Amazon Integration as shown: Go to Manage Profiles Section. The page appears as shown in the figure: Here all the profiles ...Manage Amazon Products
Manage Amazon Products To Upload Products: Go to your Prestashop admin panel. On the left navigation bar, place the cursor on Amazon Integration and when the menu appears. The page appears as shown in the figure: Click on Manage Products section, The ...Manage Amazon Accounts
Manage Amazon Accounts This tab contains the information about entering the Amazon Account details so as to synchronize your items at Prestashop store with a specific Amazon account. To set up the Amazon account settings in the PrestaShop Admin panel ...Carrier Mapping
Carrier Mapping To manage the Carrier Mapping:- Go to the PrestaShop Admin panel. In the left navigation panel, place cursor on Amazon Integration menu. The menu appears as shown in the following figure: Click on Carrier Mapping The page appears as ...Installation of Amazon Prestashop Integration Module
Installation of Amazon Prestashop Integration Module To install the module: Go to the Prestashop Admin panel. On the left navigation bar, point cursor to the Modules. The menu appears as shown in the following figure: Now you need to click on Upload ...