Facebook StoreFront Settings
To carry out the settings:
- Go to your Woocommerce admin panel, below the CedCommerce Menu which is on the left navigation bar.
- Click on the Facebook of the panel.

- On clicking Facebook, it will appear a page where you have to click SETTINGS in the menu bar as mentioned in the screenshot:

- To map the product meta keys and attributes of products click on SEARCH FOR PRODUCT META KEYS AND ATTRIBUTES FOR MAPPING in the Settings tab as mentioned in the screenshot:

- In this, you just have to enter the name of the product and then click on the Search button next to it.
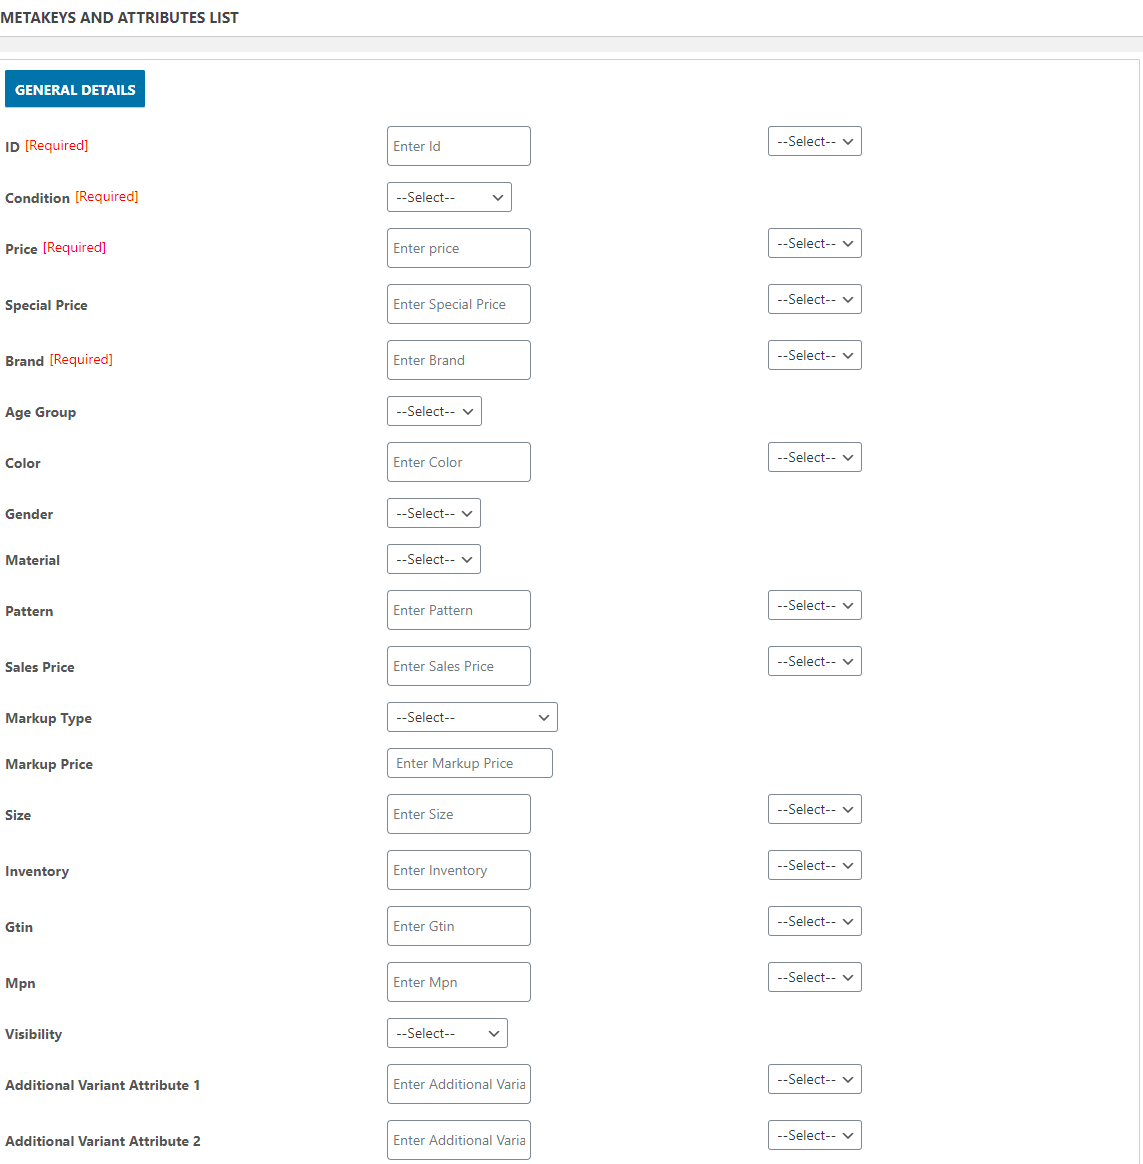
- Once you have performed the above step, click on META KEYS AND ATTRIBUTES LIST to map the selected meta keys with their attributes as mentioned in the screenshot:

- Here the store owners can see some fields are having “REQUIRED” over there, these are the field which is mandatory for the store owners to fill those fields rest are optional.
Scheduler Settings
In Scheduler Setting, the store owners can set the schedulers for inventory:

Inventory Sync Scheduler
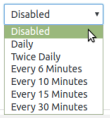
In this, the admin can set the scheduler for inventory syncing by selecting the different intervals from the dropdown as mentioned in the screenshot:

Once the store owners have set the schedulers for Inventory syncing then hit the “SAVE” to save all the activities performed by you.
Related Articles
Facebook StoreFront Accounts
To accomplish the Integration, the first mandatory step that needs to be taken by the admin is to complete the Configuration. To do the Configuration, Go to your Woocommerce admin panel, below the CedCommerce Menu which is on the left navigation bar. ...Facebook StoreFront Account Details
In the account details section, it will reflect all the details which you have mentioned during the process of adding your account. Go to your Woocommerce admin panel, below the CedCommerce Menu which is on the left navigation bar. Click on the ...Product Management On Facebook StoreFront
To carry out the product management, the admin has to follow some necessary steps. Go to your Woocommerce admin panel, below the CedCommerce Menu which is on the left navigation bar. Click on the Facebook section of the panel. On clicking Facebook it ...Mapping Of Categories On Facebook StoreFront
To carry out the category mapping, the admin has to follow some necessary steps. Go to your Woocommerce admin panel, below the CedCommerce Menu which is on the left navigation bar. Click on the Facebook section of the panel. On clicking Facebook it ...Overview
Facebook Marketplace is a convenient destination for people to discover, buy, and sell items. People can find what they’re looking for by filtering their results by location, category, and price. By listing on Marketplace, you can reach buyers where ...