Newegg B2B Manufacturer
To manage product manufacturer
- Go to the Magento 2 Admin panel.
- On the left navigation bar, click the Newegg B2B Integration menu.
The menu appears as shown in the following figure: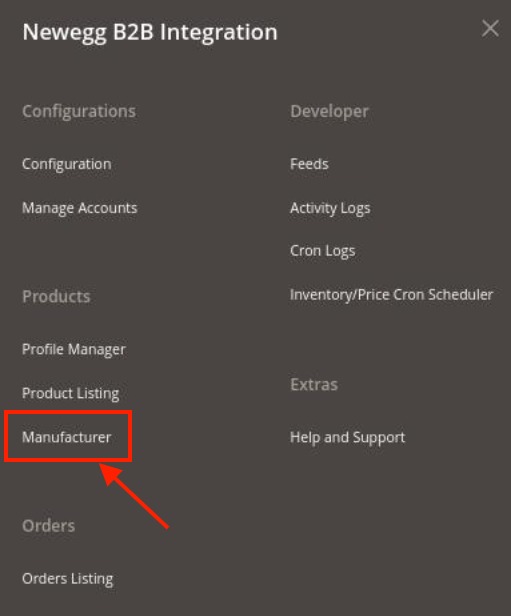
- Click on Manufacturer.
The Manage Manufacturer page appears as shown below: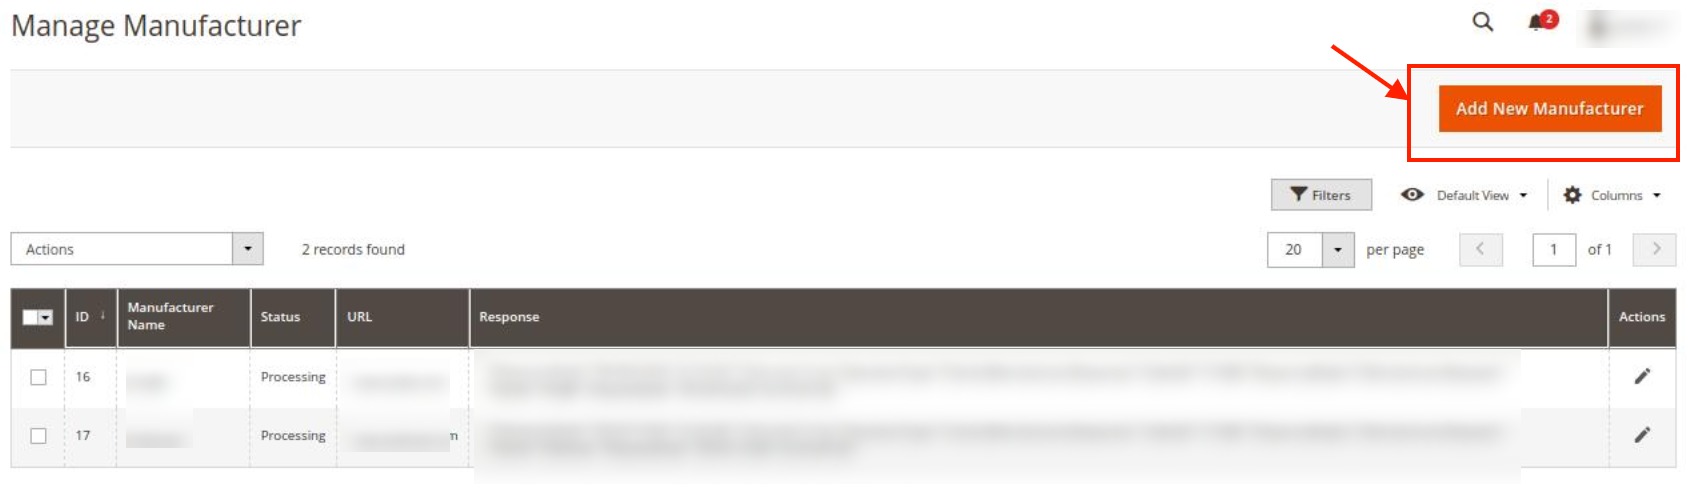
- To add a new manufacturer, click on Add New Manufacturer button. The page appears as shown below:
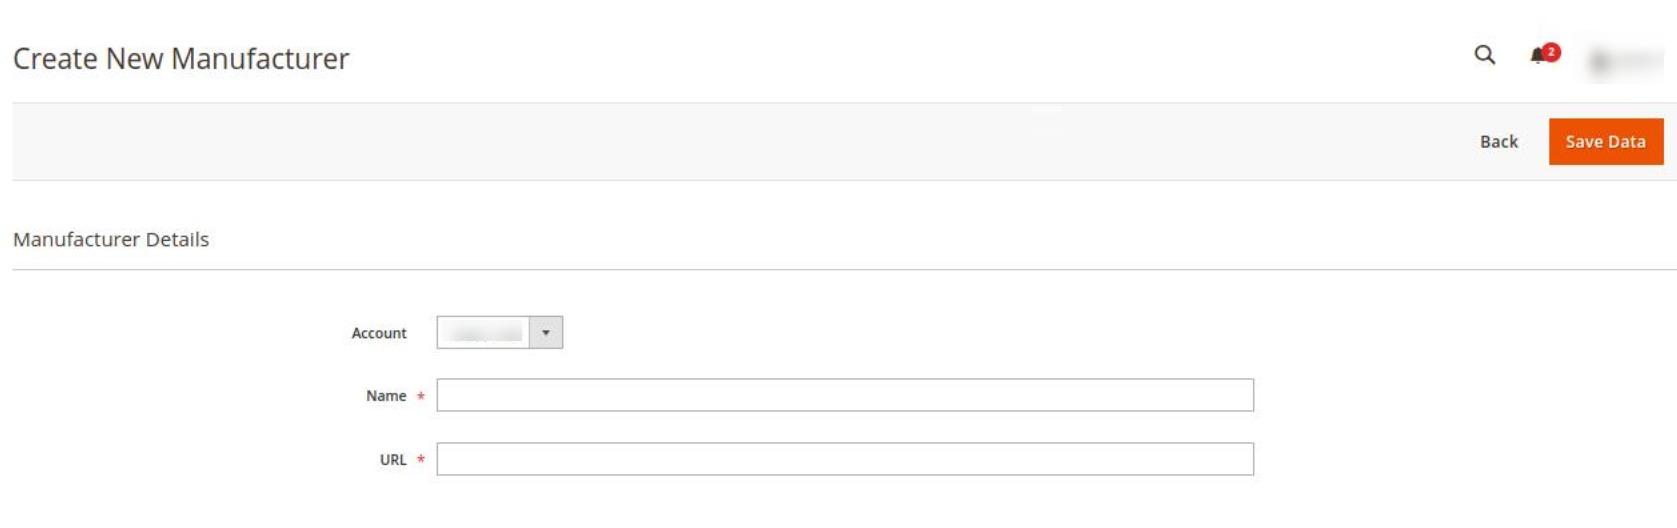
- Under Manufacturer Details, do the following steps:
- In Account, select the account for which you want to create the manufacturer.
- In Name, enter the manufacturer name for the product.
- In the URL, paste the store Url of the manufacturer here.
- Click on the Save Data button.
The manufacturer will be created and displayed in the grid.
To perform mass actions,
- On the Manufacturer grid, click on the Actions list.
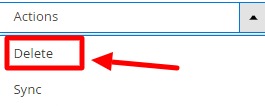
- To Delete the manufacturers, click on Delete.
The selected manufacturers will be deleted. - To synchronise the manufacturers, click on the Sync option.
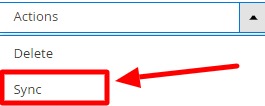
The selected manufacturers will be synced.
Related Articles
Manage Newegg B2B Orders
To fetch new orders Go to the Magento 2 Admin panel. On the left navigation bar, click the Newegg B2B Integration menu. The menu appears as shown in the following figure: Click on Orders Listing. The Manage Order Page appears as shown below: To fetch ...Newegg B2B Product Listing
To Manage Newegg B2B Products, Go to the Magento 2 Admin panel. On the left navigation bar, click the Newegg B2B Integration menu. The menu appears as shown in the following figure: Click on Product Listing. The Newegg B2B Product Listing page ...Help and Support
To view help and support Go to the Magento 2 Admin panel. On the left navigation bar, click the Newegg B2B Integration menu. The menu appears as shown in the following figure: Click on Help and Support. The Help and Support Page appears as shown ...Overview
Newegg is the most popular among the sellers of computer and peripherals industry and is the preferred choice for them. It is also popular for the lowest commission rates. Being the leading company in consumer electronics and computer-related ...Manage Accounts
To Manage Account On Newegg B2B Go to the Magento 2 Admin panel. On the left navigation bar, click the Newegg B2B Integration menu. The menu appears as shown in the following figure: Click on Manage Accounts. The Manage Account Page appears as shown ...