Product Import
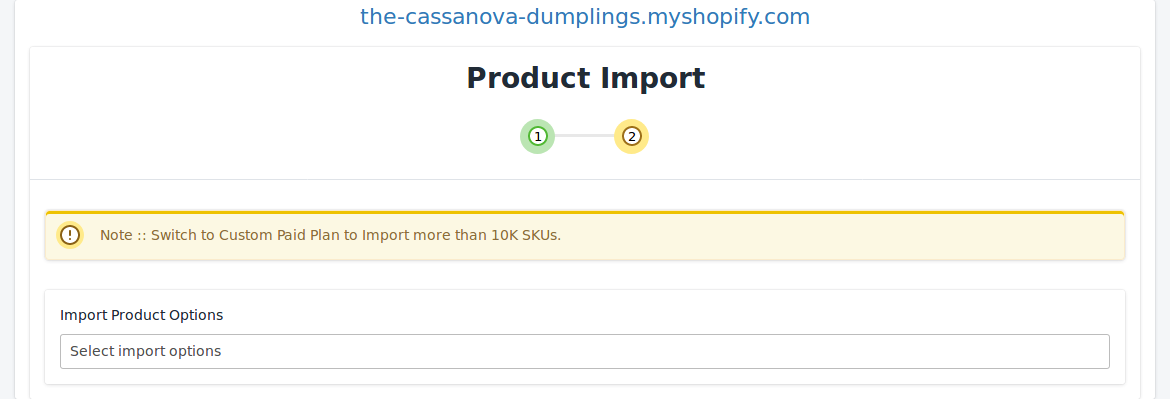
Step 2: “Import Products” page will appear as shown in the following figure:
In the Import Product Options list, select one of the following options:
All Products Import: It enables the store owners to import all the Shopify store products in the app.
Published Products Import: It enables the store owners to import only those products which are available at the Shopify store front-end.
Apply Filter for: It enables the store owners to import only those products which they want to upload from their Shopify store to the app.
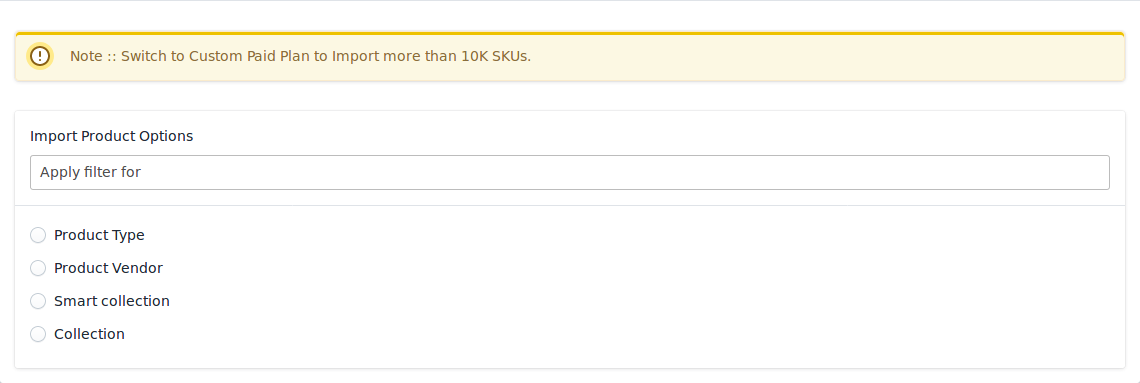
-> After selecting the “filter options to import” option, a page will appear as shown in the figure:
You can select one of the above-mentioned options to import:
*Product Type – Import the products on the basis of “Product Type” assigned in your Shopify Store.
*Product Vendor – Import the products on the basis of “Vendor” from your Shopify Store.
*Smart Collection – Import the products on the basis of “Auto Collection” created in your Shopify Store.
*Collection – Import the products on the basis of the collection created in your Shopify Store.
-> Once selected the desired option, proceed ahead by clicking on the “Start Import” button.![]()
*NOTE: If you have more than 10,000 products (including variants) then you need to contact us or import selected products that count less than 10,000.
Your products will be imported in the app at this step and you’ll need to proceed further by pressing the “Next” button.
At this stage, the configuration steps will get completed and you’ll be redirected to the app’s dashboard.
Related Articles
Import New Products
On the left section, under “Products“, you can see “Import New Products“ “Import New Products” section is used when you’ve added new products in the Shopify store and want to import them in the “Reverb Marketplace Integration App“. The “Import ...Product Management
The “Product Management” settings are divided into 2 sections, the page appears as: Auto-Delete: You can enable the option from this section if you want to Auto Delete the products on Reverb. Check on the checkboxes accordingly. Auto Sync: In the ...Edit the Product Information
To edit the product information go through the following steps: Scroll to the required product. In the “Actions” column, click the corresponding “Edit” icon. The page appears as shown in the following figure: *Note: Before making changes in the ...Settings
Once the store owners have installed the app in the store and completed the two steps procedure of Reverb API Configuration & Product Import, they have to proceed further with the other configuration settings through the app. To set up the other ...All Products
On the Left Panel, you can see “All Products” under the “Products“ “All Products” is the section where you can see all your products along with all the product information. App users can view the details of the products such as the “Image”, “Assigned ...