Product Listing
While using the Newegg Canada Magento 2 Integration Extension, the product management becomes extremely convenient for the sellers.
The following actions can be taken while managing the products: 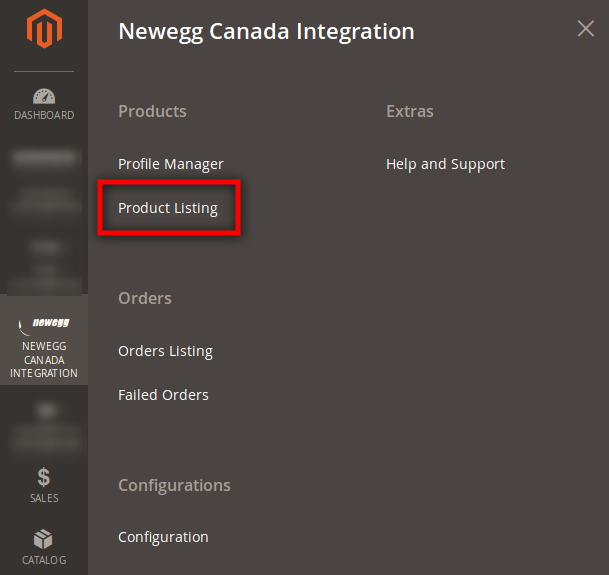



- Validate Product
- Status Sync
- Activate Product
- Inactivate Product
- Upload Product(s)
- Update Inventory & Price
- Edit Product
To Validate Product(s)
- Go to your Magento 2 admin panel.
- On the left navigation bar, click Newegg Canada Integration.
- When the menu appears, click Product Listing.

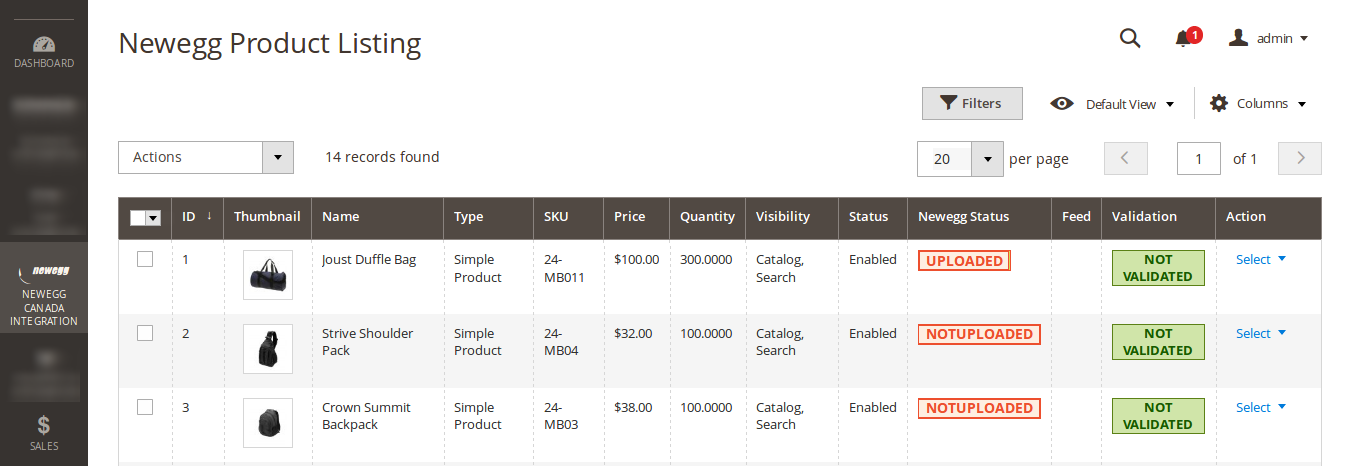
- On clicking it, you get navigated to the page as shown below:

- Now click on Select button under Action column for the product that you want to validate.
- The Select button appears as:

- Click on Validate.
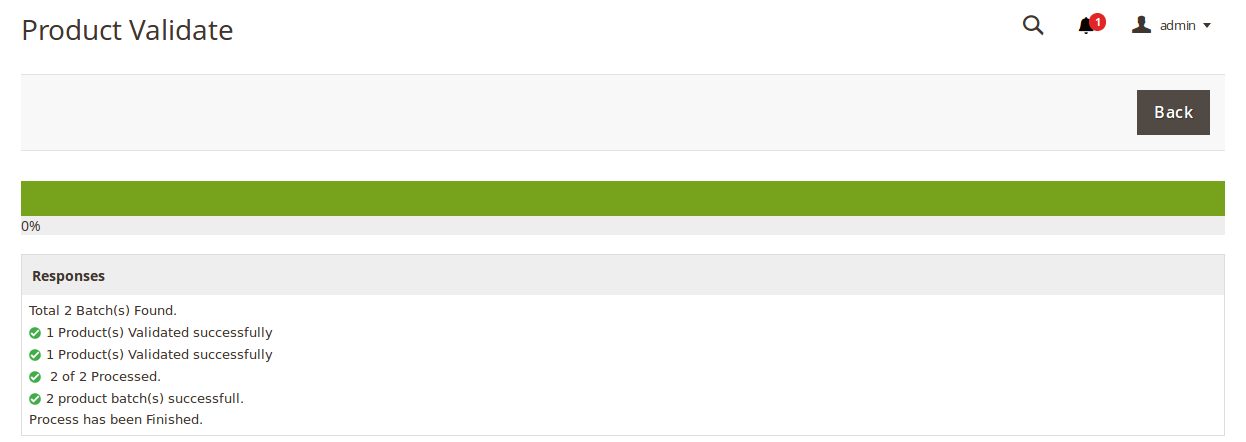
- The product gets validated and the message appears on the page as shown below:

To validate multiple or all the products
- Click on the checkbox shown in the image below:

- Click on Select All. If you don't want to validate all the products, you may select products that you want to validate by checking the corresponding boxes.
- Now click the Actions drop down and when the menu appears, click on Validate Product.

- A box appears asking you to confirm your action.
- Click OK.
- Products get validated and you get navigated to the page with a success message for the product validation.

To sync the status
- Select the products for which you want the status to be synced.
- Click on the Actions drop down.
- When the menu appears, click Status Sync.
- Click OK when the confirmation box appears.
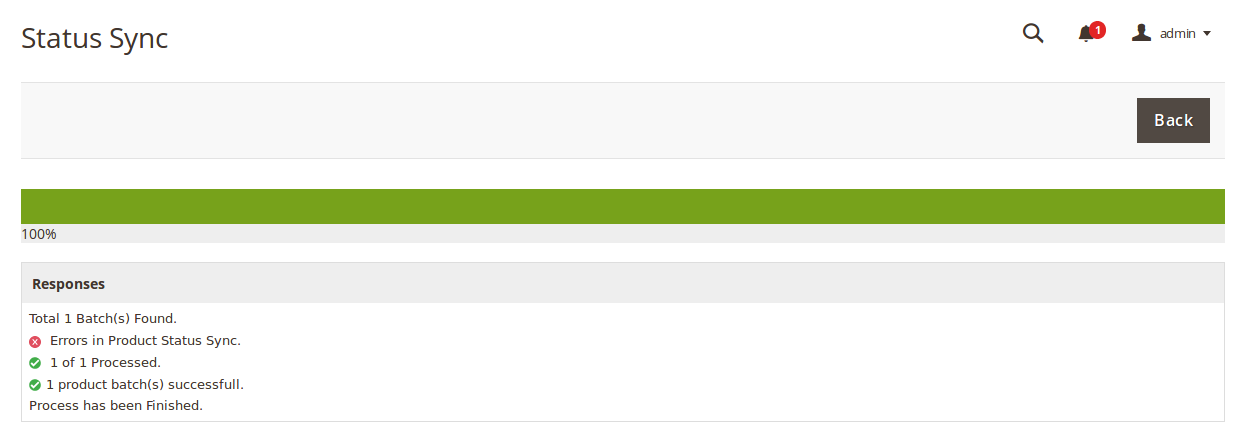
- The product status gets synced and you get redirected to a page that shows the sync status, as shown below:

To Activate Product,
- Select the product(s) that you want to activate.
- Click on the Actions drop down.
- When the menu appears, click Activate Product.
- Click OK when the confirmation box appears.
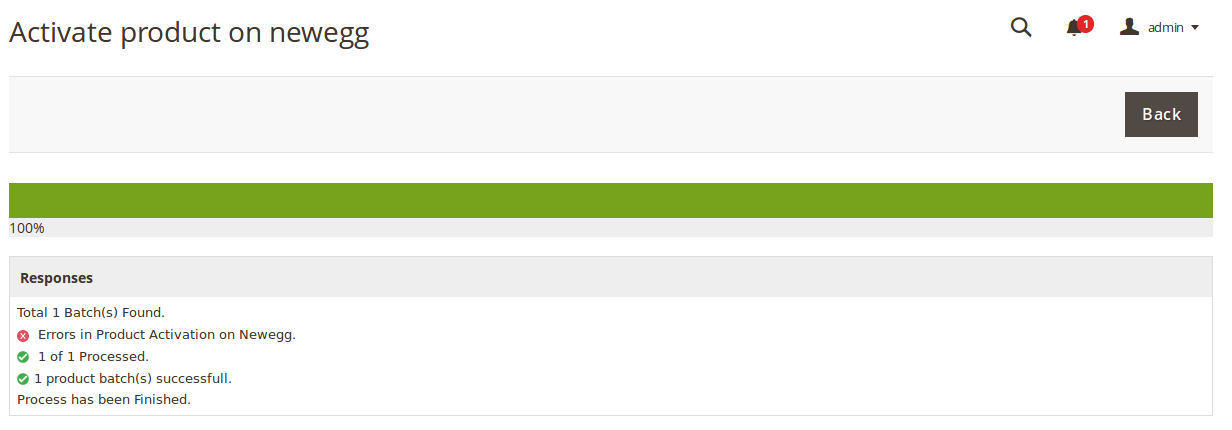
- Product activation status message appears as below:

To Inactivate Product,
- Select the product(s) that you want to deactivate.
- Click on the Actions drop down.
- When the menu appears, click InActivate Product.
- Click OK when the confirmation box appears.
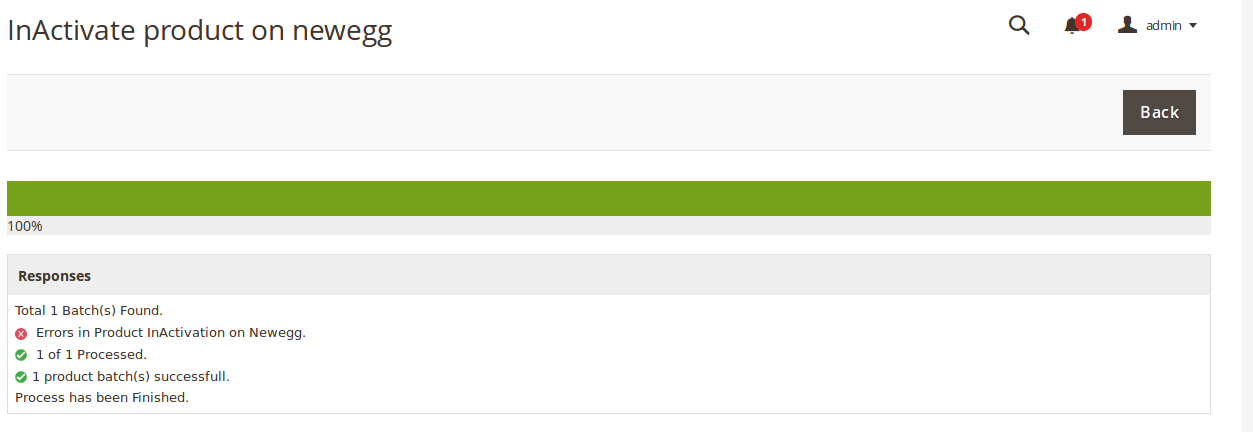
- Product inactivation status message appears as below:

To upload product(s),
- Select the product(s) that you want to upload to Newegg Canada.
- Click on the Actions drop down.
- When the menu appears, click Upload Product(s).
- Click OK when the confirmation box appears.
- Product upload status message appears.
To update inventory and price,
- Select the product(s) for which you want to update the price and inventory on Newegg Canada.
- Click on the Actions drop down.
- When the menu appears, click Update Inventory & Price.
- Click OK when the confirmation box appears.
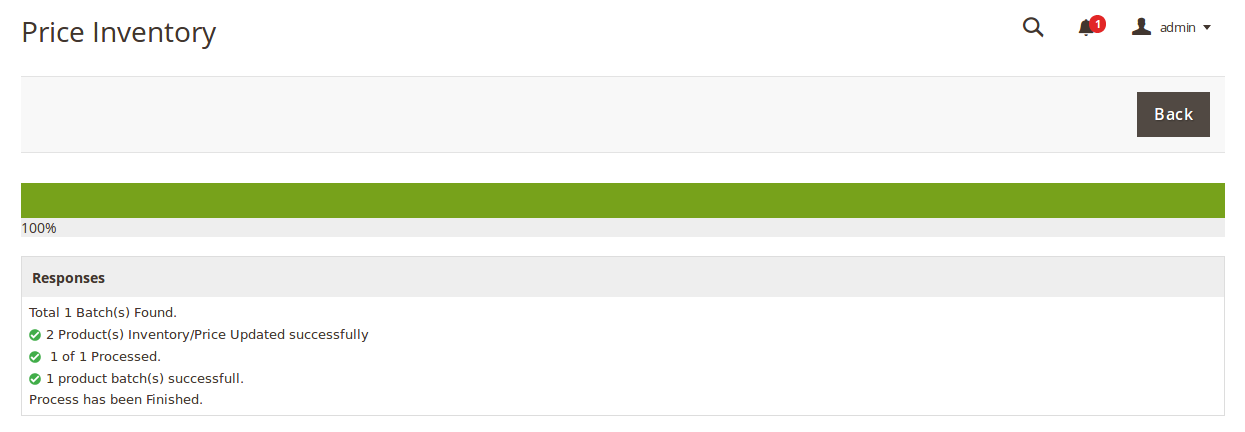
- Inventory and Price update status message appears as shown below:

To edit a product
- Click the Select button under Action column for the product that you want to edit.
- The Select button appears as:

- Click on Edit.
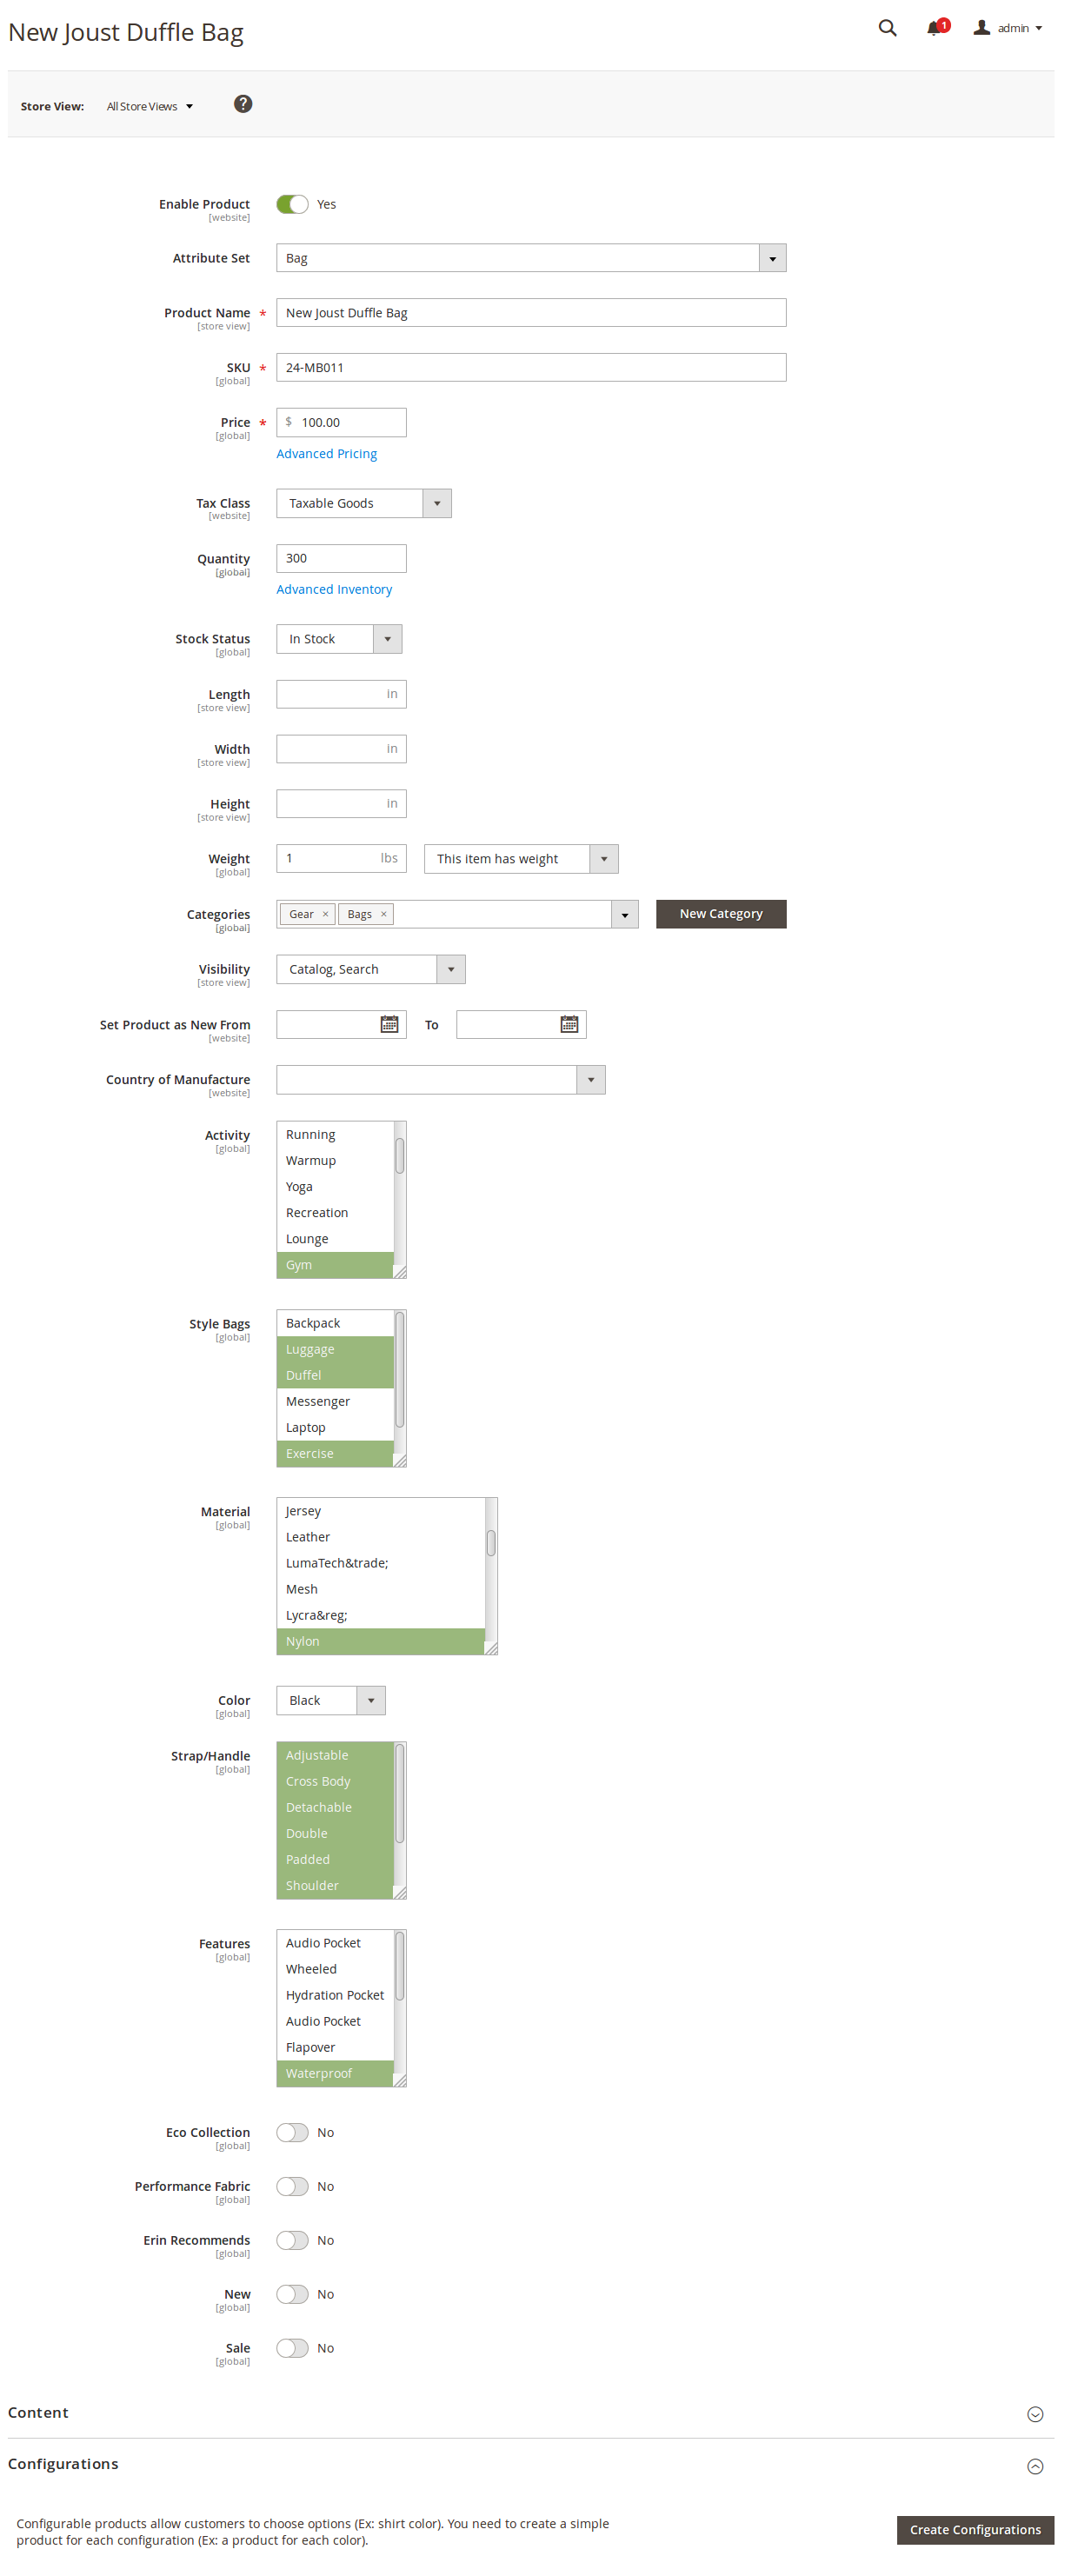
- The page you will be navigated to will appear as:

- You may edit the product details here. Once done, you need to click on Save button on the top right side of the page.
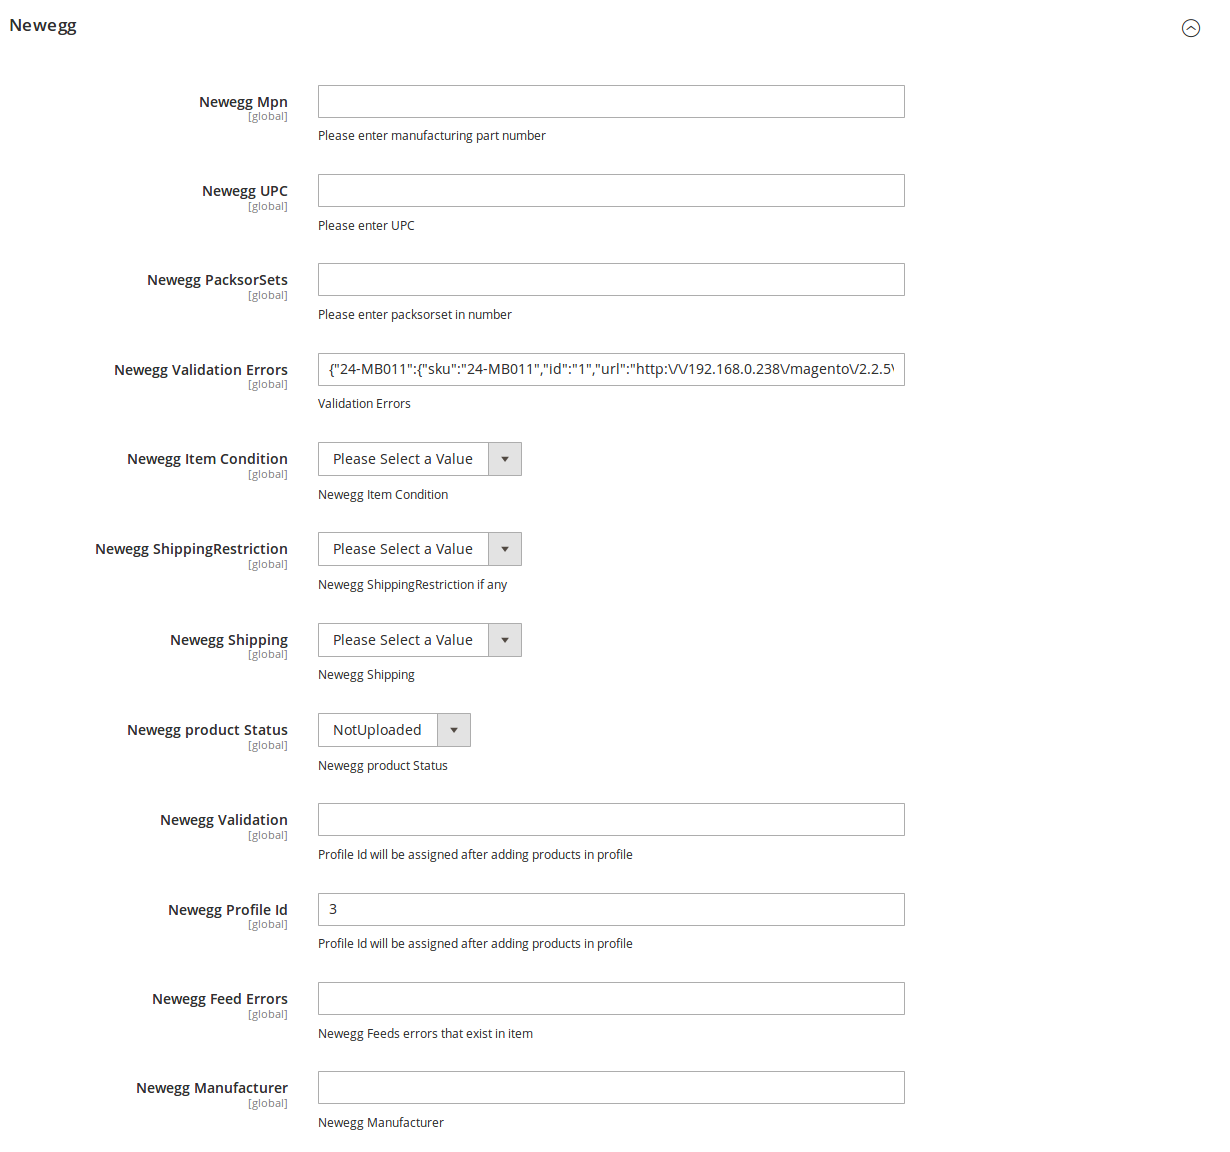
- If you want to make other changes that you can't make in this section, scroll down and click on Newegg at the lower section of the page.
- The section will appears as:

- Make the changes and click on Save button on the top right side of the page.
- The changes will be made.
Related Articles
Overview
Newegg is one of the leading global e-commerce companies that deals in computer parts, PC components, hardware and software, and other similar consumer goods. The tech focused online retailer was founded in the year 2001 and is headquartered in North ...Configuration
To integrate the Magento 2 store with Newegg Canada, you need to complete the configuration process which works as the foundation of the integration process. Once the Newegg Canada Magento 2 Integration Extension has been installed, the configuration ...Enable/Disable a Profile
To Enable/Disable a selected profile, Go to your Magento 2 admin panel. On the left navigation bar, click on the Newegg Canada Integration. When the menu appears, click Profile Manager. On clicking it, you will be navigated to the page as: Now select ...Add New Profile
To add a new profile, Go to your Magento 2 admin panel. On the left navigation bar, click on the Newegg Canada Integration. When the menu appears, click Profile Manager. On clicking it, you will be navigated to the page as: Now click on the Add New ...Feed Management
To see the product feeds, Go your Magento 2 admin panel. On the left navigation bar, click on Newegg Canada Integration. When menu appears, click Feeds. On clicking it, you will get navigated to the pages as: On this page, you may see the feed ...