Profiling
With the help of Profiling, you can apply certain set of rules and customization to your products related to Shipping, Inventory, and Pricing. Profiling helps you to manage your bulk products to be Category mapped and Attribute mapped all at once such that in future if any product of the same Product type or Vendor (or following any condition(s) that you have set in Profile) is added, it automatically gets mapped in the respective profile.
The Profiling page appears as follows: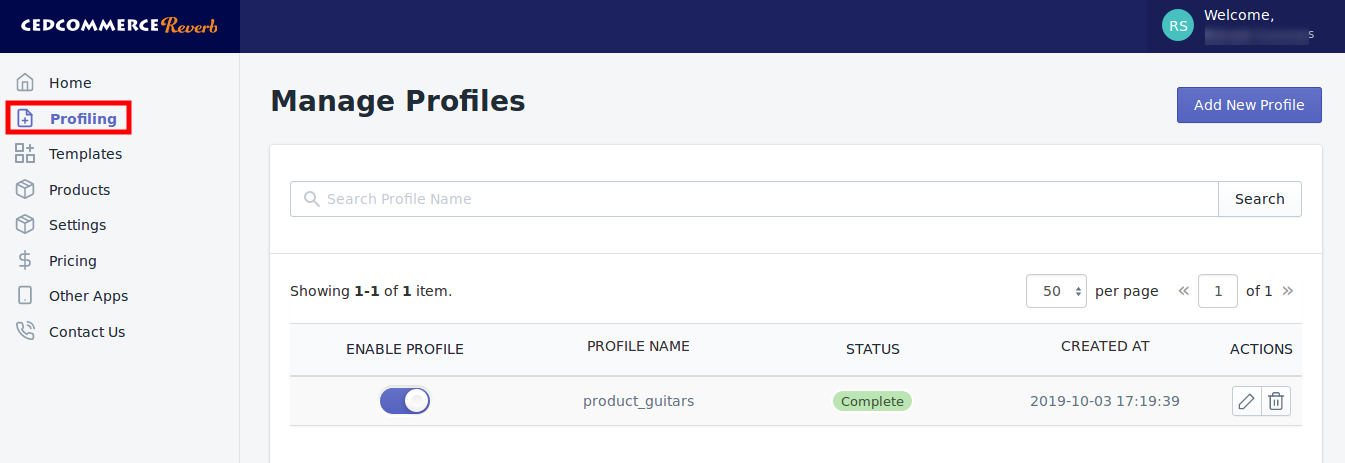
To create a new profile, click on the button “Add New Profile” on the top-right, the following page will appear: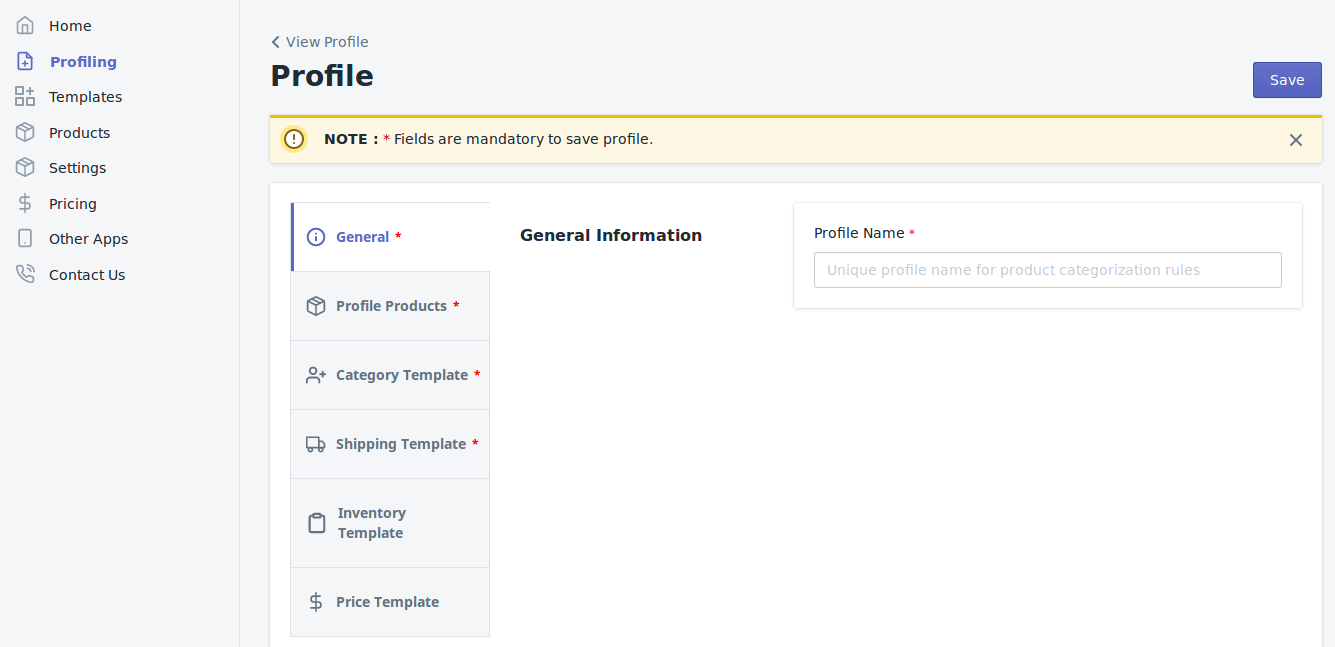
-> General Information – You need to mention the Profile Name that you’re going to create in the General Information. Profile name should be different from one another.
NOTE:- You cannot edit a Profile’s name once it gets saved!!
-> Profile Products –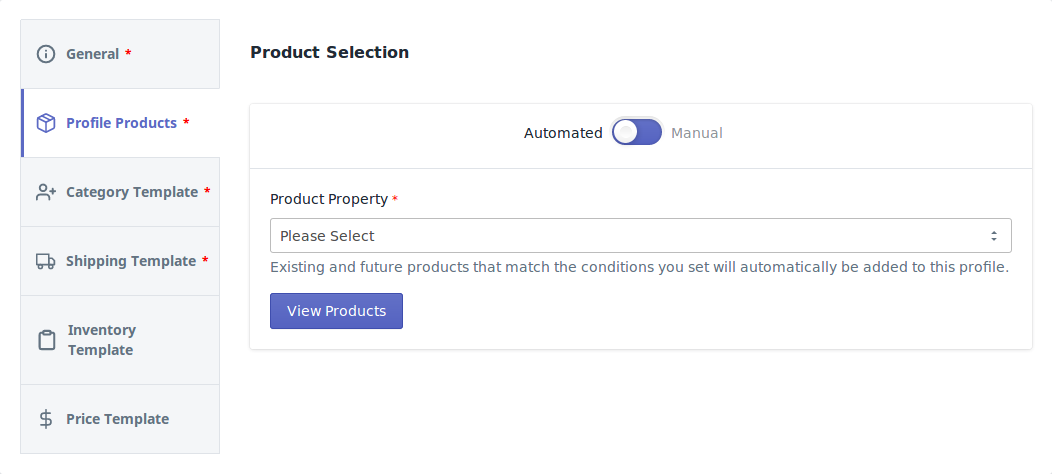 Here you can see two options “Automated” and “Manual”. If you choose “Automated”, then the products will automatically be assigned to the profile when new products will be imported with the same condition. If you choose “Manual”, then you’ll need to manually add the products in the profile when new products will be imported.
Select the properties over which you want to create the profiles, it may be either Product type or Vendor or Tags or Title. The next you’ll need to complete the mapping part for the products.
-> Category Template –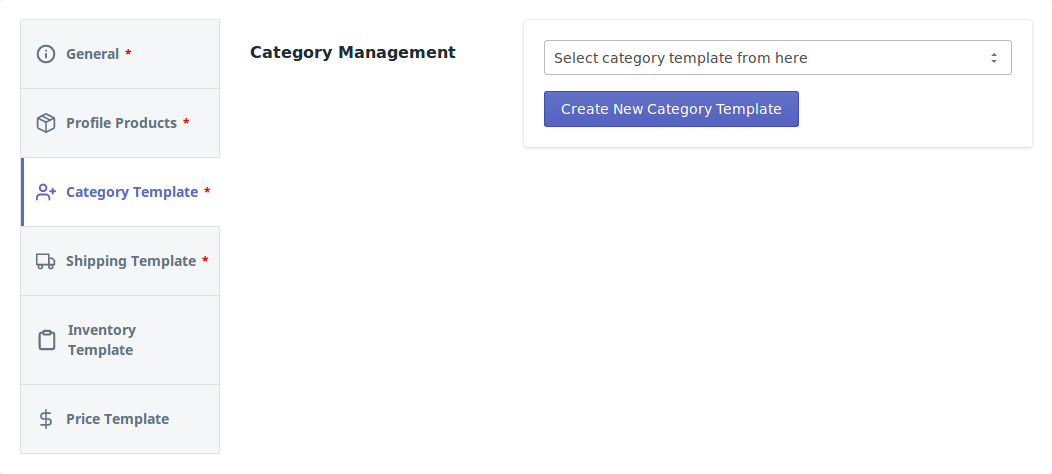
In this section, select the respective Reverb marketplace category template from the drop-down in which your Shopify product will come under. These products will share the same category options on Reverb as per the information provided in the Category Template created.
*NOTE: If you haven’t created any Category Template, this section will ask directly for the category details as shown below: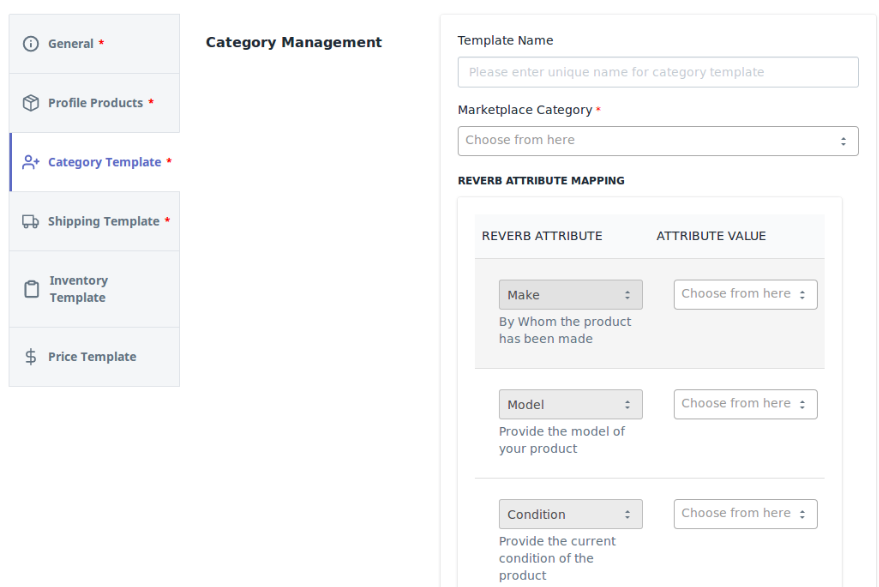
-> Shipping Template –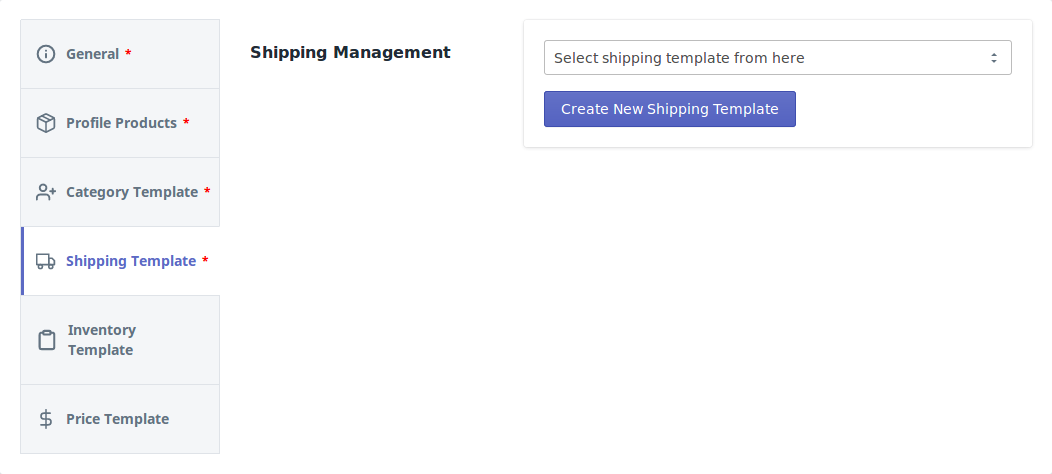
Choose the Shipping Template from the drop-down which you want to assign in the respective profile. If no template has been created, can create one before assigning by clicking on “Create new Shipping Template“.
*NOTE: If you haven’t created any Category Template, this section will ask directly for the shipping details
-> Inventory Template –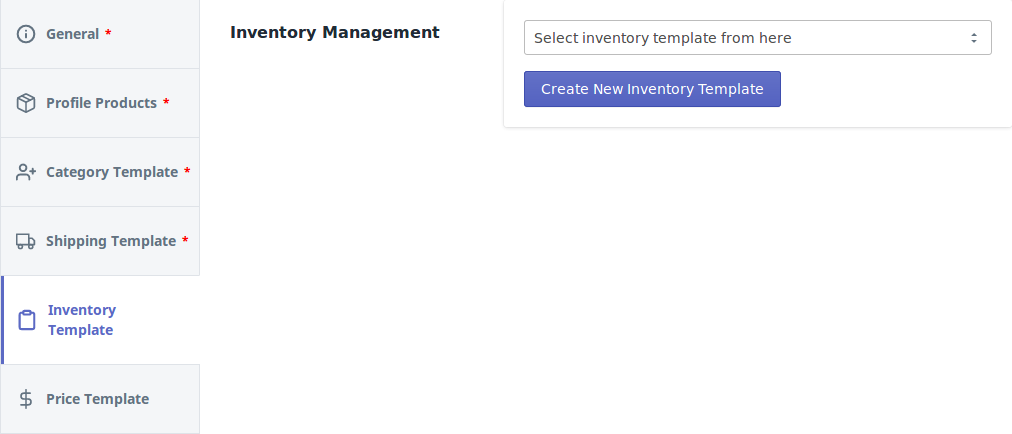 Choose the Inventory Template from the drop-down which you want to assign in the respective profile for setting up special rules for inventories for the products under that specific profile.
*NOTE: If you don’t want to proceed with this option, you can Skip this field as it is not mandatory to create a Profile. Only applicable if someone specifically wants to apply a rule for inventory.
-> Price Template –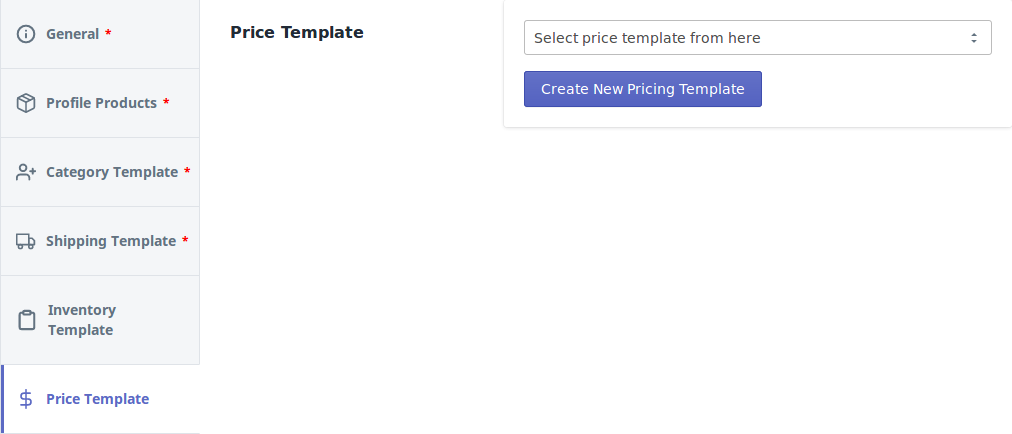
Choose the Price Template from the drop-down which in which you want to increase or decrease the prices by some fixed value or percentage for the products under that specific profile.
*NOTE: If you don’t want to proceed with this option, you can Skip this field as it is not mandatory to create a Profile. Only Applicable if someone specifically wants to apply a rule for inventory.
Once done with all the fields, simply needs to hit the “Save” button. Your Profile will be successfully created at this point and products will be visible in the “Products” grid.