Step 3: Profiling
The profiling page appears as shown below: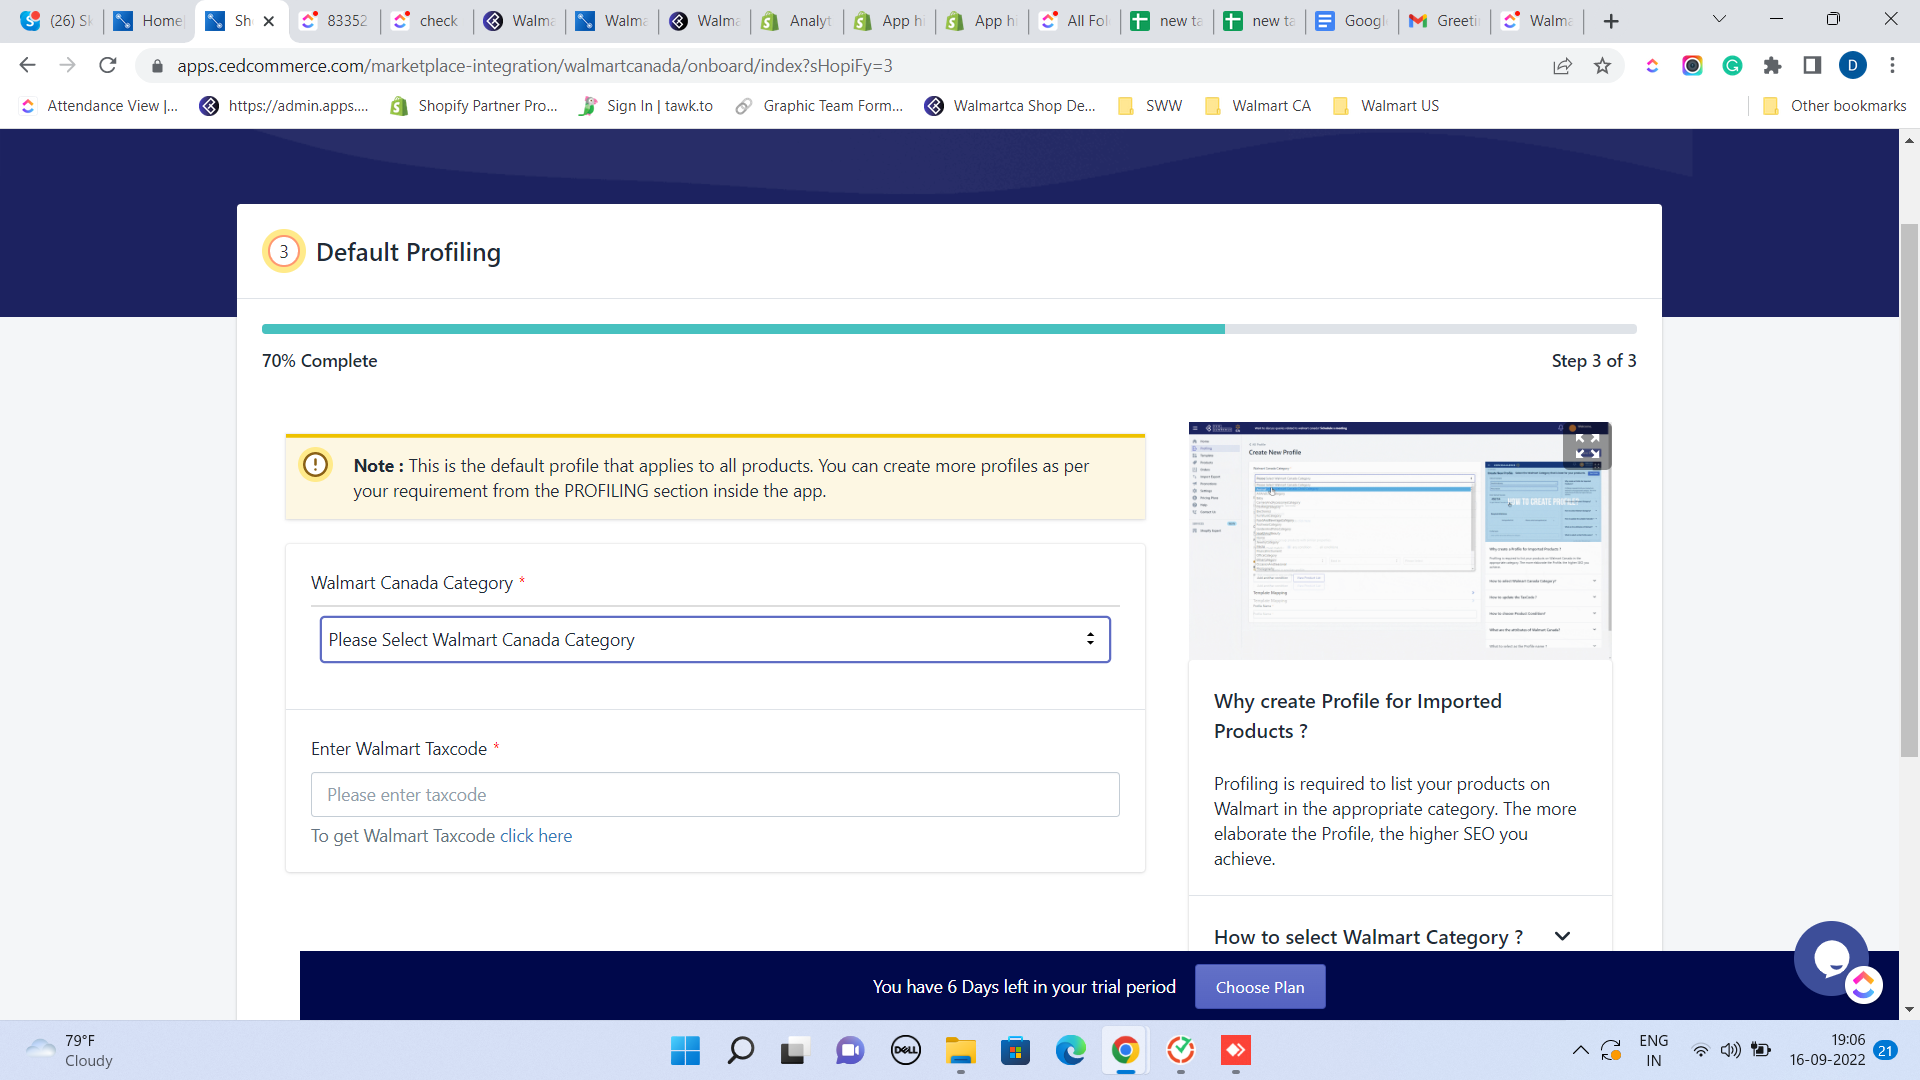
To create the default profile, follow the steps given below:
- Select the appropriate Walmart Category.
- Enter the appropriate Walmart Canada Taxcode.
- Select Conditions
- Assign a name to the created profile.
- Click the Save Profile button.
Profiling is now finished. With this, all the steps of configuration are completed. You will reach the dashboard now.
Note: You can skip the third step by clicking the given checkbox, and finish this step later on.
Related Articles
Onboarding Steps
There are 3 steps to complete once you have installed the app successfully. Step 1: Connect your store with Walmart Canada The first step is to Connect your Shopify store with Walmart Canada through the app. You only need to get the API credentials ...Profiling
Profiling refers to a group of products collected based on properties, such as title, vendor, etc. Profiling allows you to categorize different products based on several conditions. These individual profiles enable you to bulk upload products from ...Step 2: Product Import
After completing the configuration, the Second step is to import products from Shopify to the Walmart Ca Integration app. The Import Products page appears as shown in the following figure: To Import Products, select one of the following options: All ...Step 1: Connect your store with Walmart Canada
After the installation of the app, a page will appear as shown below: Now you need to retrieve the API Credentials(Consumer Id and Private Key) from the Walmart Canada Seller Account. After retrieving the API Credentials from the Walmart Canada ...Manage Products
On the Left Navigation Bar, under Products, you can see the Manage Product section, as follows: The Manage Product section lets you view all your Shopify store products imported during the app’s configuration. These products are divided into three ...