The Onboarding Process
The Onboarding Process
Once the plugin installation is done, you can find the Amazon for WooCommerce plugin on your WordPress admin panel as Sales Channel under the WooCommerce tab. Simply click on the Sales Channel and you will be redirected to begin the onboarding process.

Here you have the Amazon integration option along with the Connect option.
Now you need to click on connect as highlighted in the image below and this will take you to the next page.

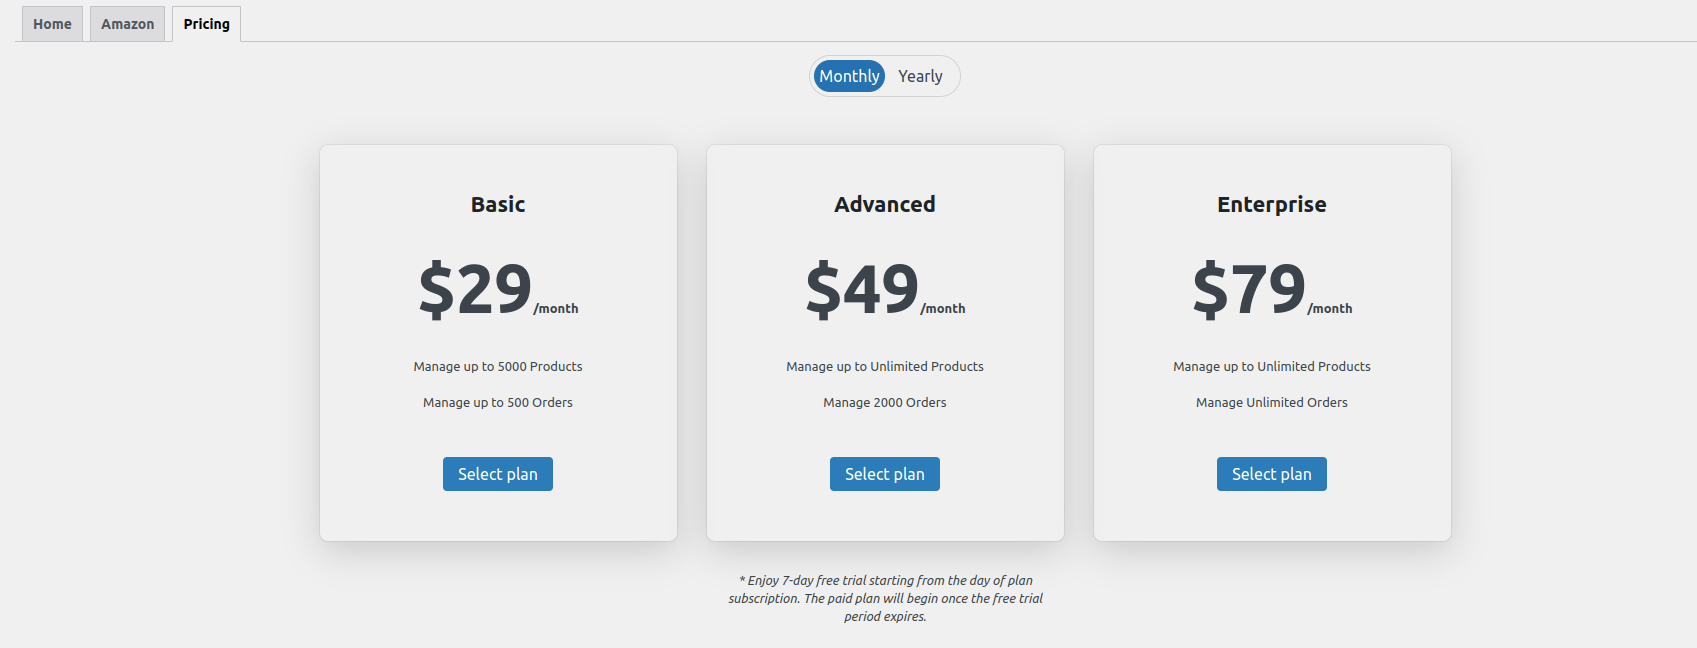
In case you haven’t selected any pricing plans yet, you’ll be redirected to the pricing page where you can select the best plan as per your business needs.
On the pricing page, you can have a look at the different plans along with their offerings. Once you have evaluated the best plan click Select Plan and proceed to checkout in the next step.
Note- You will be charged only after your free-trial of 7 days ends.
Fill up all the required details to complete the checkout process.
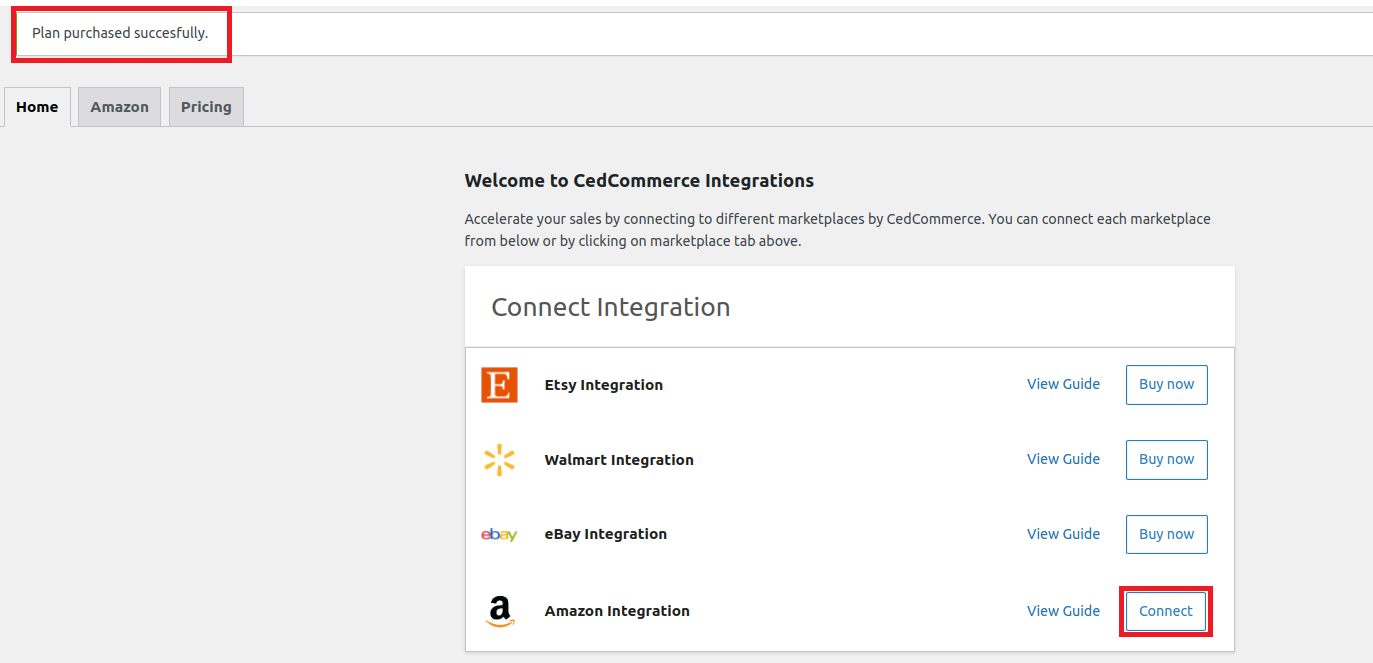
Once the checkout is done, you will be redirected to the home page of the plugin where you can see the notification as- Plan purchased successfully
Now, again click on Connect option as highlighted in the image below and proceed to configure your Amazon seller account with the plugin.
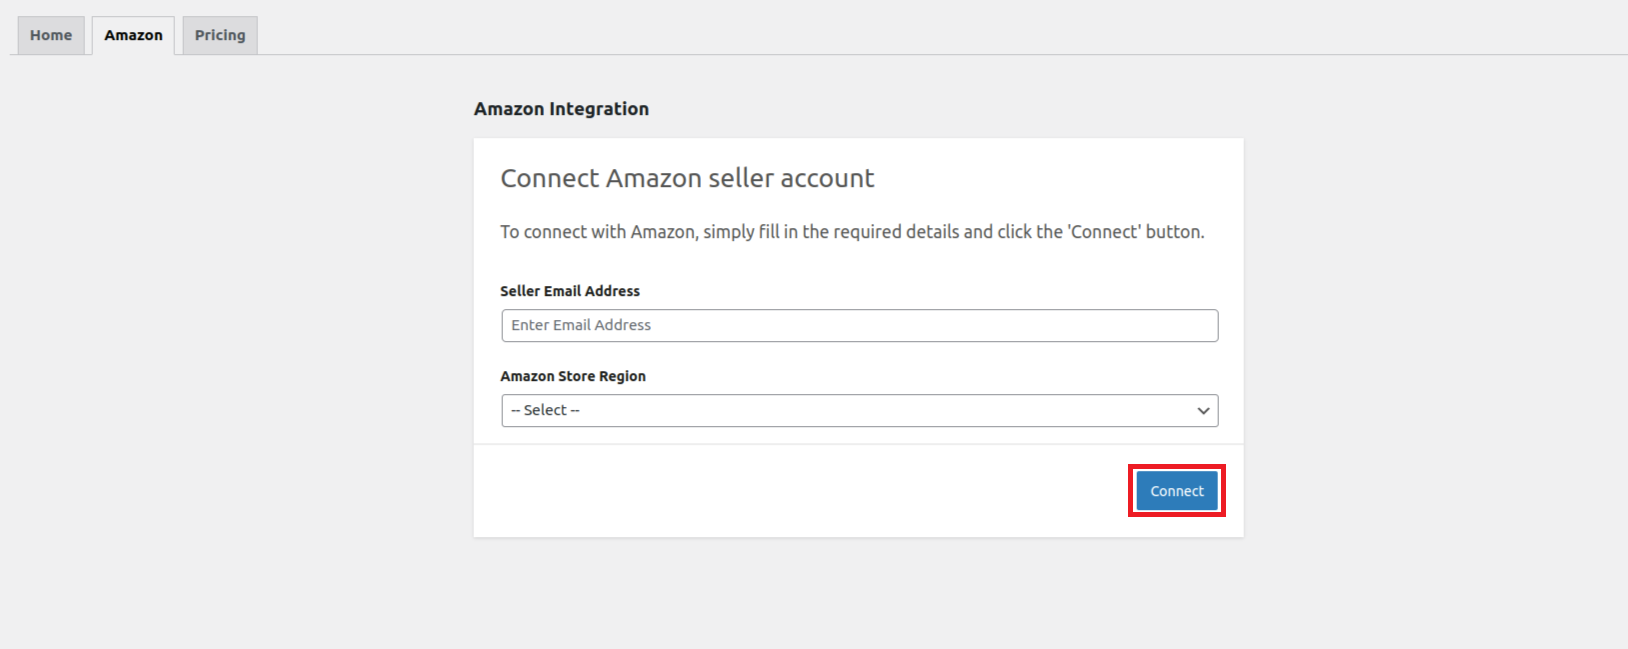
On the next page, you need to enter the Seller Email Address and Amazon Store Region.
Simply fill in the details and click Connect.
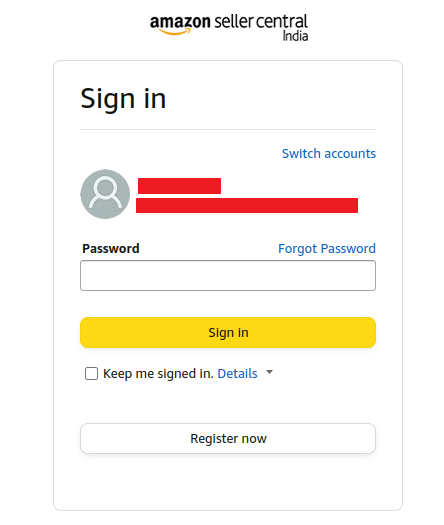
In the next step, you will have to enter the Amazon Seller Central email address and password and click Sign In to proceed.
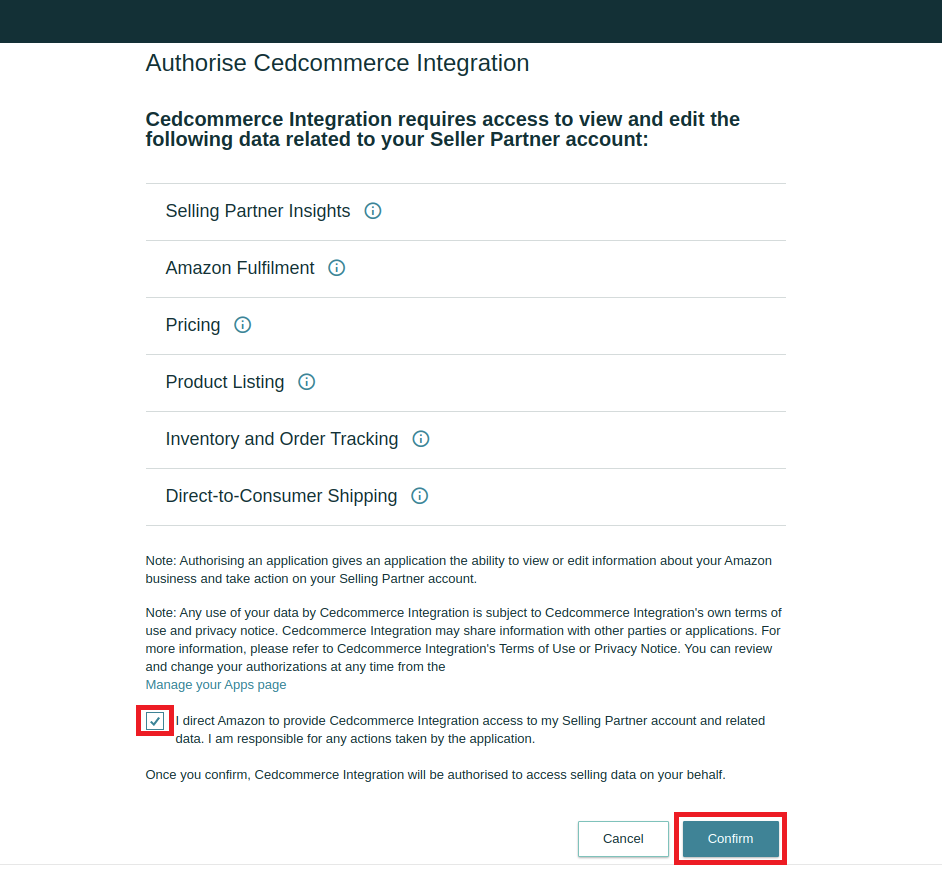
Moving ahead, you need to authorize the CedCommerce integration to view and edit data related to your Seller Partner Account.
Tick the box and click Confirm as highlighted in the image below.
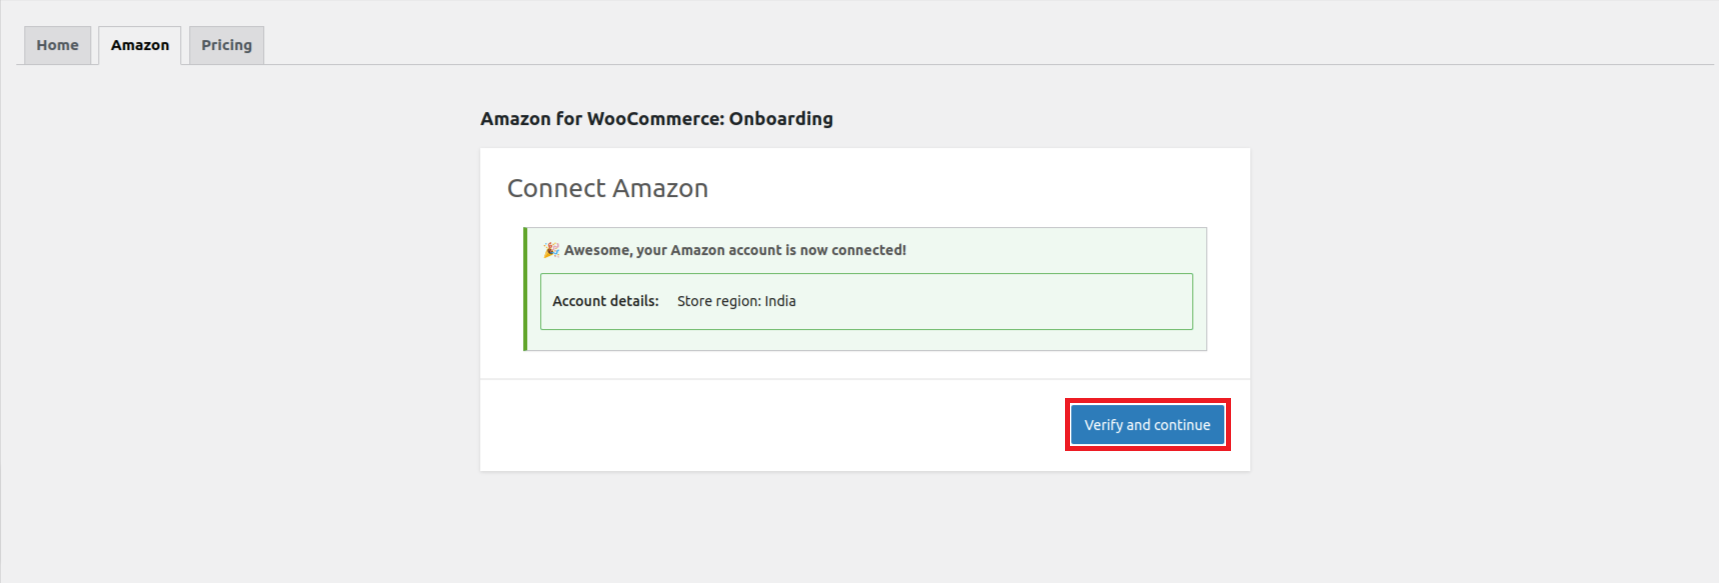
After the confirmation, you will be redirected to the page that clearly displays that your Amazon account is now connected. All you need to do is click on Verify and Continue.
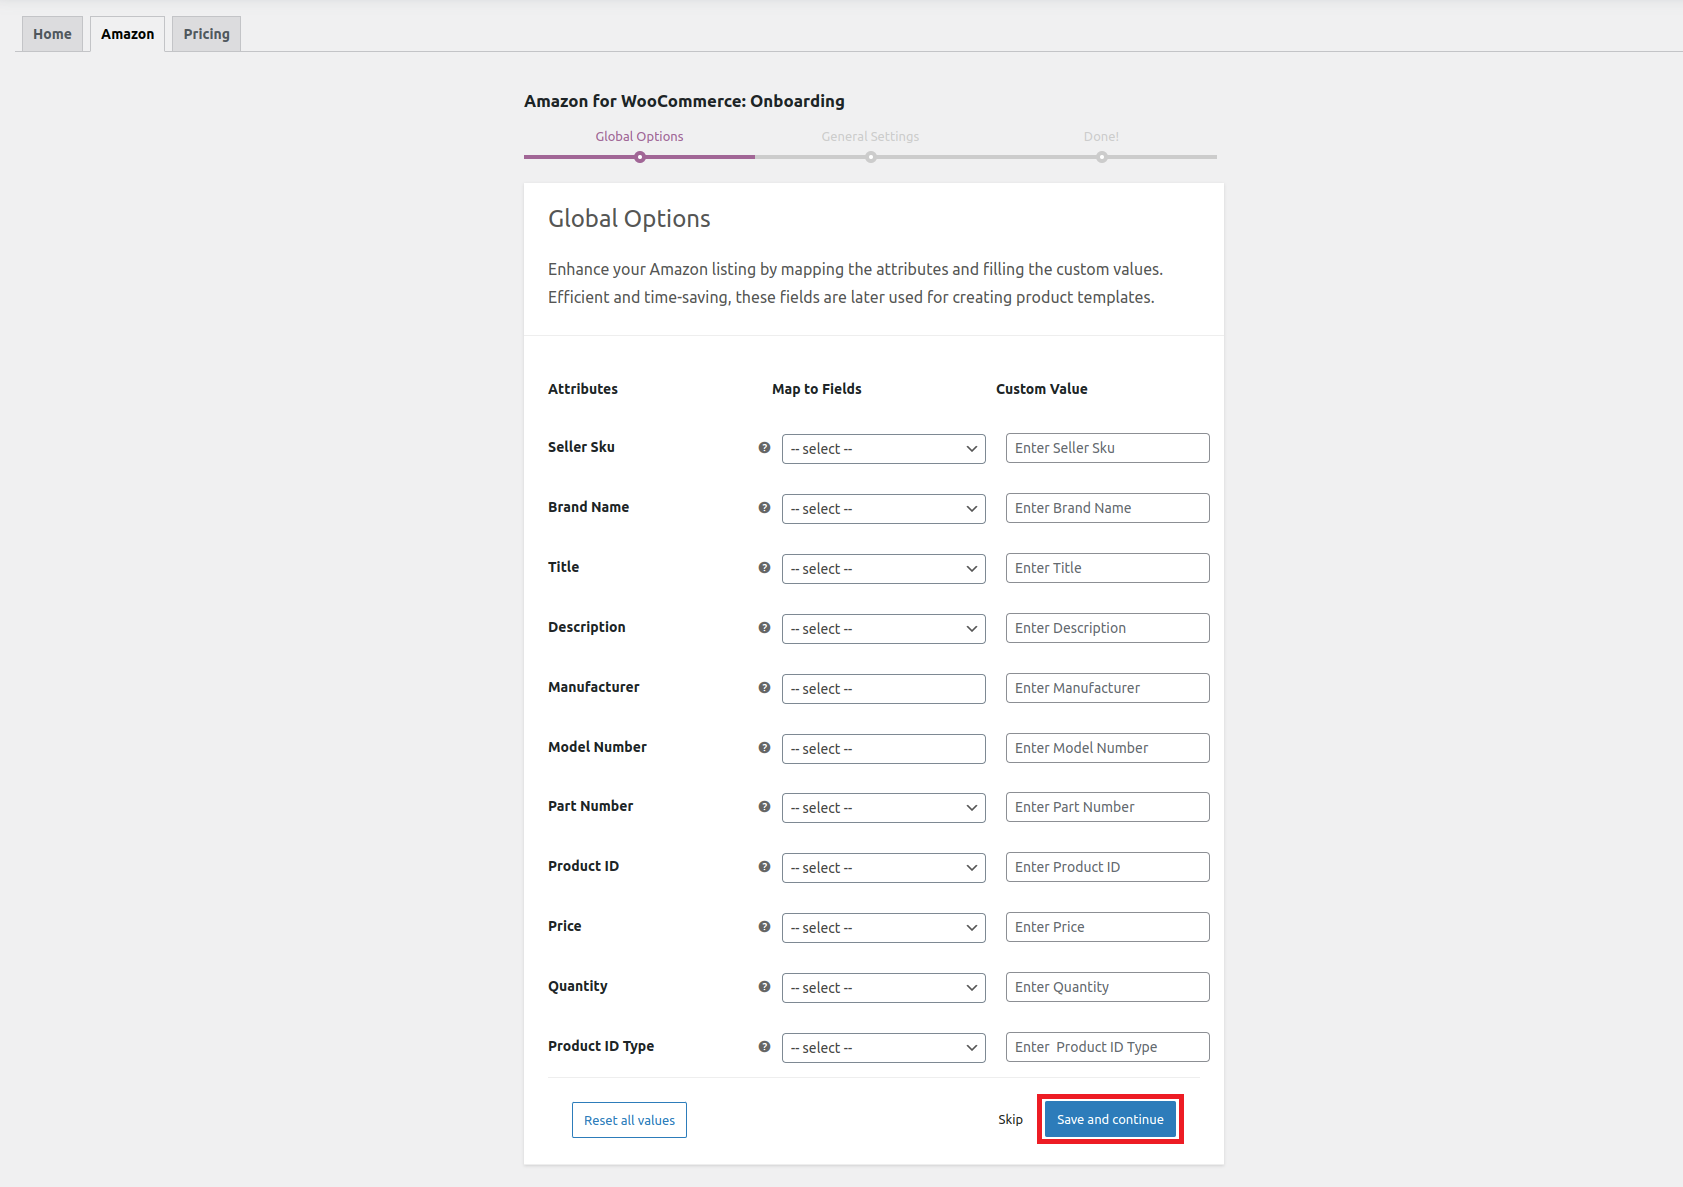
Clicking on Verify and Continue will take you to the Global Options to set up Attributes, Field Mapping, and Custom values if required. The Global Options will help you save loads of time and effort while creating product templates at any later point of time.
Assign fields and enter custom values wherever required to complete the attribute mapping and proceed to click on Save and Continue to finish the Global Options Settings.
Also, you can skip the section or reset all the entered values as per your preference.
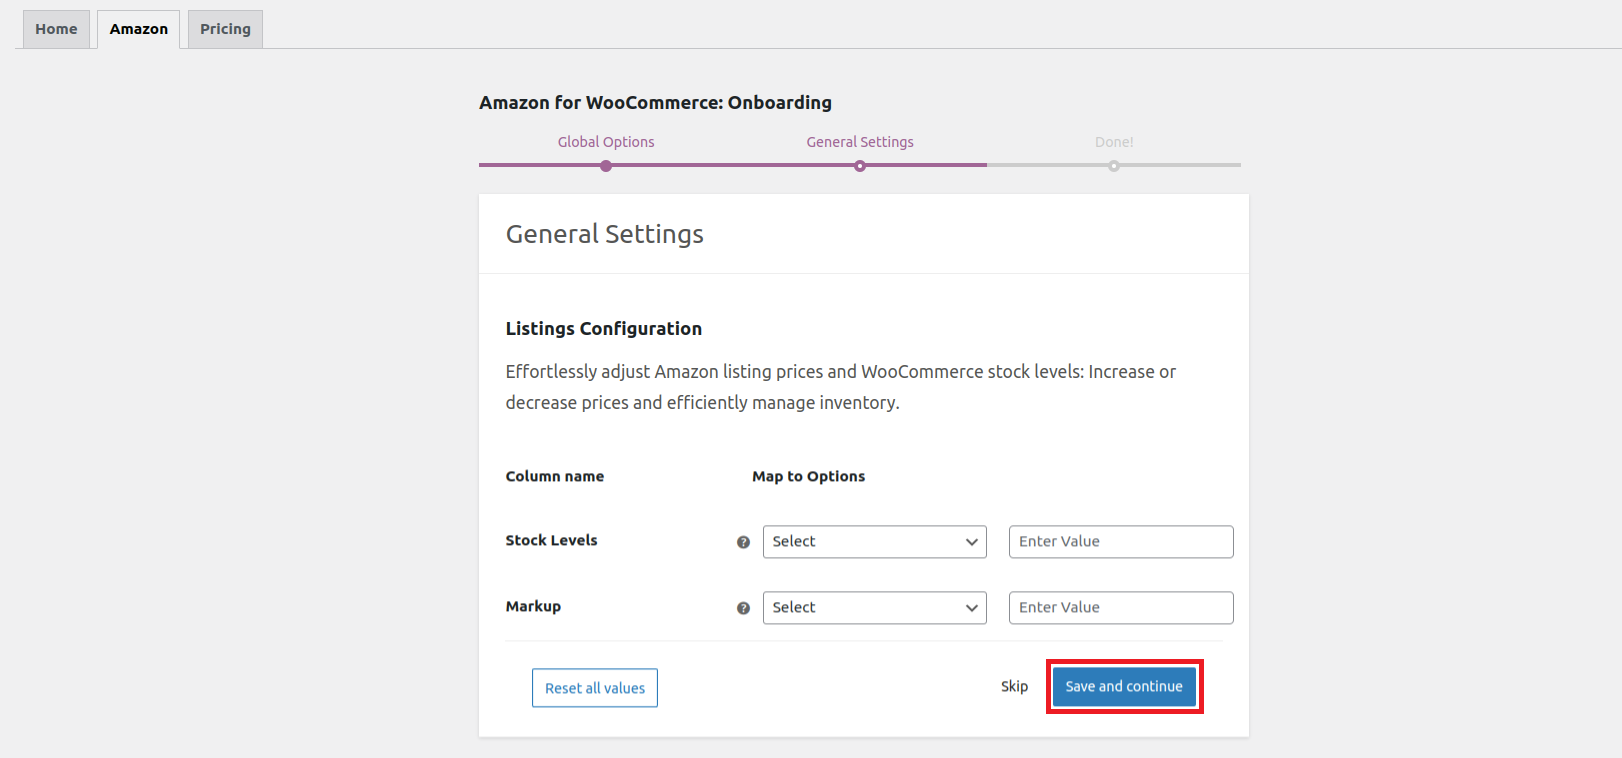
Once done with the Global Options, the next step is to complete the General Settings for Listing Configuration.
Here you need to adjust inventory stock levels and the markup prices of your listings before they get displayed on the Amazon marketplace.
Under the stock levels you can assign the maximum stock quantity while under the markup section you get to choose from 4 different variations of price markups which includes-
a) Fixed increment
b) Fixed decrement
c) Percentage Increment
d) Percentage decrement
Once done with the selection click Save and Continue to complete the onboarding process.
Also, you can skip the section or reset all the entered values as per your preference.
The successful completion of the onboarding process will be displayed as highlighted in the image below. You can now proceed to other settings of the plugin by clicking on the Go to Overview button.

But in case if the onboarding fails, there might be a few reasons for it which can be –
- We can’t confirm the seller’s permission to operate in the selected region. The seller’s account is suspended.
- A valid credit card is not attached to the account.
- The seller is not the account owner and has insufficient permission to add the account.
- If none of the above, it might be possible that there is an issue with authentication on our end or an issue with Amazon APIs.
You need to click on the Back to Login button as highlighted in the image below and restart the onboarding process.

Related Articles
Getting Started with the Plugin
Getting Started with the Plugin Plugin Installation Get your Amazon for WooCommerce plugin from CedCommerce website by clicking on the Buy Now button. This will redirect you to the official WooCommerce website where you need to click on the Free ...Plugin Settings
Plugin Settings Once the onboarding is done, you now get access to all settings of the plugin. The Amazon for WooCommerce has 6 subsections namely – 1)- Overview 2)- Settings 3)- Templates 4)- Products 5)- Orders 6)- Feeds 1)- Overview The overview ...About Amazon for WooCommerce
About Amazon for WooCommerce The Amazon for WooCommerce plugin is a robust tool that facilitates seamless integration between your WooCommerce store and the leading e-commerce platform, Amazon. This tool enables you to streamline your selling process ...Installation error - I am unable to install the plugin due to an Incompatible Archive error. How to solve this issue?
This is a temporary error where you might not be able to install the plugin on your WordPress dashboard. To solve the issue you need to Install and Activate a plugin named Code Snippets as shown in the image below- Once activated click on Add New ...Orders
Orders Orders generated on Amazon can be fetched to your WooCommerce dashboard with the help of Fetch Order button. Also you can schedule the syncing of orders using CRON schedulers. The best part is that the plugin supports HPOS (High Performance ...