Manage Amazon Accounts
Manage Amazon Accounts
Manage Amazon Accounts

- Click Manage Accounts.
The Manage Accounts page appears as shown in the following figure: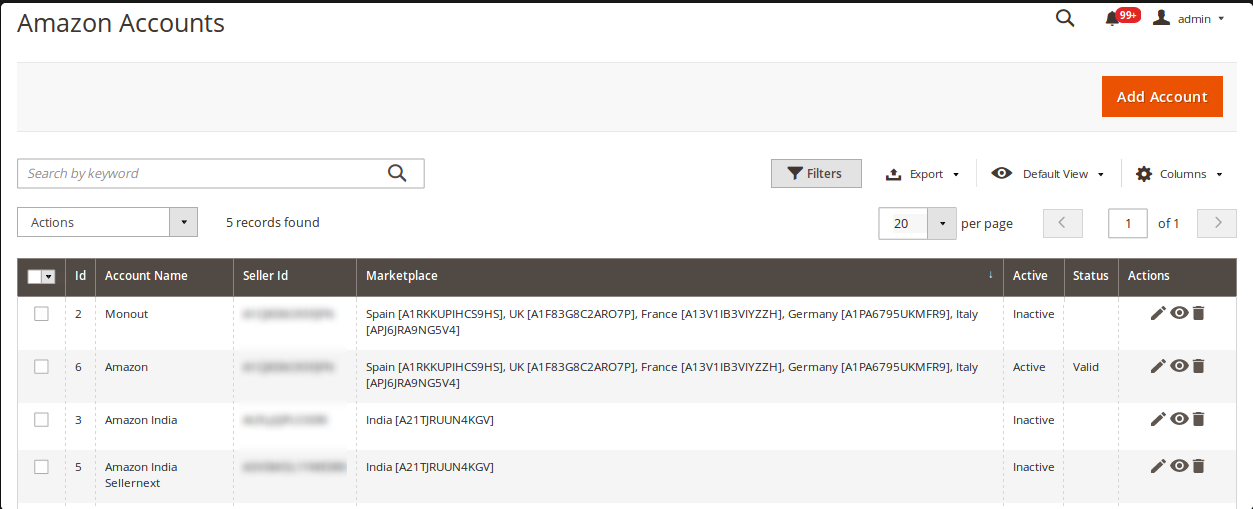
- Click the Add Account
The page appears as shown in the following figure: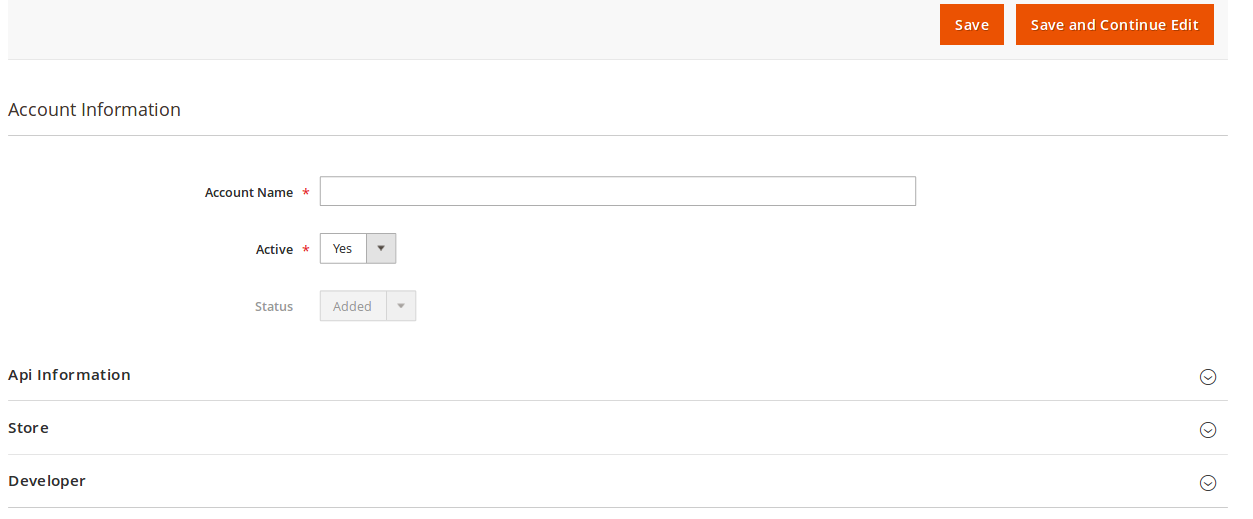
- Enter the Account Name in the corresponding field.
- In Active, select Yes.
- Now scroll down and click API Information. The section will expand as:
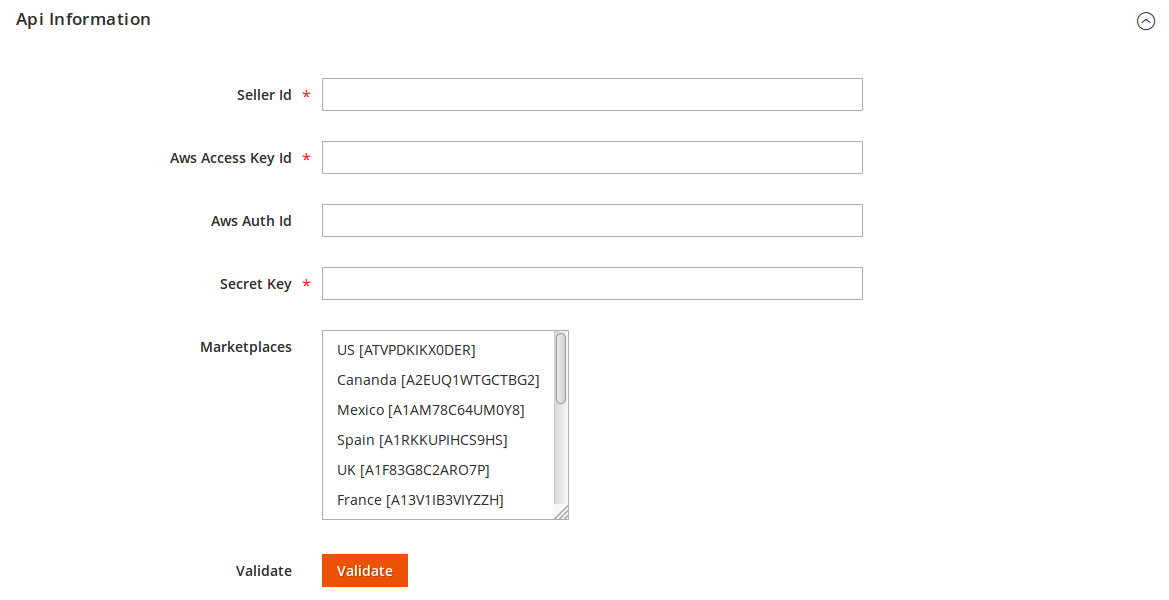
- To know the information that you need to fill in this section(Seller Id, Aws Access Key Id, Secret Key), you need to go to the Amazon seller account. For that,
- Log in to the Amazon seller account.
- On the top right side of the Amazon seller central, place cursor on Settings.
- When the menu appears, click User Permission.
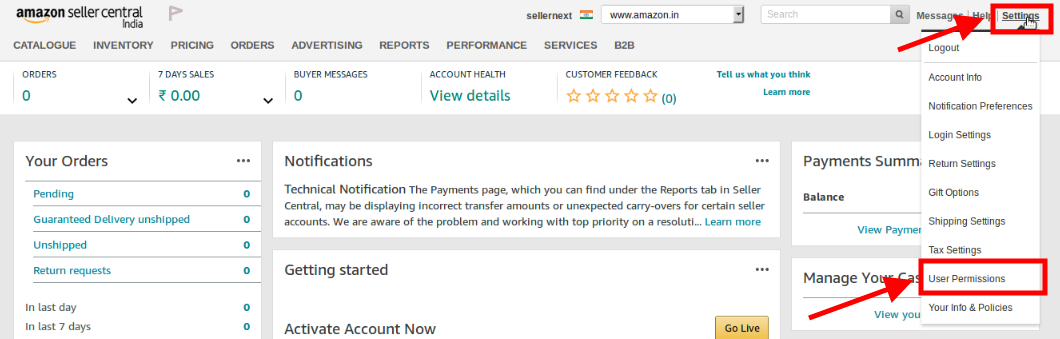
- You will be navigated to the page which will have the following section:
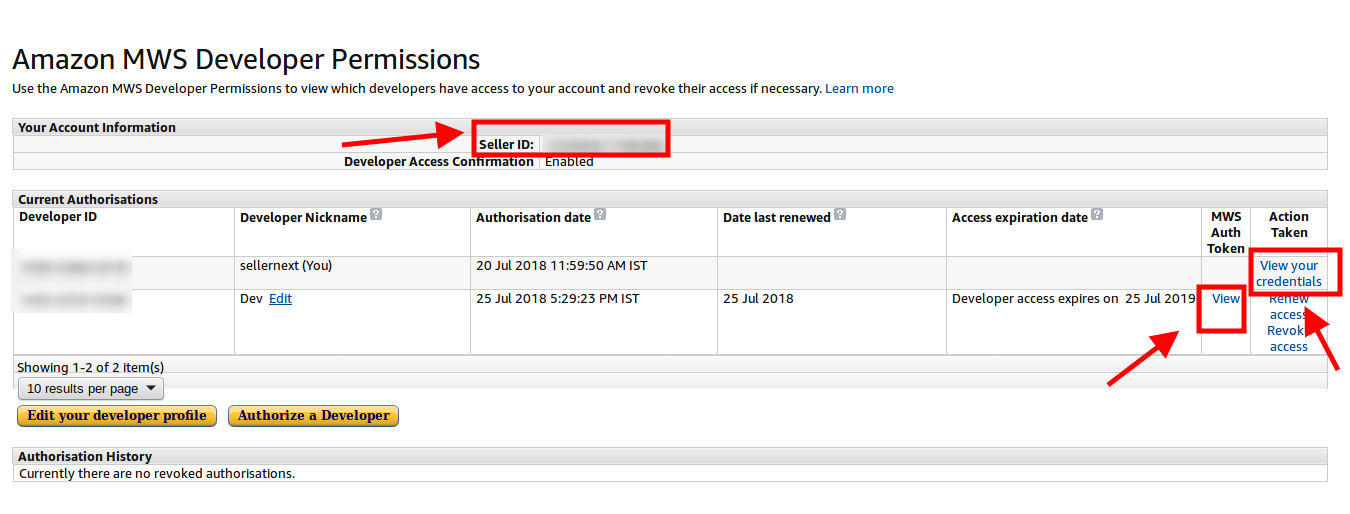
- Now on the top of the section, you may see the Seller ID which has been highlighted inside the red box.
- If you want to know the MWS Auth Token for the developer you’ve created in your account, click View under MWS Auth Token. It appears on the same place as:

- To know the Aws Acess Key Id and the Secret Key, click on the View your credentials under Action Taken column. A box will appear as:
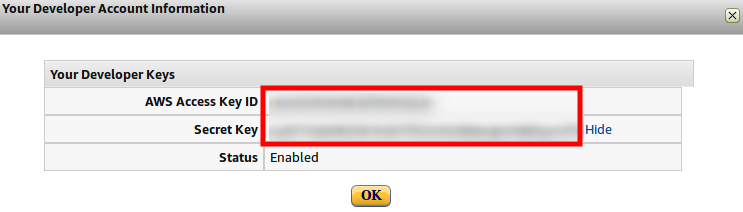
- You may get the Aws Acess Key Id and the Secret Key from here.
- Now that you have got the necessary details, fill them in the section as:
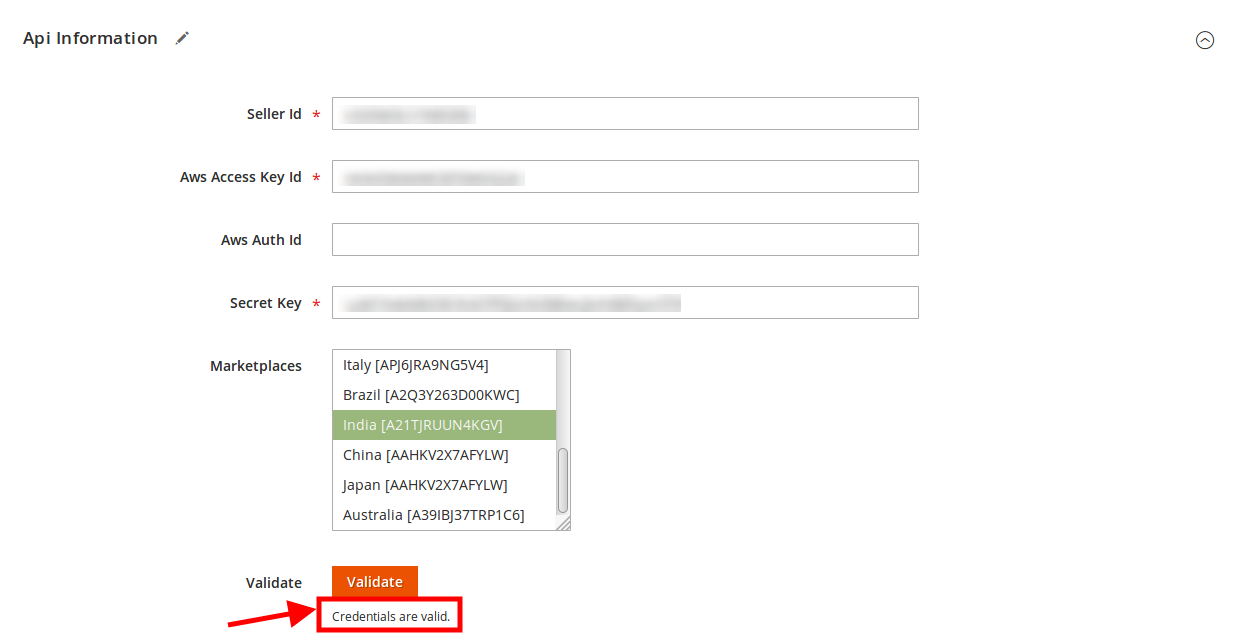
- Once the information has been filled, select Marketplaces in the corresponding field.
- Now click on the Validate button and the message of Credentials are valid will appear as it has been mentioned in the above image.
- Scroll down and click the Store section and it will expand as:

- Scroll down and click on Developer section and it will appear as:

- Select the Account Mode.
- Add notes if you want any.
- Click on Save on the top right side of the page.
- The account will be created.
To view the account,
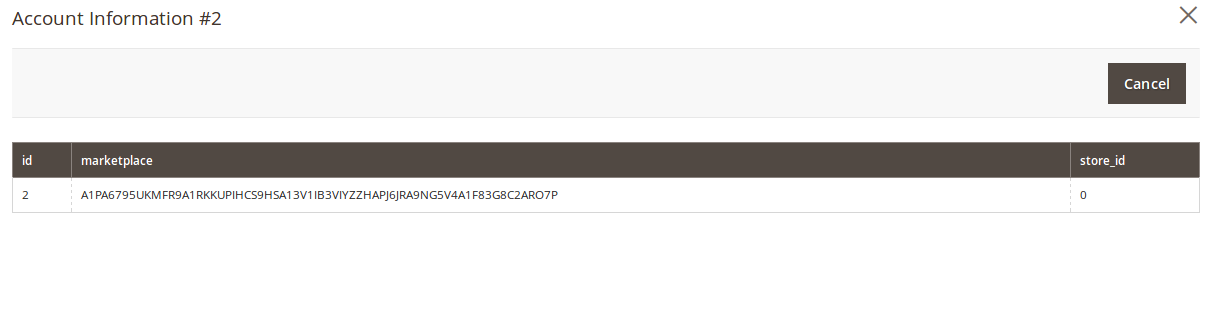
- On the Amazon Accounts page, click the view button for the account that you want to see, as highlighted in the image below.

- On clicking it, the details would appear on the page as shown:
To edit the account,
- On Amazon Accounts page, click the edit button for the account that you want to edit, as shown in the image below:
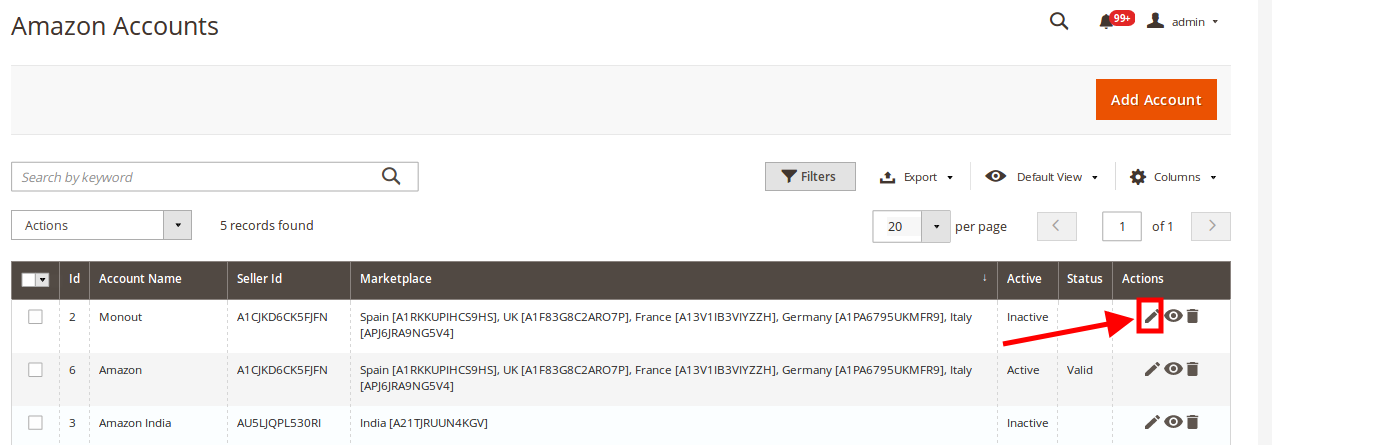
- The page will appear as:
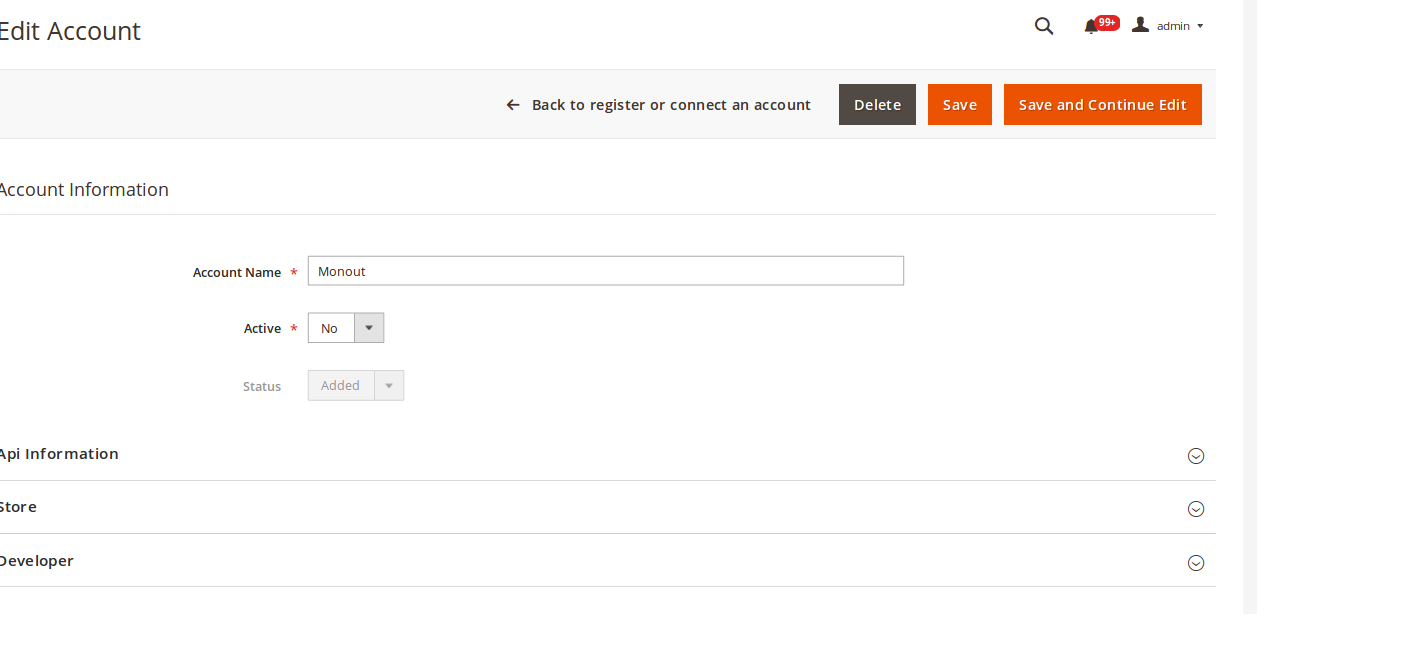
- Click the required section, and then make the changes as per requirement in the respective section.
- Click the Save button.
The edited account will be saved.
To delete the account,
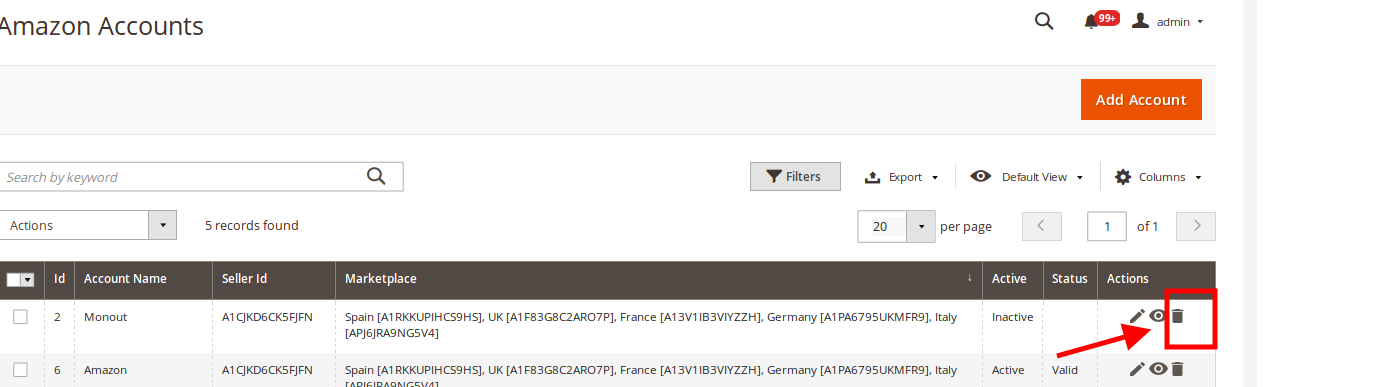
- On the Amazon Accounts page, click on the delete button as highlighted in the image below, for the account that you want to delete.
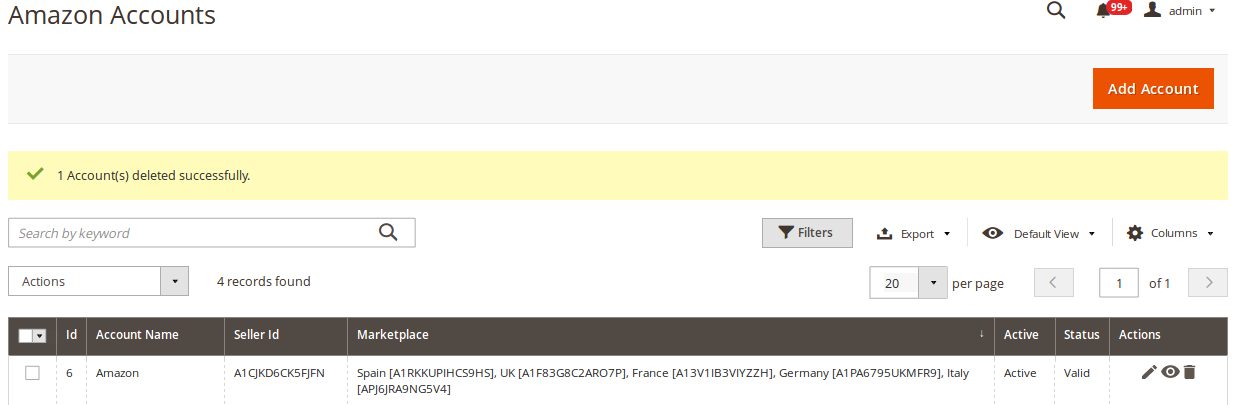
- On clicking it, the Amazon account will be deleted and the message will appear on the same page as:
Related Articles
Amazon Queues
Amazon Queues The Magento 2 store owners can view and manage the Amazon Queues. To view the Amazon Queues Go to the Magento 2 Admin panel. On the left navigation bar, click the AMAZON INTEGRATION menu. The menu appears as shown in the following ...Amazon Feeds
Amazon Feeds After uploading the product on Amazon or after updating the product inventory or the product price, the user can check the status of the feed and sync the selected feeds from the Amazon Feeds page. To view and manage the product feeds Go ...Amazon Activity Logs
Amazon Activity Logs The Magento 2 store owners can view and manage the Amazon Activity logs. To view the Amazon activity logs Go to the Magento 2 Admin panel. On the left navigation bar, click the AMAZON INTEGRATION menu. The menu appears as shown ...Edit the Amazon Products
Edit the Amazon Products To edit the Amazon product details Go to the Magento 2 Store Admin panel. On the left navigation bar, click the AMAZON INTEGRATION menu. The menu appears as shown in the following figure: Click Manage Products. The Amazon ...Amazon Cron Details
Amazon Cron Details To view Amazon Cron Details Go to the Magento 2 Admin panel. On the left navigation bar, click the AMAZON INTEGRATION menu. A menu appears as shown in the following figure: Click Cron Logs. The Amazon Cron page appears as shown in ...