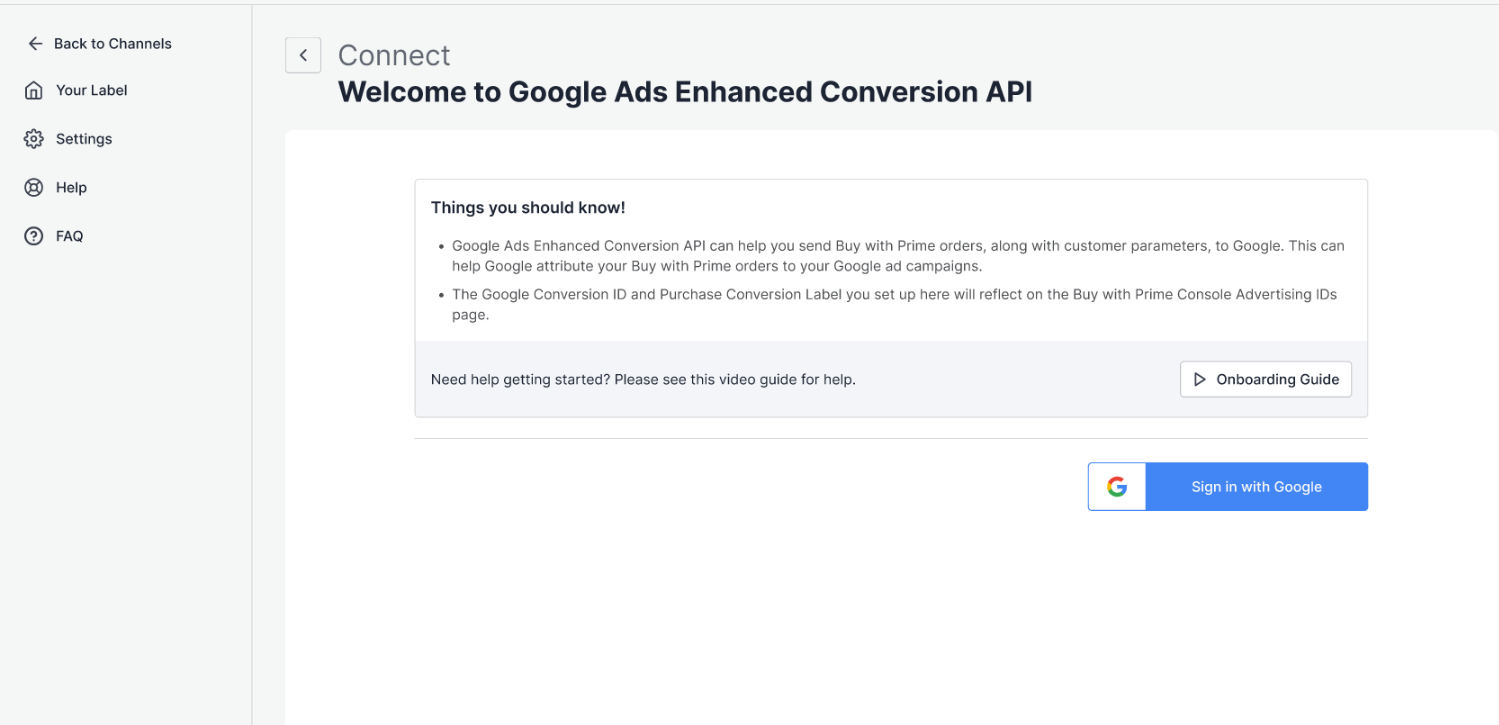
Overview of the Channel
Dashboard of the Channel
When you connected to the Google Ads Enhanced Conversion API channel successfully, you will be redirected to the Dashboard of the channel.
In the dashboard, you will see the four different sections of the channel:
- Your Label
- Settings
- Help
- FAQ
Note: Click on “Back to Channel”, to navigate back to the Social Ads for Buy with Prime app, from where you can choose to go to the dashboard of the listed channels.
How To Get Started with the Google Ads Enhanced Conversion API
Once you have successfully connected the Google Ads Enhanced Conversion API with your app, you must connect your Google account.
Here are the steps to connect your Google account:
- Go to the Dashboard of the app.
- Once you are on the dashboard of the channel, click on “Sign in with Google” button.

- You will be redirected to the Sign in page. Provide the required access, and your Google account will be connected.
- Once you have connected to your Google Account, all your ads accounts will be visible.
- Select the ads account to which you want to sync your Buy with Prime orders, and click on Save and Proceed.

- Now that you have selected your Ads account, you have to add a conversion label.
- You can either select an existing Conversion label to track Buy with Prime orders on Google Ads or create a new one.
- Once you have added your Conversion label, your Buy with Prime orders will sync with your Google Ads account.
Related Articles
Google Ads Enhanced Conversion API
The Google Ads Enhanced Conversion API is a powerful tool that allows you to send specific data related to your Buy with Prime orders and customer parameters directly to Google. By utilizing this API, you can improve the attribution of your Buy with ...Frequently Asked Questions
Question 1: How do I connect a new Google Account? Answer: If you want to connect a new Google Account, follow the following steps: Login to the CedCommerce Social Ads for Buy with Prime console. Once you’ve logged in, you will find a list of ...Settings
In the Settings section of the channel, you’ll be able to view the details of the connected Google account. Additionally, you can also be able to disconnect your Google Ads Enhance Conversion API channel in the Settings section. How to Disconnect the ...Your Label
In the Your Label section of the Google Ads Enhanced Conversion API channel, you’ll be able to control the accounts connected to your channel. How to Change your Google Account? If you wish to change your connected Google account here are the steps: ...Frequently Asked Questions
This is a collection of the most commonly asked questions, problems, and nuggets of knowledge about Social ads for Buy with Prime. If you are stuck in the middle, you can obtain assistance from these. Question 1: What are the different product ...